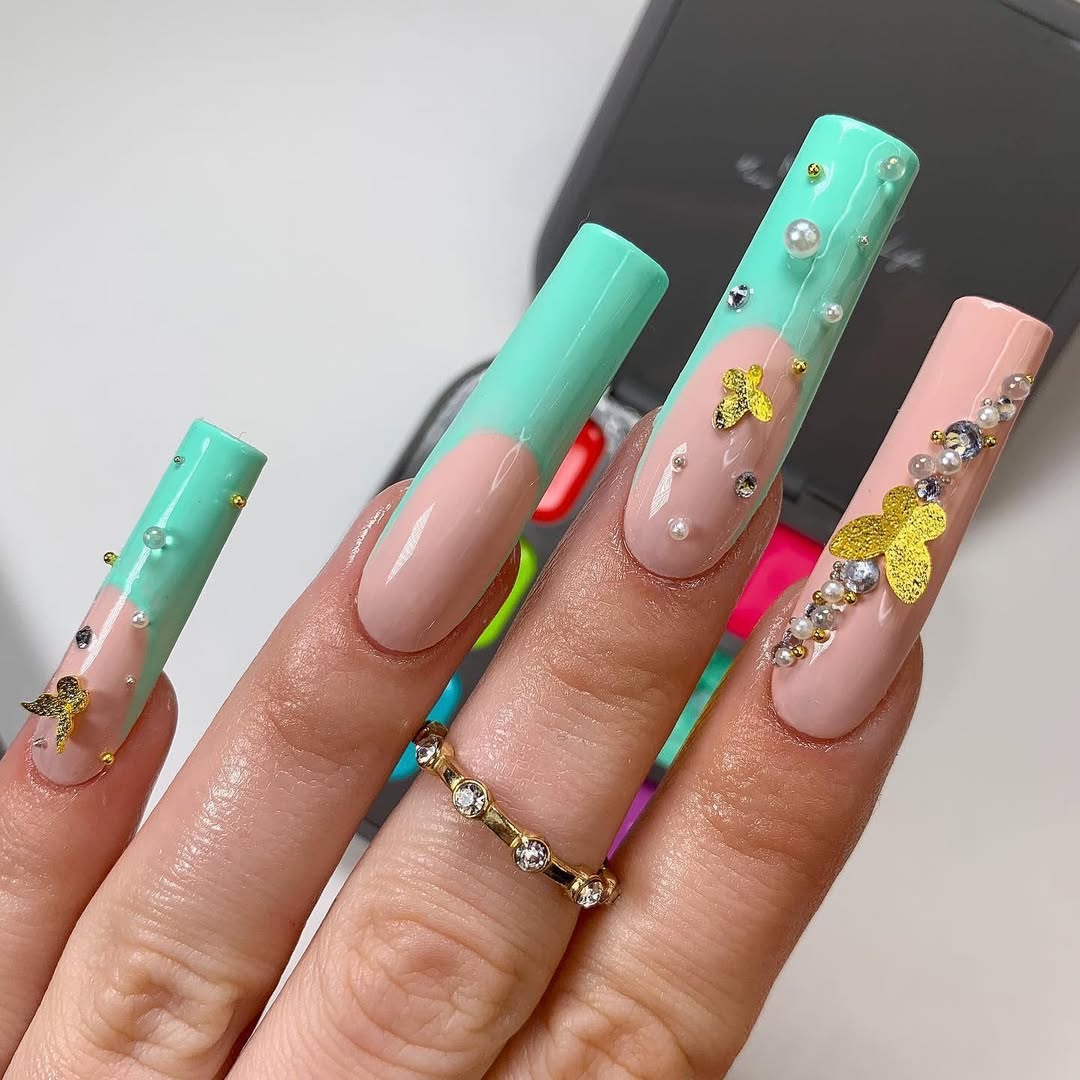
Creating stunning nail art with rhinestones can elevate your look, adding a touch of glamour and sparkle to your nails. To achieve a professional and long-lasting design, using the right rhinestone nail glue is essential. In this guide, we'll focus on how to apply rhinestone nail glue, specifically the super strong Makartt Nail Glue, to ensure your rhinestones stay in place and look fantastic.
Choosing the Right Rhinestone Nail Glue
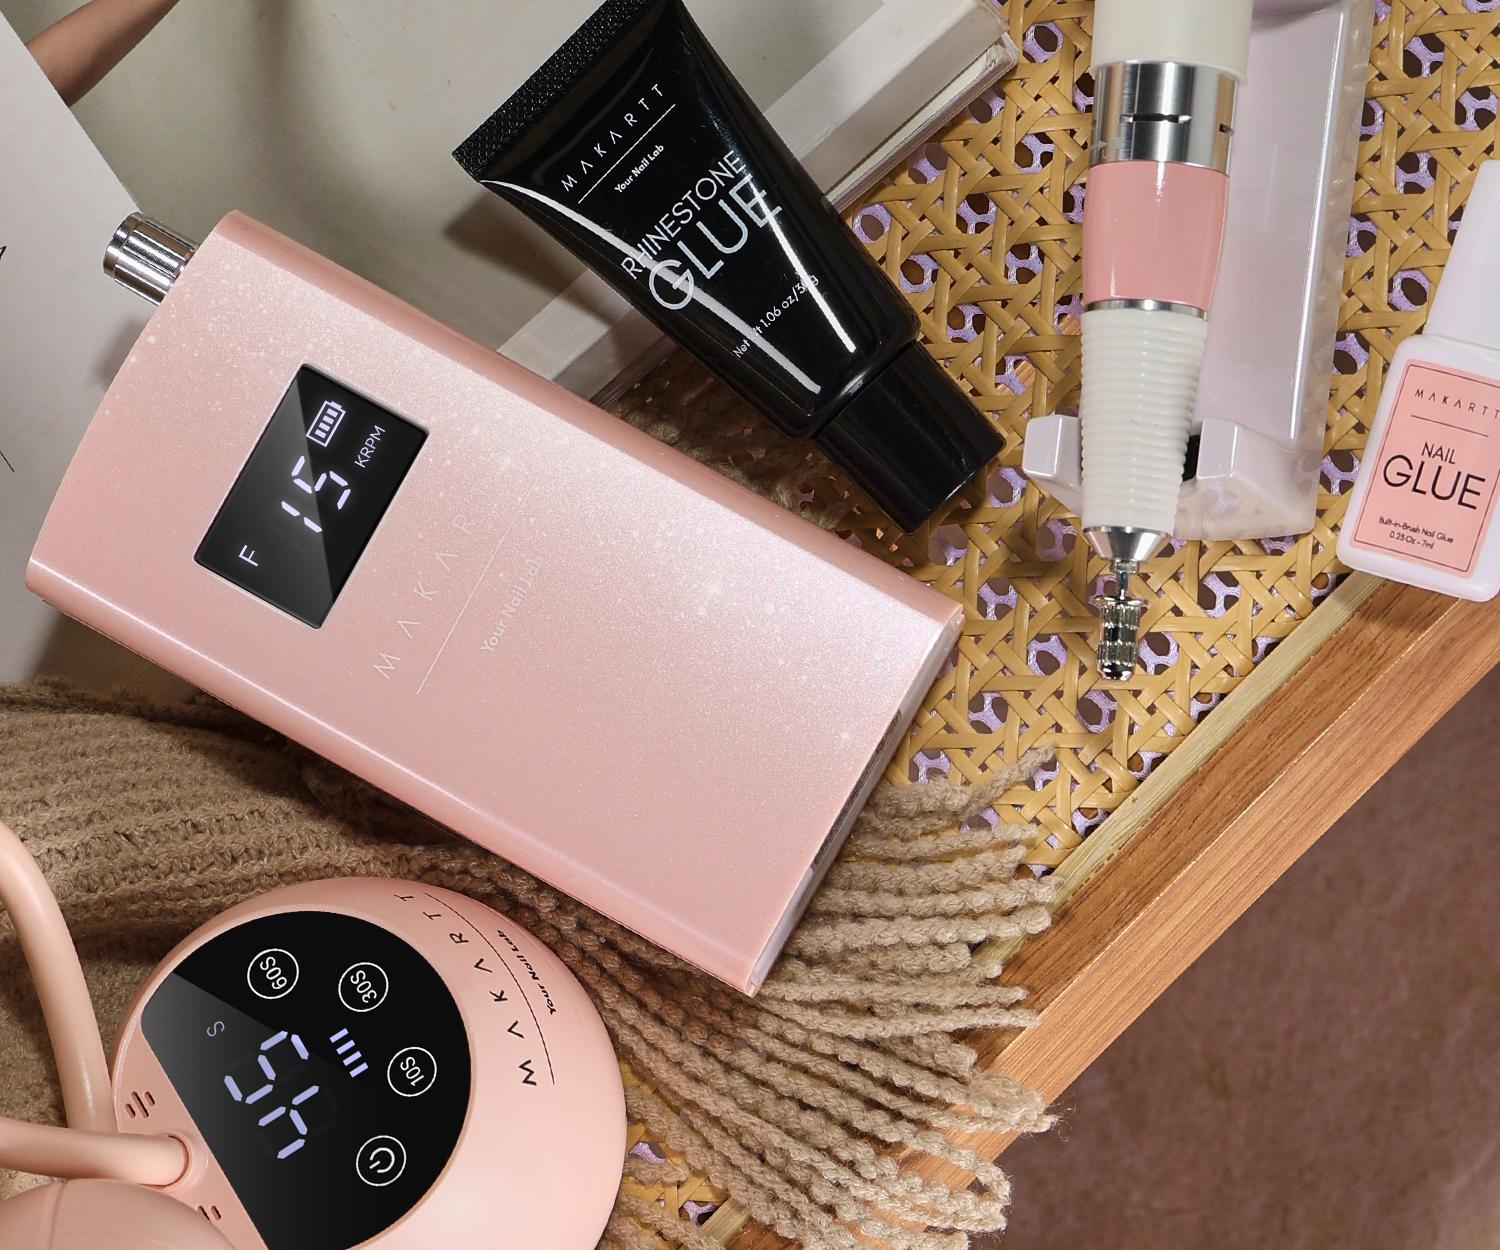
When it comes to rhinestone nail glue, the quality of the product can make a significant difference in the longevity and appearance of your nail art. Makartt Nail Glue is a top choice for many nail enthusiasts due to its super strong hold and reliability. Unlike other brands, Makartt Nail Glue ensures your rhinestones stay securely in place, even with daily wear and tear.
Look for characteristics such as quick drying time, strong adhesion, and ease of application when choosing your rhinestone nail glue. Comparing different brands can help you make an informed decision, but Makartt Nail Glue consistently stands out for its superior performance.
Preparing Your Nails
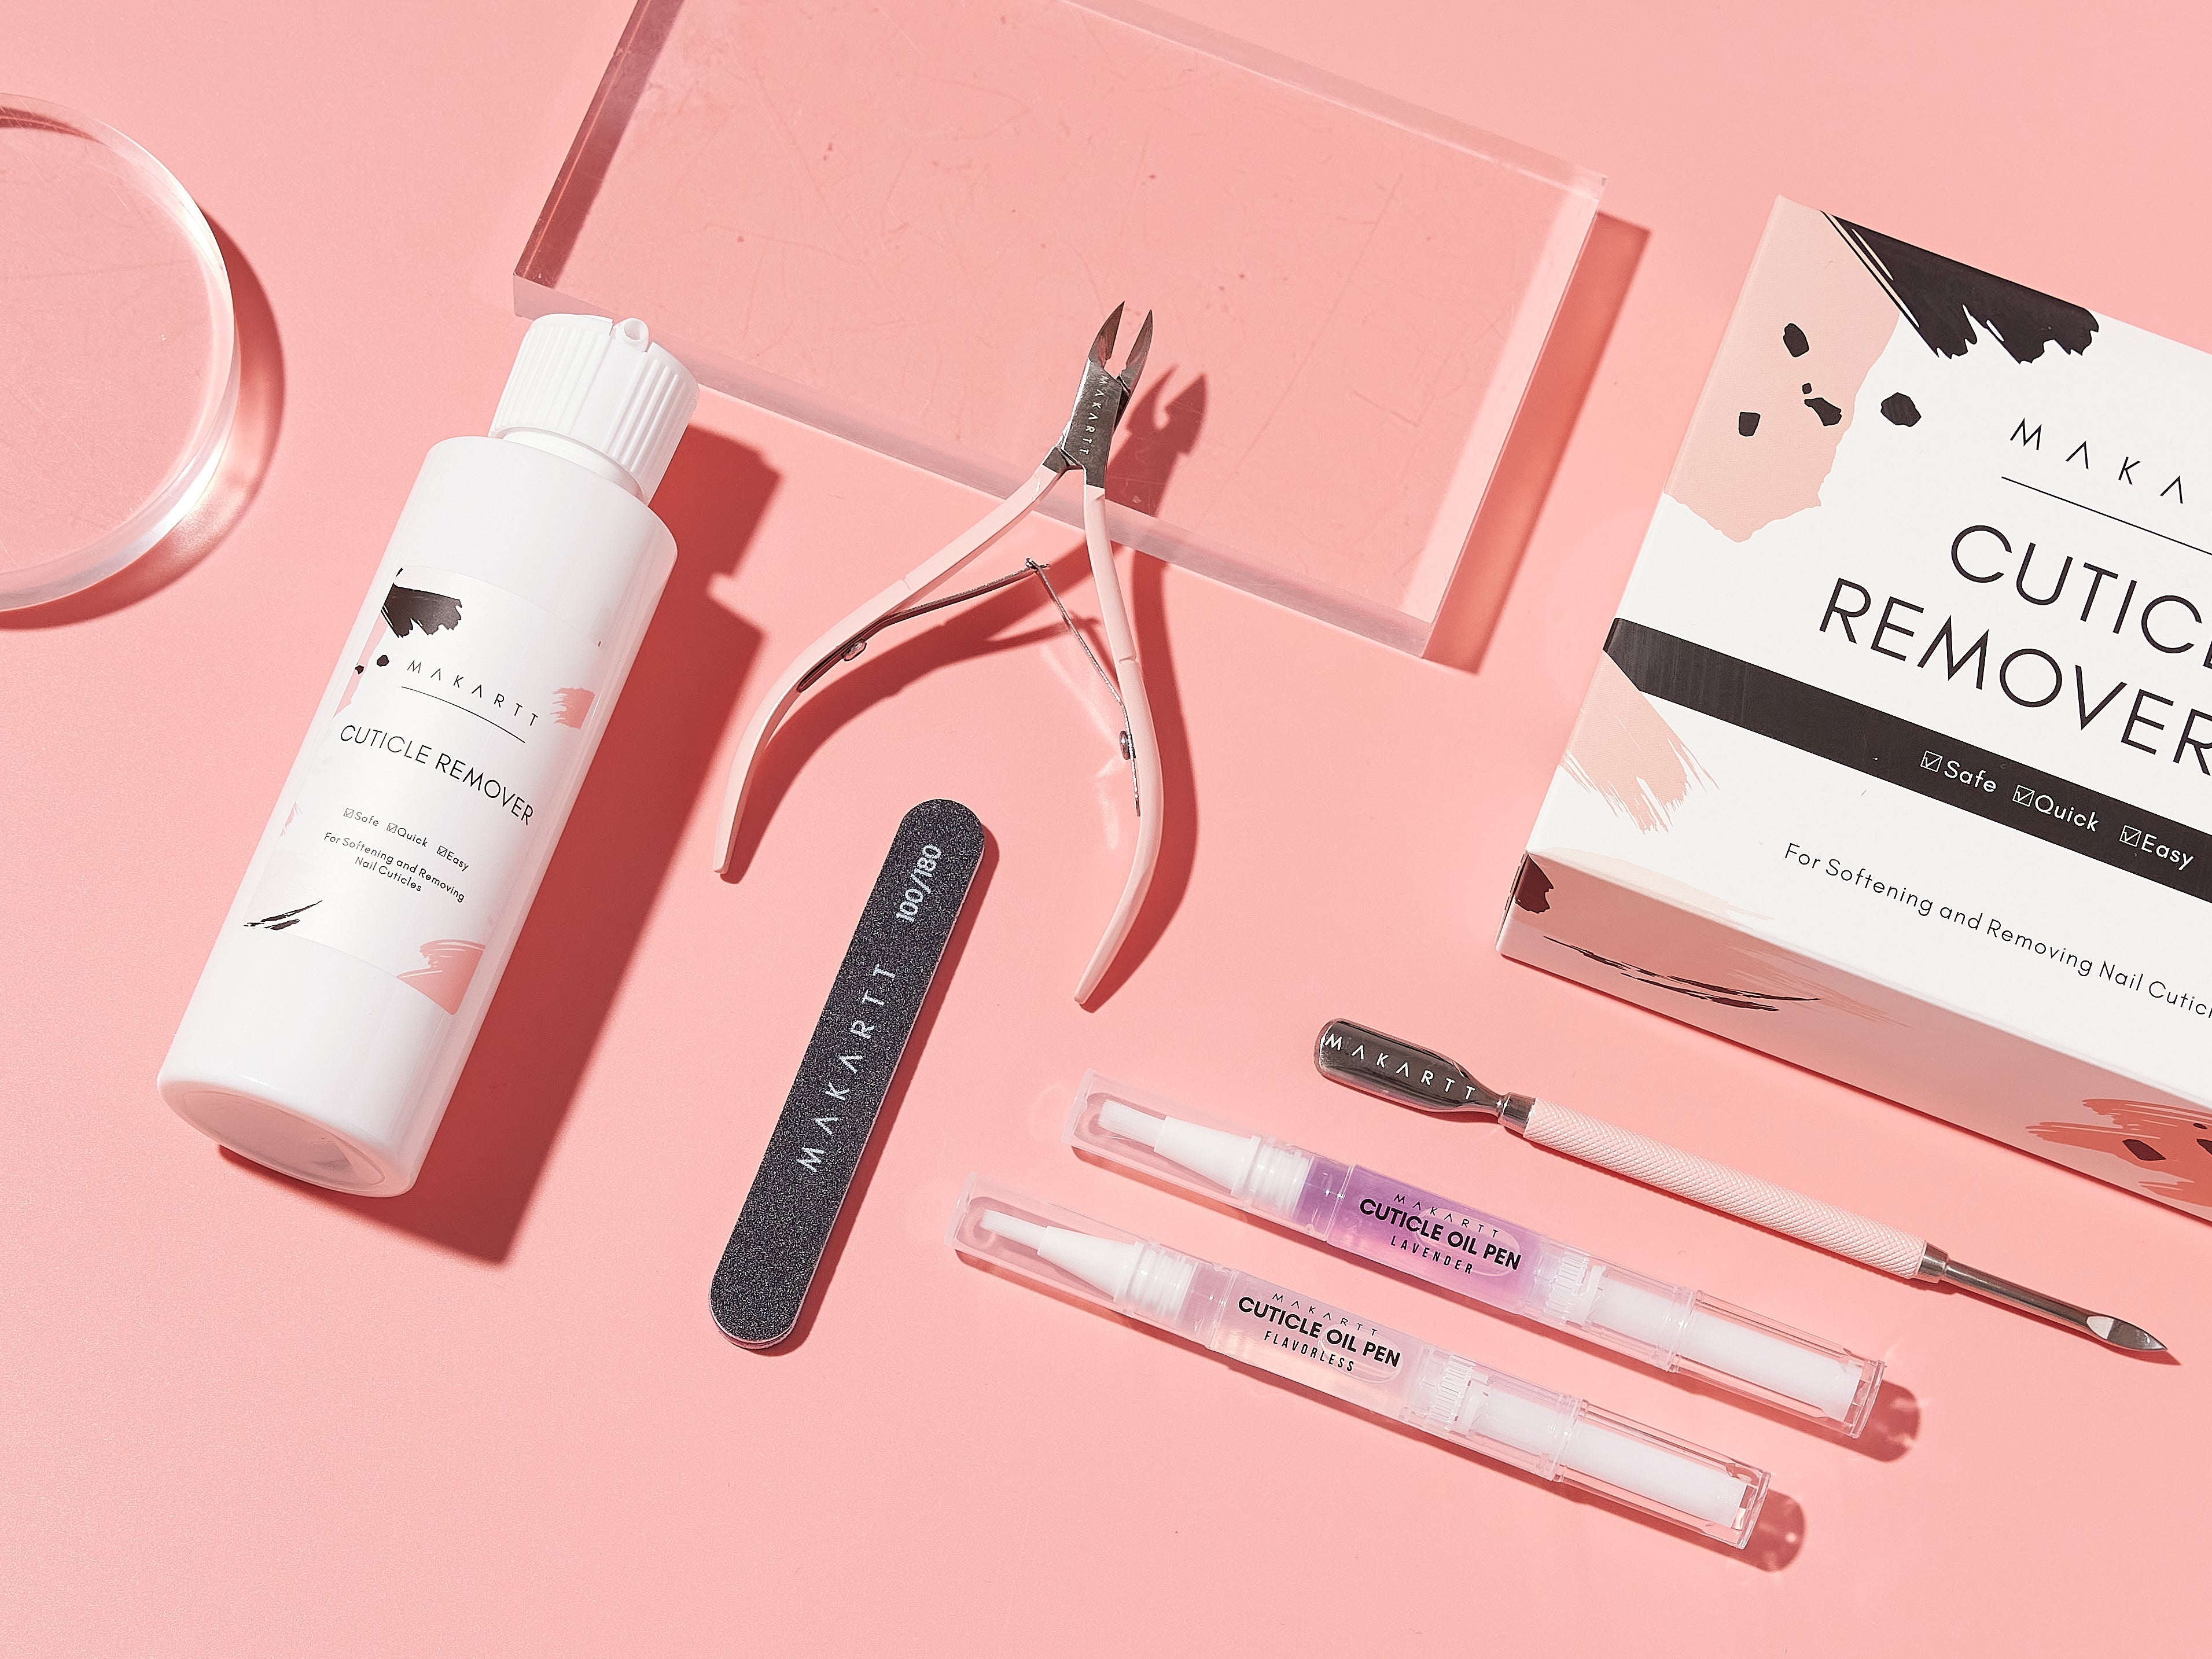
Shape your nails using a file, and apply a base coat to protect your natural nails and create a smooth surface for the glue.
Ensure your nails are completely dry before applying the glue. Any moisture can weaken the adhesive bond and cause the rhinestones to fall off prematurely.
Applying Rhinestone Nail Glue
Applying rhinestone nail glue correctly is key to ensuring that your rhinestones adhere firmly and look beautiful. Here's a step-by-step guide on how to use Makartt Nail Glue:
-
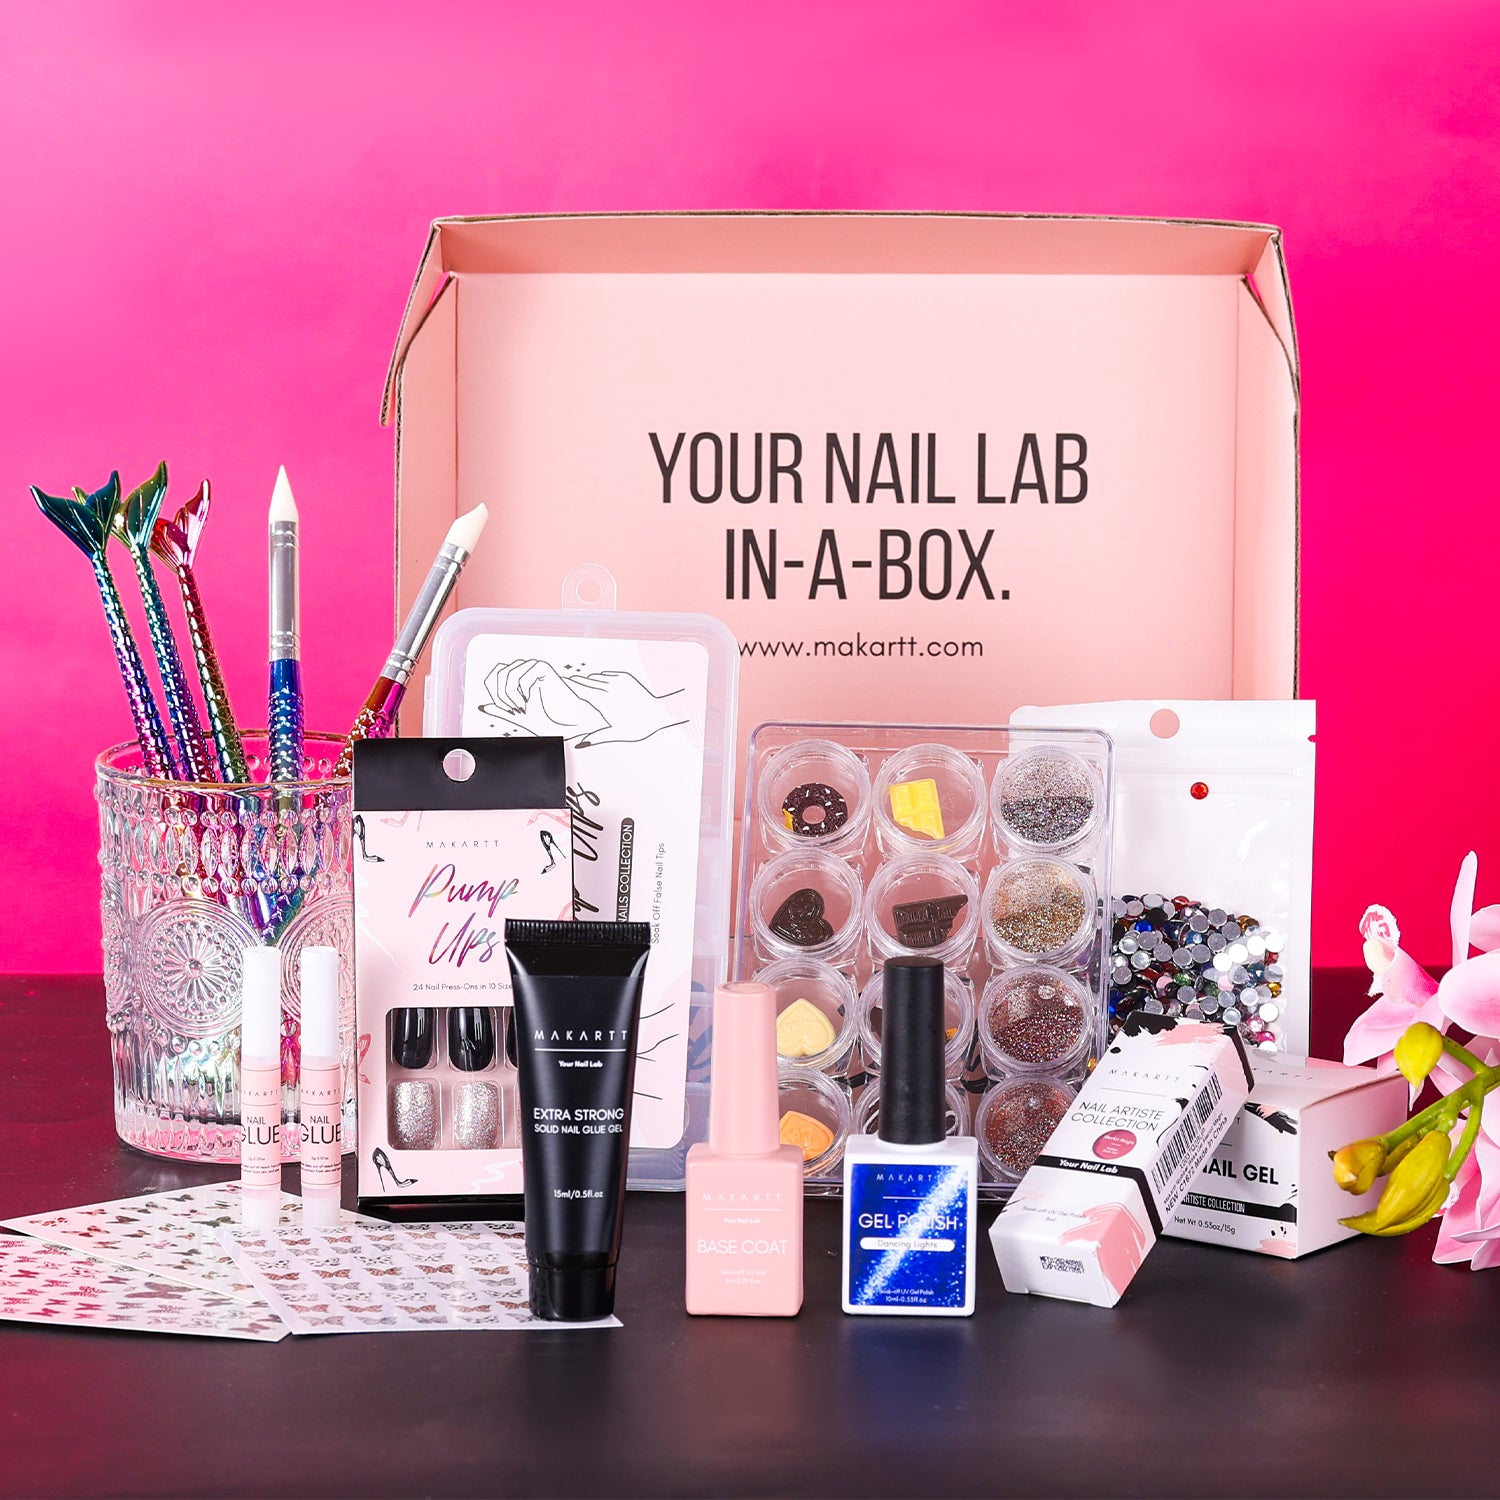
Prepare Your Workspace: Gather all your tools, including Makartt Nail Glue, rhinestones, a small brush or toothpick, and a UV/LED lamp if needed.
-
Apply the Glue: Using the brush or toothpick, apply a small amount of Makartt Nail Glue to the area of the nail where you want to place the rhinestone. Ensure the glue is applied evenly to avoid any bumps or gaps.
-
Be Precise: If you’re placing multiple rhinestones, apply glue to one section at a time to prevent the glue from drying out before you can place the rhinestones.
Placing the Rhinestones
Once the glue is applied, it's time to place the rhinestones. Follow these tips for accuracy and design:
-
Use a Picker Tool: A rhinestone picker tool or tweezers will help you place the rhinestones precisely. Pick up the rhinestone and place it gently on the glue.
-
Press Gently: Press the rhinestone down gently but firmly to ensure it adheres well to the glue. Hold it in place for a few seconds to allow the glue to set slightly.
-
Arrange Creatively: Experiment with different arrangements and designs. Whether you want a single accent stone or a full-blown pattern, plan your design before you start gluing.
Securing the Rhinestones
To ensure your rhinestones stay in place, follow these steps:
-
Add Extra Glue: After placing all your rhinestones, apply a small amount of Makartt Nail Glue around the base of each stone. This will provide extra hold and prevent them from falling off.
-
Seal the Edges: Make sure the edges of the rhinestones are well-sealed with glue. This not only secures them but also adds to the overall durability of your design.
-
Avoid Excess Glue: Be careful not to use too much glue, as it can overflow and affect the appearance of your nail art.
Curing and Finishing Touches
Once all the rhinestones are in place, it’s important to cure the glue properly:
-
Cure Under UV/LED Light: Place your nails under a UV/LED lamp to cure the Makartt Nail Glue. Follow the manufacturer's instructions for the recommended curing time.
-
Apply a Top Coat: Once cured, apply a top coat over the entire nail, including the rhinestones. This not only adds shine but also provides an extra layer of protection.
-
Final Inspection: Check your nails for any glue residues or uneven spots and clean up as necessary for a flawless finish.
Maintenance and Longevity
To keep your rhinestone nail art looking stunning for as long as possible, follow these maintenance tips:
-
Avoid Harsh Chemicals: Household cleaners and other harsh chemicals can weaken the glue. Wear gloves when doing chores.
-
Be Gentle: Avoid using your nails as tools. Be mindful of how you use your hands to prevent knocking off the rhinestones.
-
Regular Touch-Ups: If you notice any rhinestones loosening, reapply a small amount of Makartt Nail Glue to secure them.
When it's time to change your nail design, removing rhinestone nail glue safely is essential:
-
Soak in Acetone: Soak your nails in acetone for about 10-15 minutes to soften the glue.
-
Gently Remove Rhinestones: Use a cuticle pusher or an orange stick to gently lift the rhinestones off your nails.
-
Clean Residues: Remove any remaining glue residues with a nail file or buffer.
Frequently Asked Questions (FAQs)
-
How long does Makartt Nail Glue last? Makartt Nail Glue can last up to two weeks with proper application and care.
-
Can I use Makartt Nail Glue with other nail decorations? Yes, Makartt Nail Glue is versatile and can be used with various nail decorations like sequins and charms.
-
Is super strong rhinestone nail glue safe for natural nails? Yes, when used correctly, it is safe for natural nails and provides a strong, long-lasting hold.
-
What should I do if a rhinestone falls off? Clean the area and reapply a small amount of Makartt Nail Glue to reattach the rhinestone.