How to Achieve Salon-Quality Nails with a Polygel Nail Kit
 Polygel is a hybrid formula that combines the strength of acrylic with the flexibility of gel. Unlike traditional acrylics that require mixing liquid and powder, polygel comes in a pre-mixed, putty-like consistency. This makes it easier to apply and shape, giving you more control over your nail art.
In this comprehensive guide, we'll walk you through the steps to achieve professional polygel nails from the comfort of your home. Whether you're a seasoned nail enthusiast or a beginner, these tips and techniques will help you create stunning, salon-quality polygel nails that last!
Polygel Nail Kit offer numerous benefits over other nail enhancement methods.
Here are some reasons why you should consider using a polygel nail kit:
-
Strength and Durability: Polygel nails are incredibly strong and can withstand daily wear and tear. They are less prone to chipping and breaking compared to traditional acrylics.
-
Lightweight and Comfortable: Polygel nails are lightweight, making them comfortable to wear. They feel more natural on your nails compared to heavy acrylics.
-
Flexible and Easy to Shape: The putty-like consistency of polygel makes it easy to shape and mold, allowing you to create intricate designs and perfect nail shapes.
-
Odorless and Low Heat: Unlike acrylics, polygel nails are odorless and produce minimal heat during curing, making the application process more pleasant.
How to Achieve Salon-Quality Nails with a Polygel Nail Kit
Step 1: Gather Your Supplies
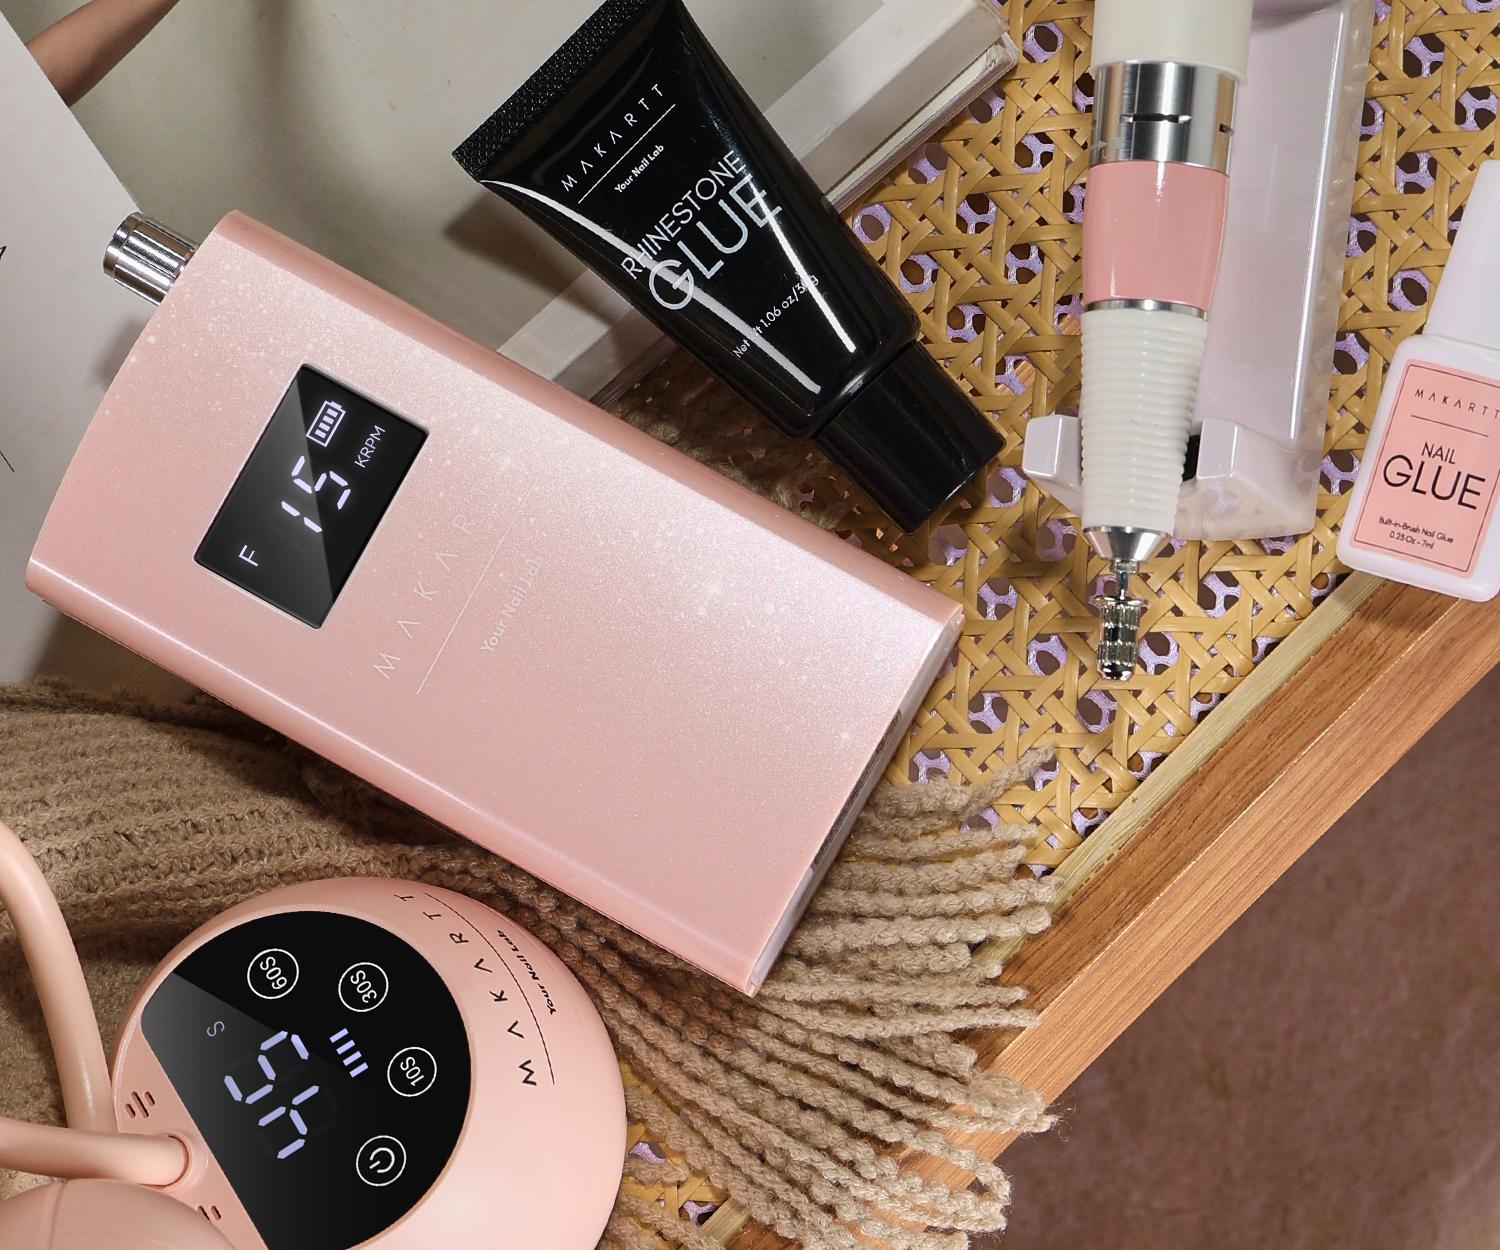
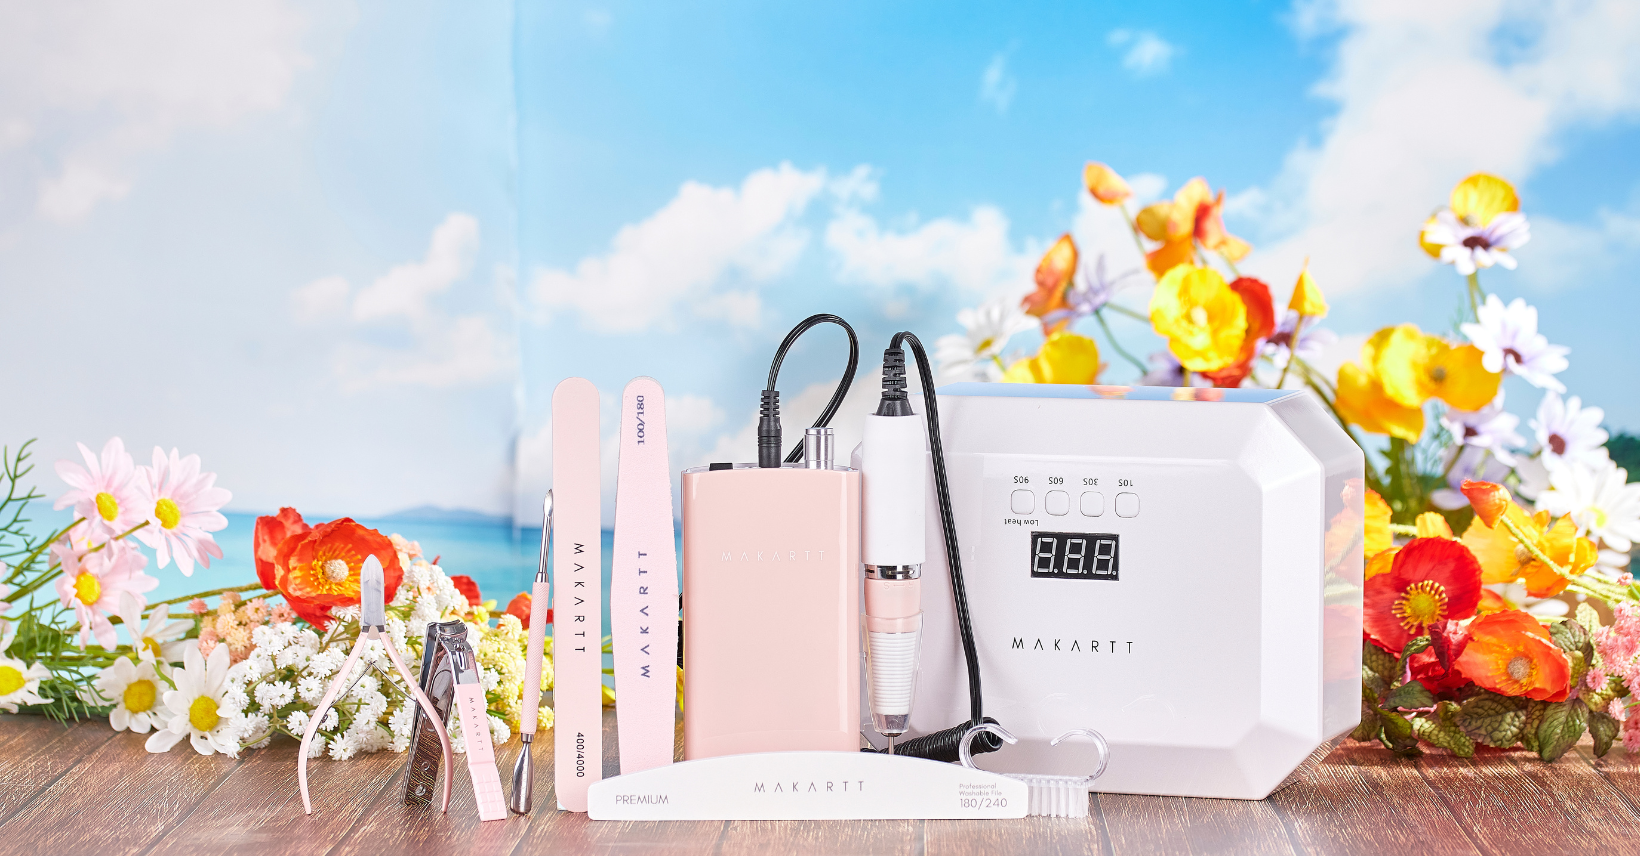
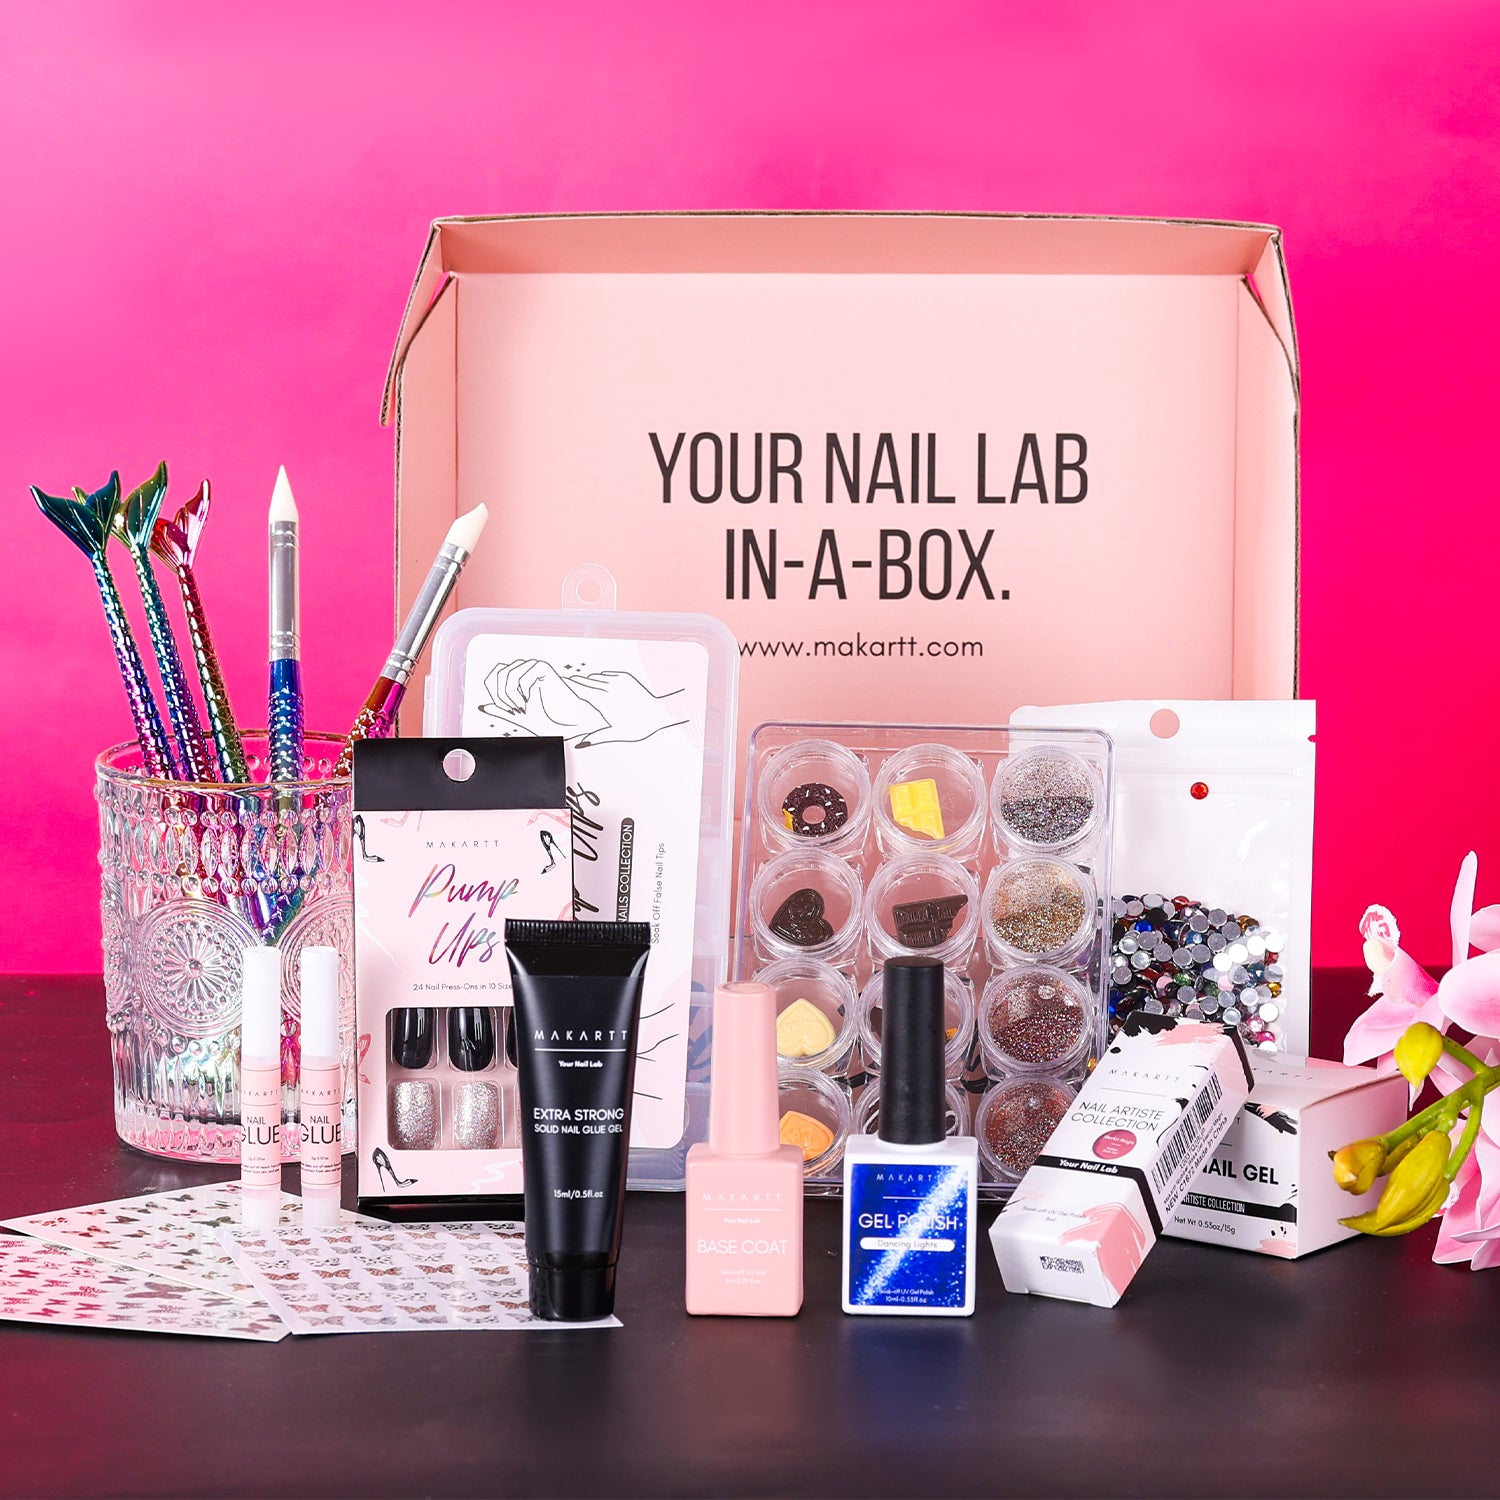
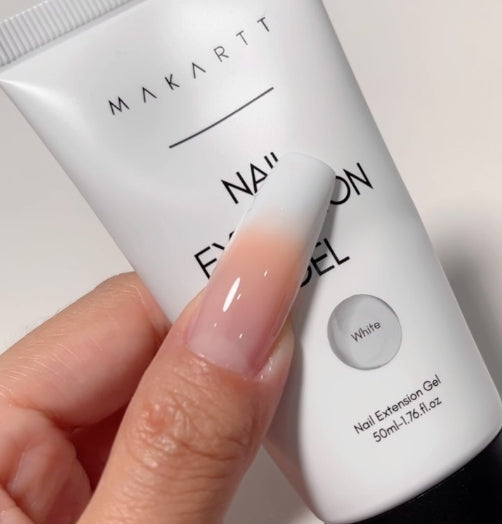
Before you begin, ensure you have all the necessary tools and products. A typical polygel nail kit includes: Click HERE to find out Makartt All-in-one Polygel Nail Kit
- Polygel
- Dual forms or nail forms
- Slip solution
- Nail file and buffer
- Base coat and top coat
- UV/LED lamp
- Nail brush
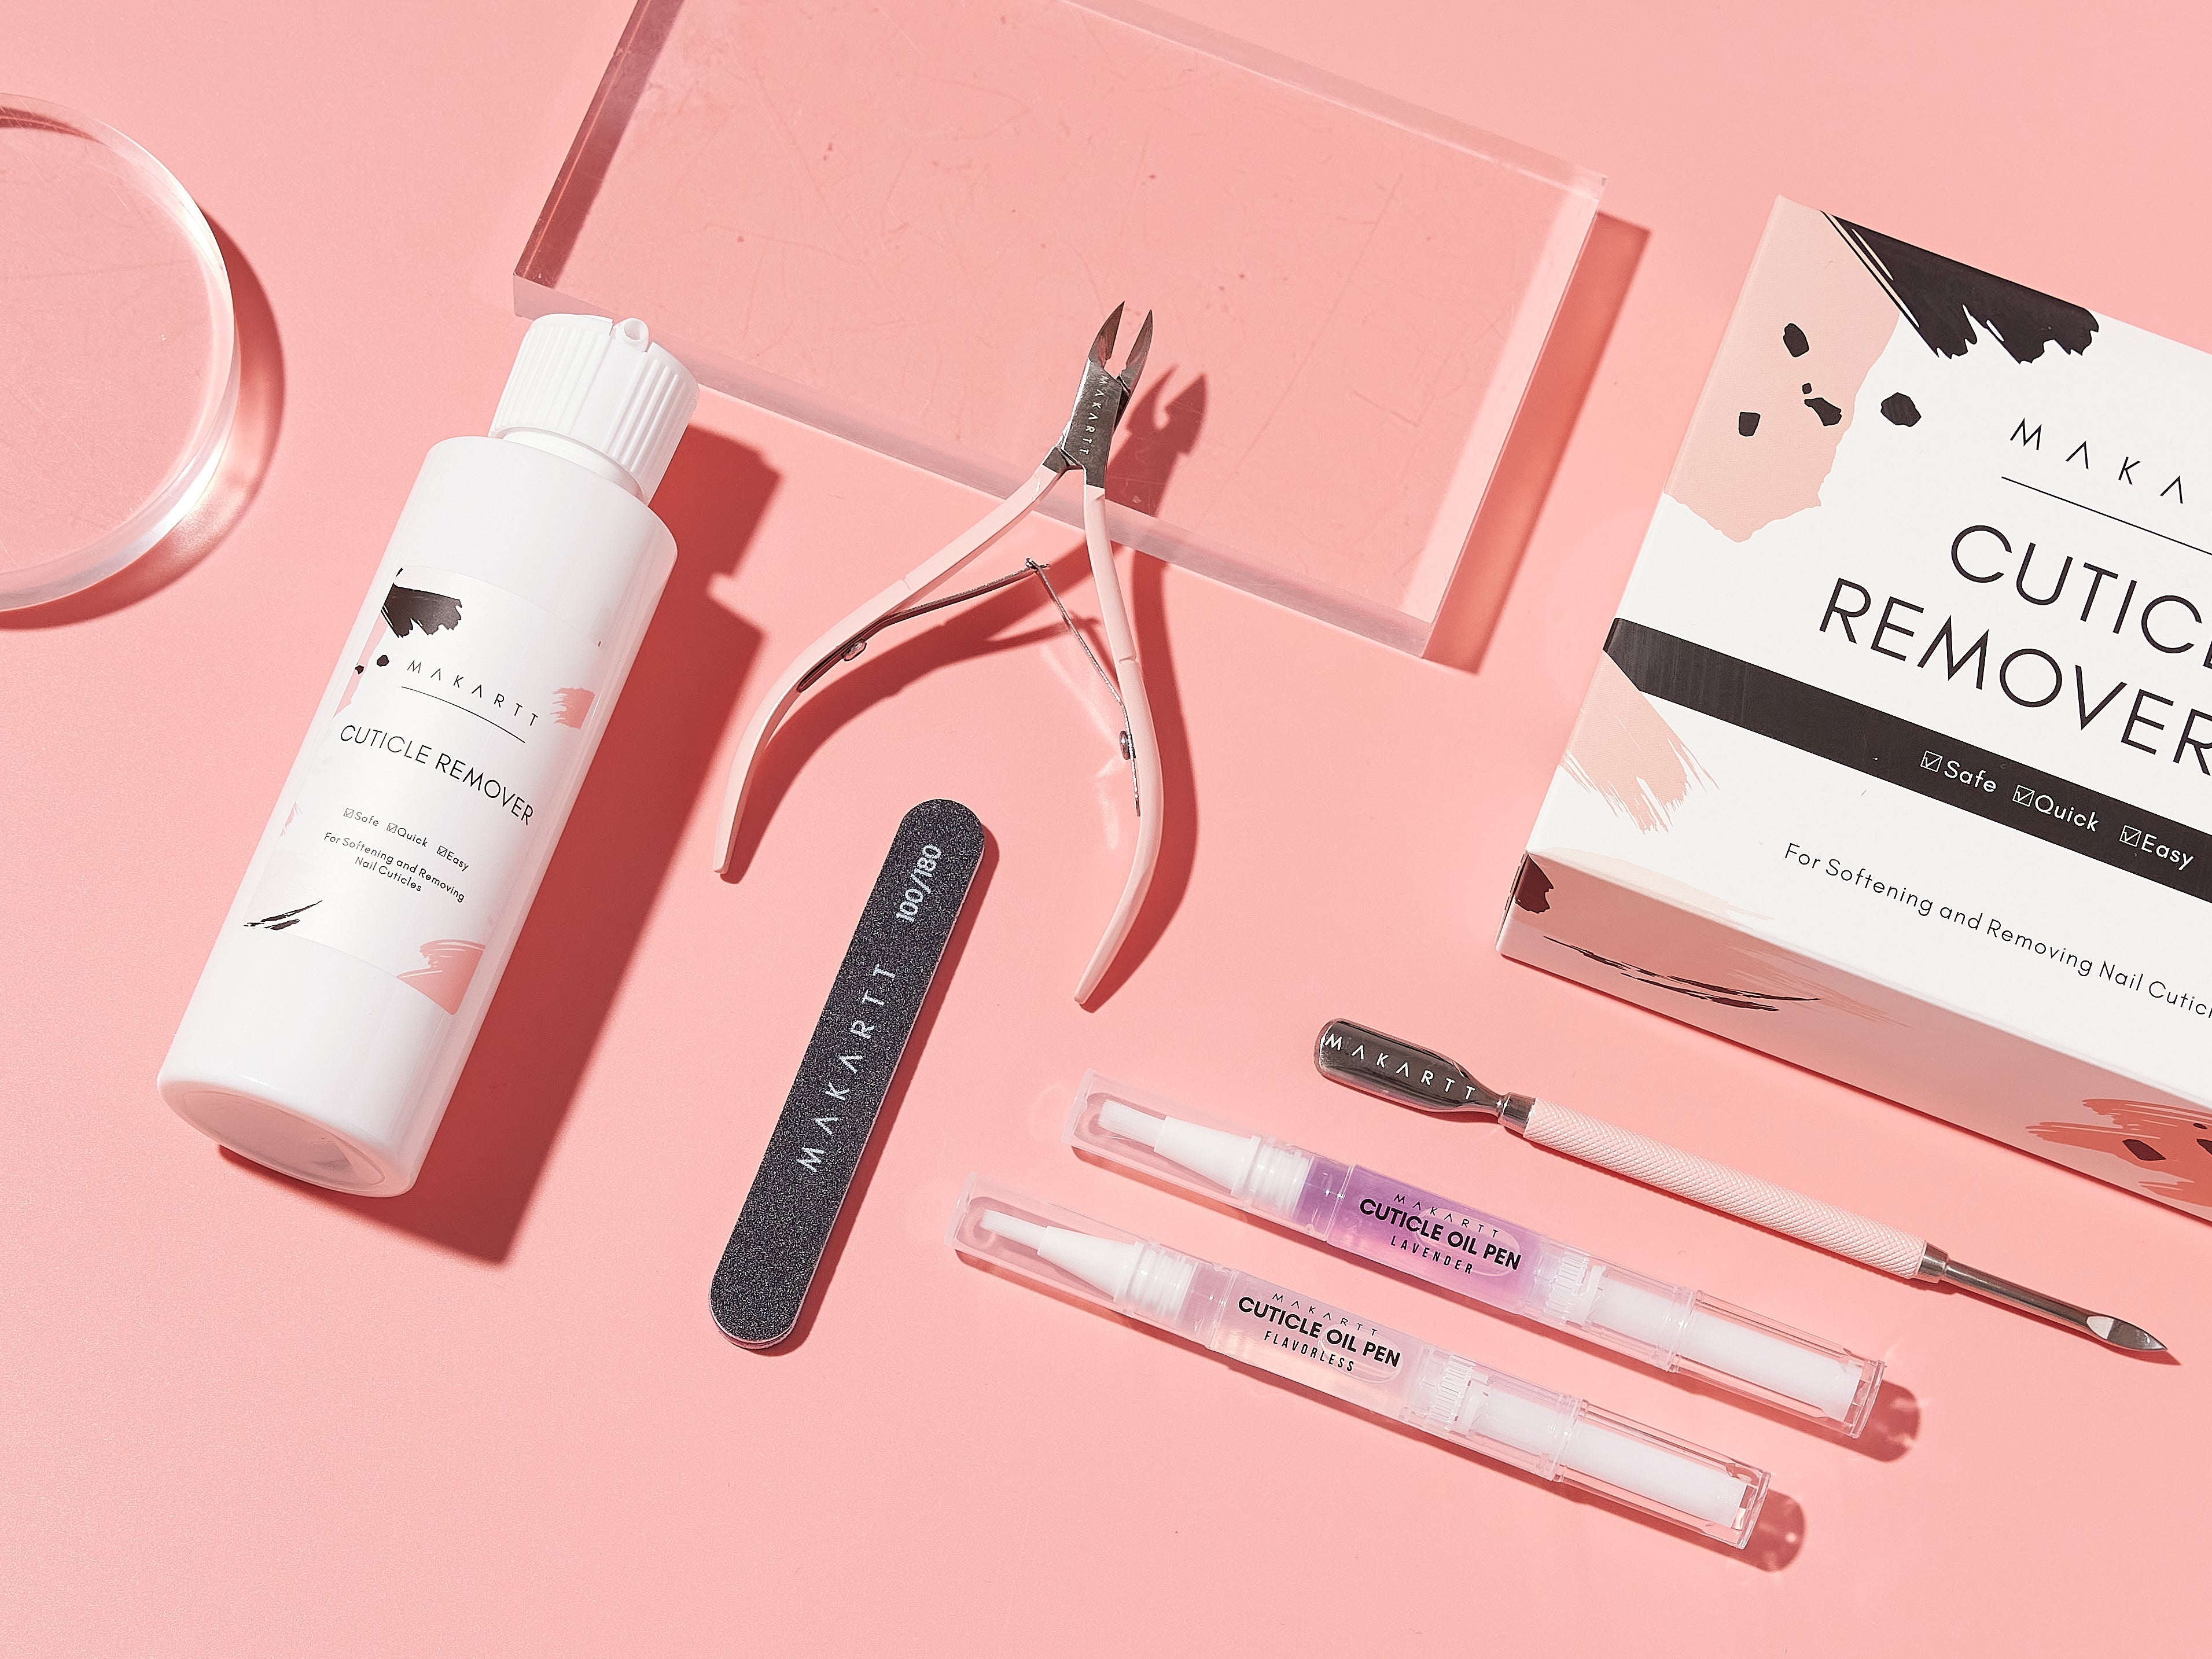
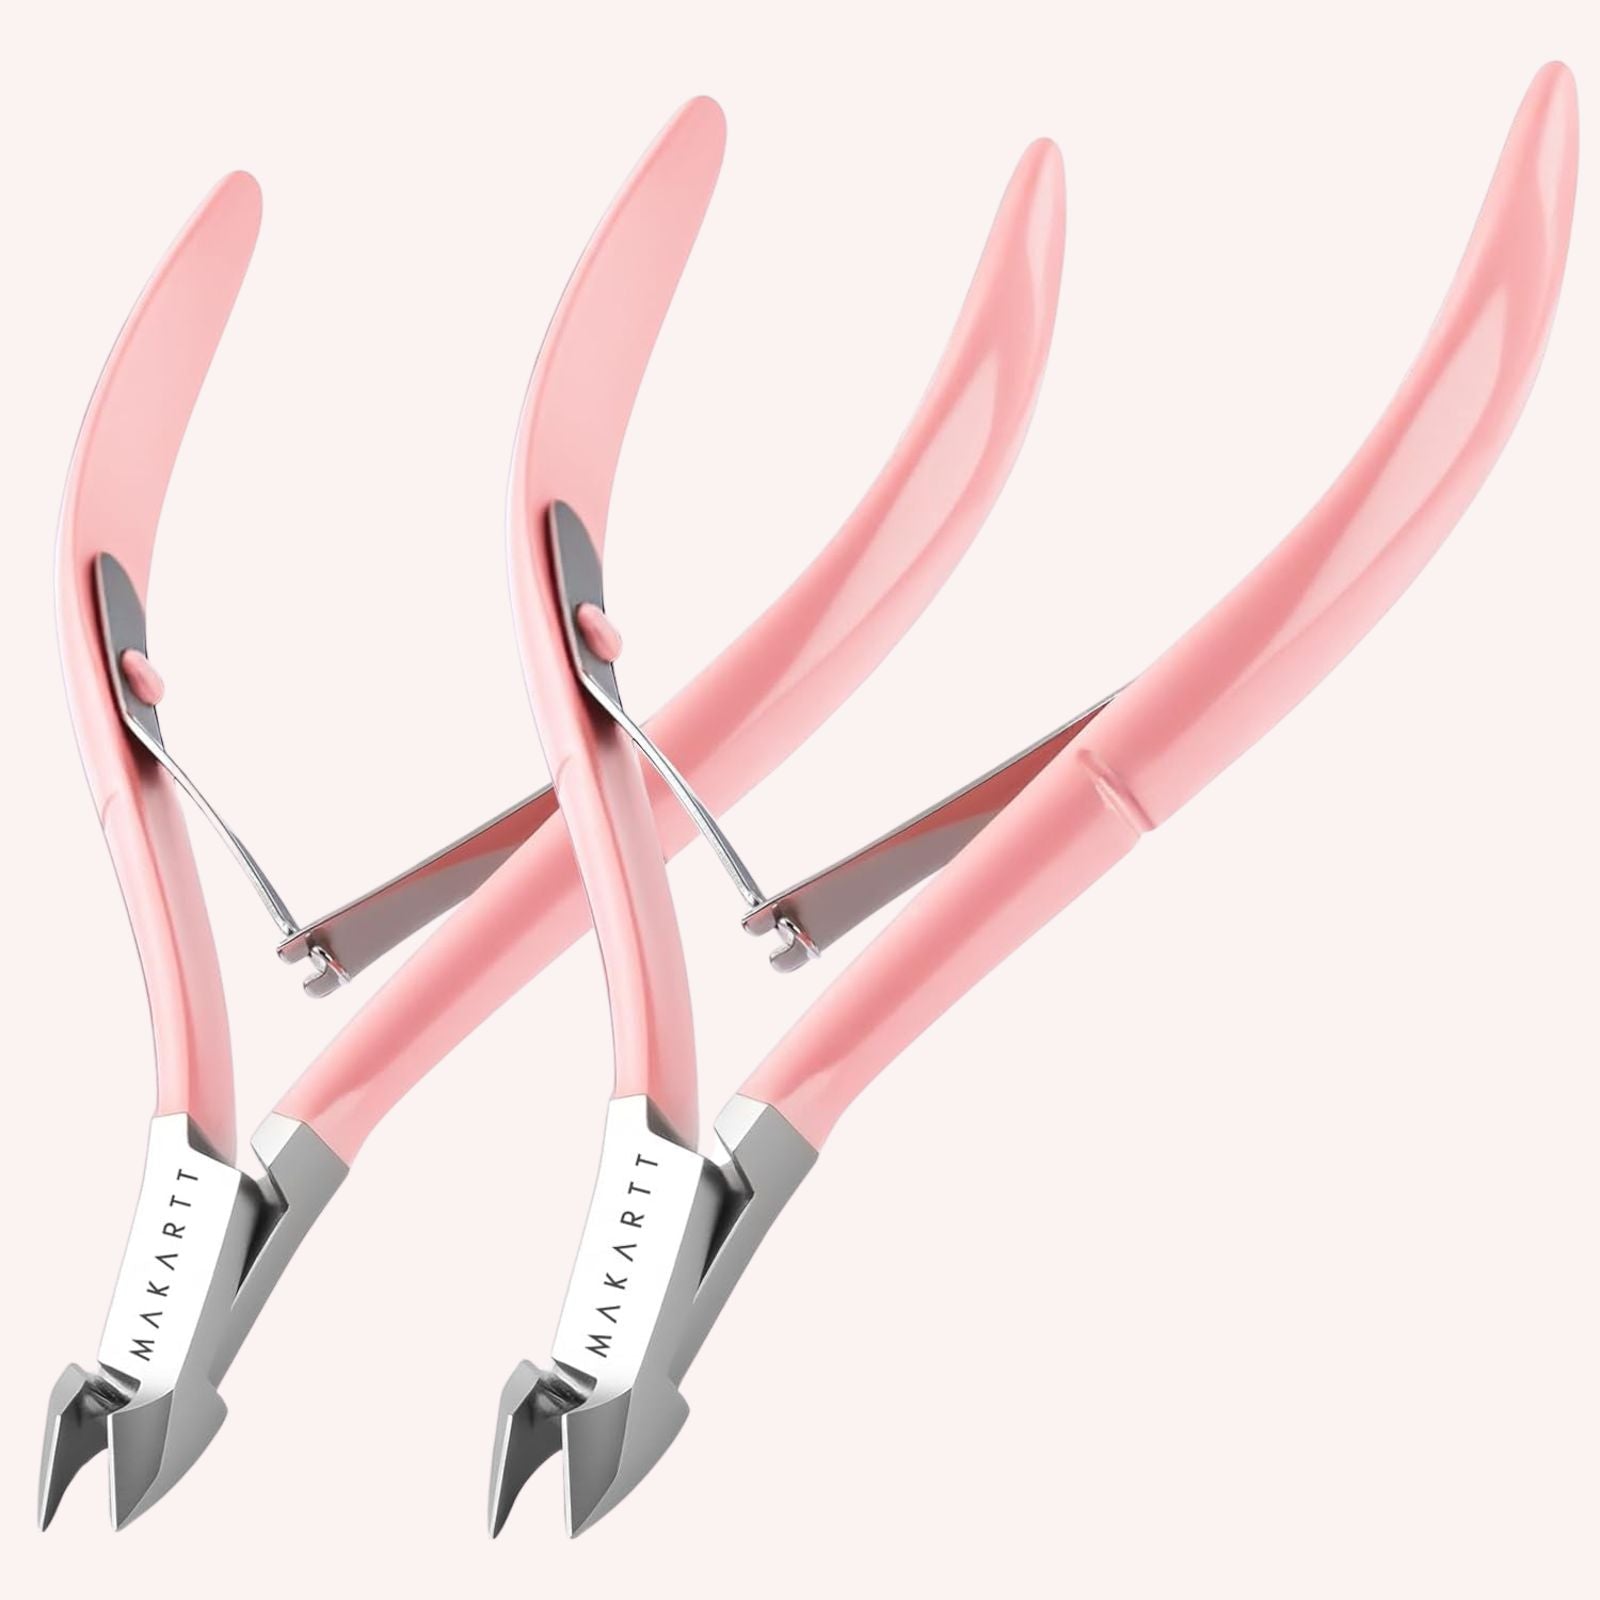
- Cuticle pusher
Step 2: Prepare Your Nails
Preparation is key to achieving salon-quality polygel nails. Follow these steps to prepare your nails:
-
Clean Your Nails: Start by removing any old polish and cleaning your nails thoroughly. Use a gentle nail polish remover to ensure your nails are free of any residue.
-
Shape and Buff: Use a nail file to shape your nails to your desired length and shape. Then, gently buff the surface of your nails to remove any shine. This helps the polygel adhere better.
-
Push Back Cuticles: Use a cuticle pusher to gently push back your cuticles. This creates a clean canvas for your polygel application.
Step 3: Apply Base Coat
Apply a thin layer of base coat to your nails. This step is crucial as it helps the polygel adhere to your natural nails and prevents lifting. Cure the base coat under a UV/LED lamp for the recommended time, usually around 30-60 seconds.
Step 4: Apply Polygel
Now it's time to apply the polygel. Follow these steps for a flawless application:
-
Squeeze Polygel onto Dual Form: Squeeze a small amount of polygel onto a dual form or nail form. The amount you need will depend on the length and thickness you desire.
-
Shape the Polygel: Dip your brush into the slip solution to prevent the polygel from sticking. Use the brush to shape and smooth the polygel on the dual form. Ensure an even application, focusing on the cuticle area and the edges.
-
Apply to Nail: Gently press the dual form with the polygel onto your natural nail. Make sure it's aligned correctly and press firmly to ensure a snug fit.
-
Cure Under Lamp: Cure the polygel under a UV/LED lamp for the recommended time, typically 60-90 seconds. Ensure all sides are properly cured.
Step 5: Remove Dual Form
Once the polygel is fully cured, gently remove the dual form by rocking it back and forth. The polygel should remain on your nail, forming a smooth and sturdy extension.
Step 6: Shape and Buff
Use a nail file to refine the shape of your polygel nails. Smooth out any rough edges and shape them to your desired style. Then, use a buffer to create a smooth surface.
Step 7: Apply Top Coat
Apply a thin layer of top coat to seal and protect your polygel nails. Cure the top coat under a UV/LED lamp for the recommended time. This step adds shine and durability to your nails.
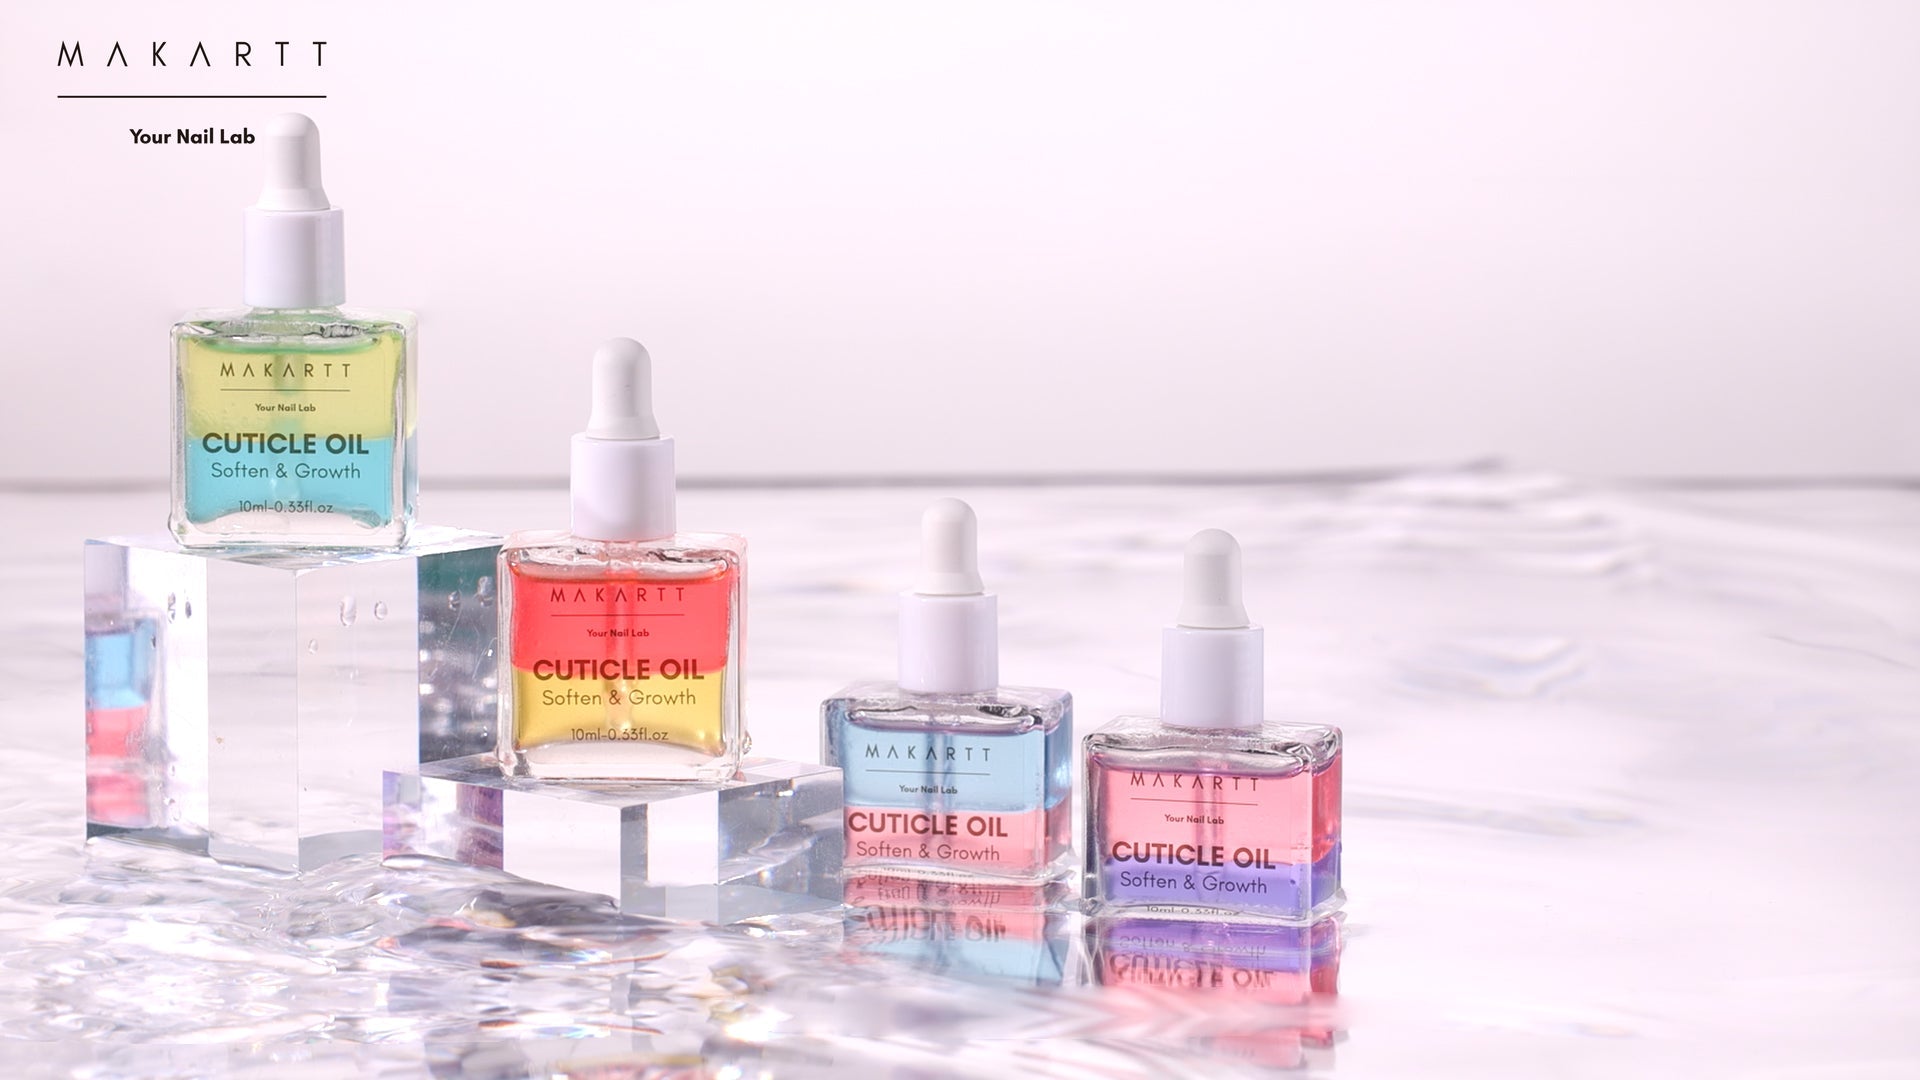
Step 8: Finish with Cuticle Oil
Complete your manicure by applying cuticle oil to nourish and hydrate your cuticles. This helps maintain the health of your nails and adds a professional touch to your manicure.
Tips for Achieving Professional Polygel Nails
-
Practice Makes Perfect: Don't be discouraged if your first few attempts aren't perfect. Practice and patience are key to mastering polygel application.
-
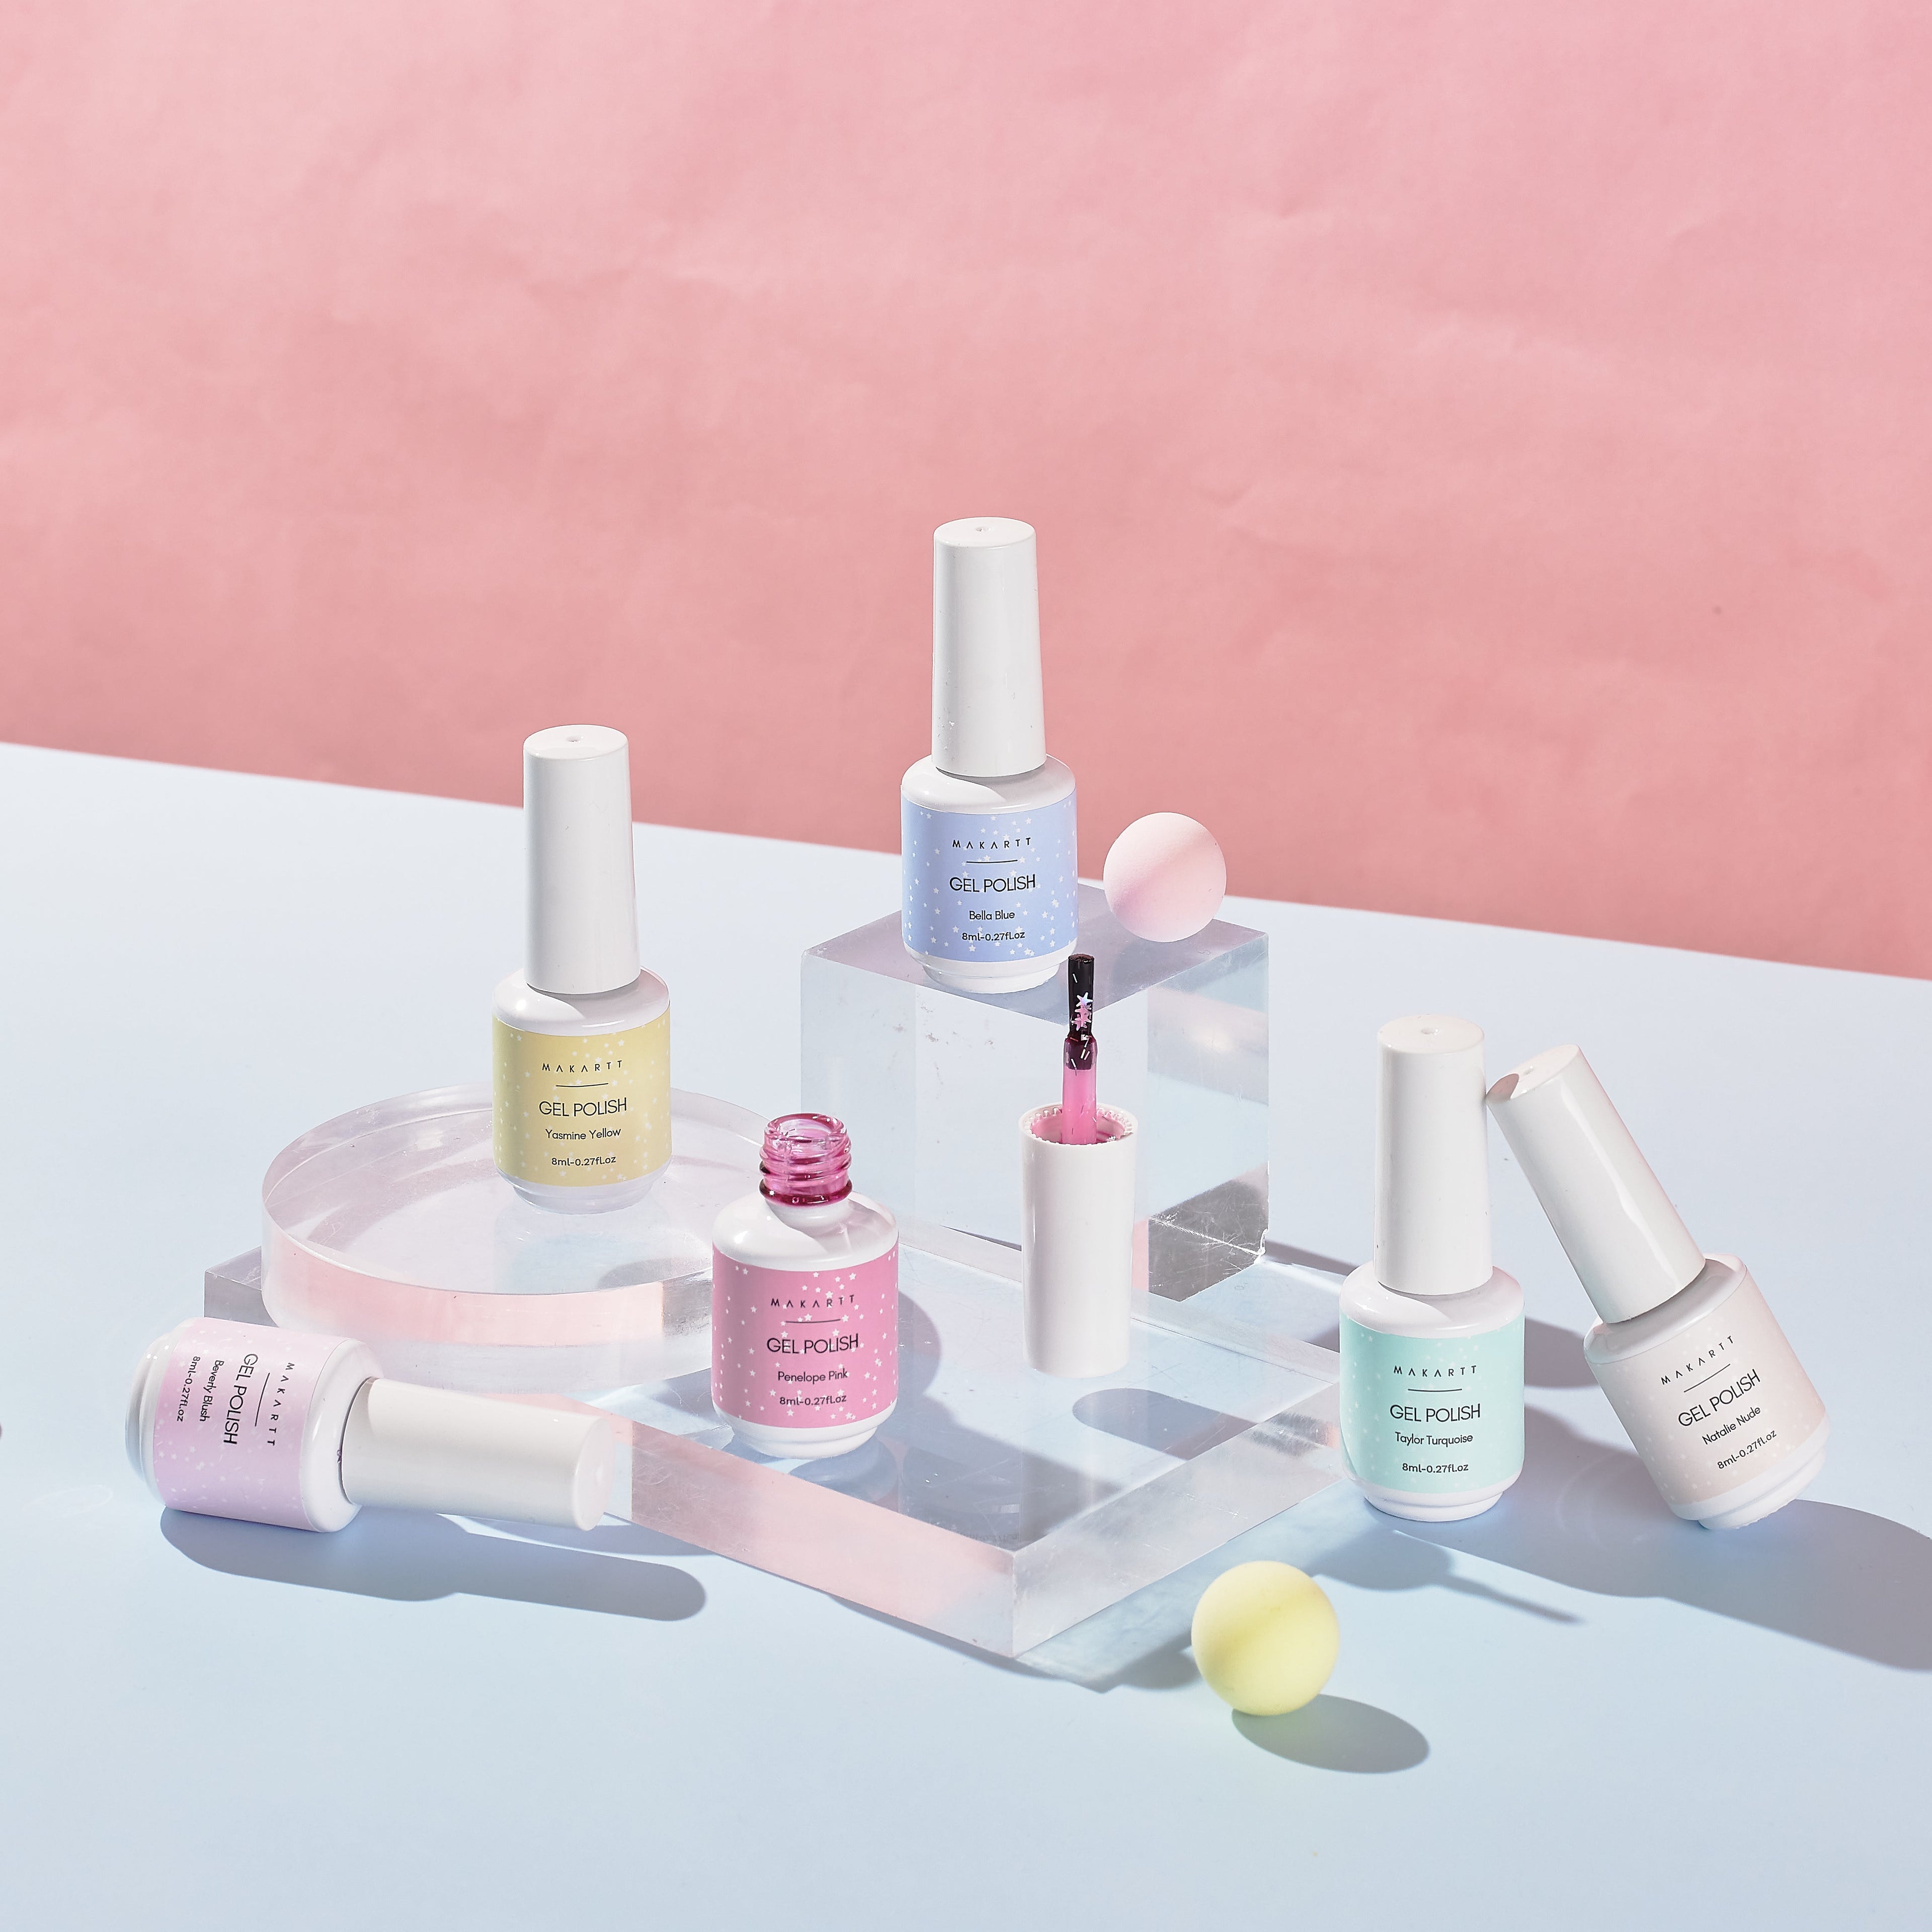
Use High-Quality Products: Invest in a high-quality polygel nail kit for the best results. Products like Makartt, Gelish, and Modelones are popular choices among nail enthusiasts.
-
Keep Your Tools Clean: Clean your brushes and tools after each use to prevent product buildup and ensure a smooth application.
-
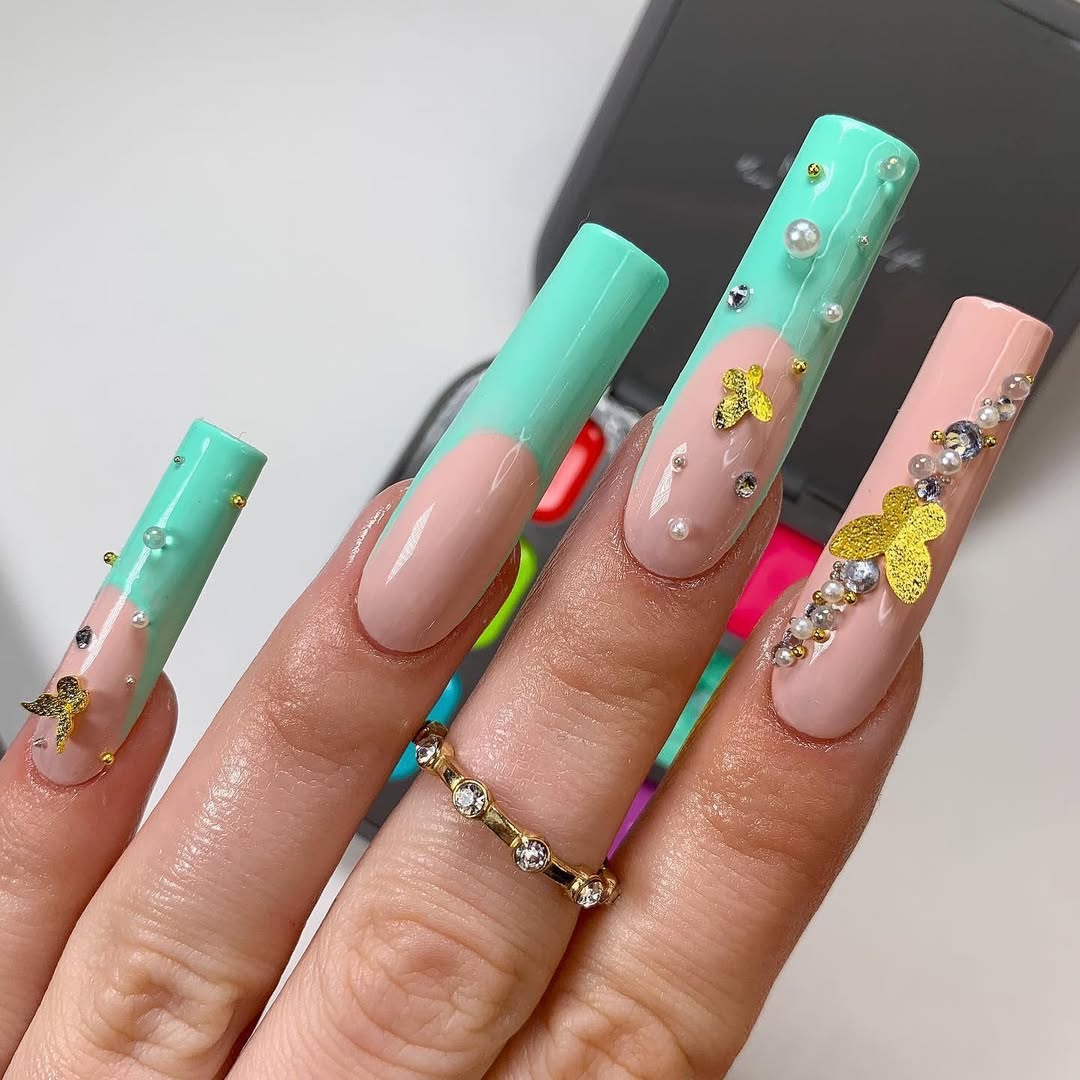
Experiment with Designs: Polygel nails offer endless possibilities for creativity. Experiment with different shapes, lengths, and nail art designs to find what you love.
-
Maintain Your Nails: Regularly apply cuticle oil and avoid using your nails as tools to prolong the life of your polygel nails.

Achieving salon-quality nails with a polygel nail kit is easier than you might think. By following these steps and tips, you can create professional polygel nails that are durable, beautiful, and uniquely yours.
Embrace the versatility of polygel and let your creativity shine through your nails. With practice and the right tools, you'll be able to enjoy stunning, salon-quality nails from the comfort of your home. Happy nail designing!
Share