Autumn Glam: Try Rhinestones and 3D Sculpture Gel in Your Fall Nail Designs
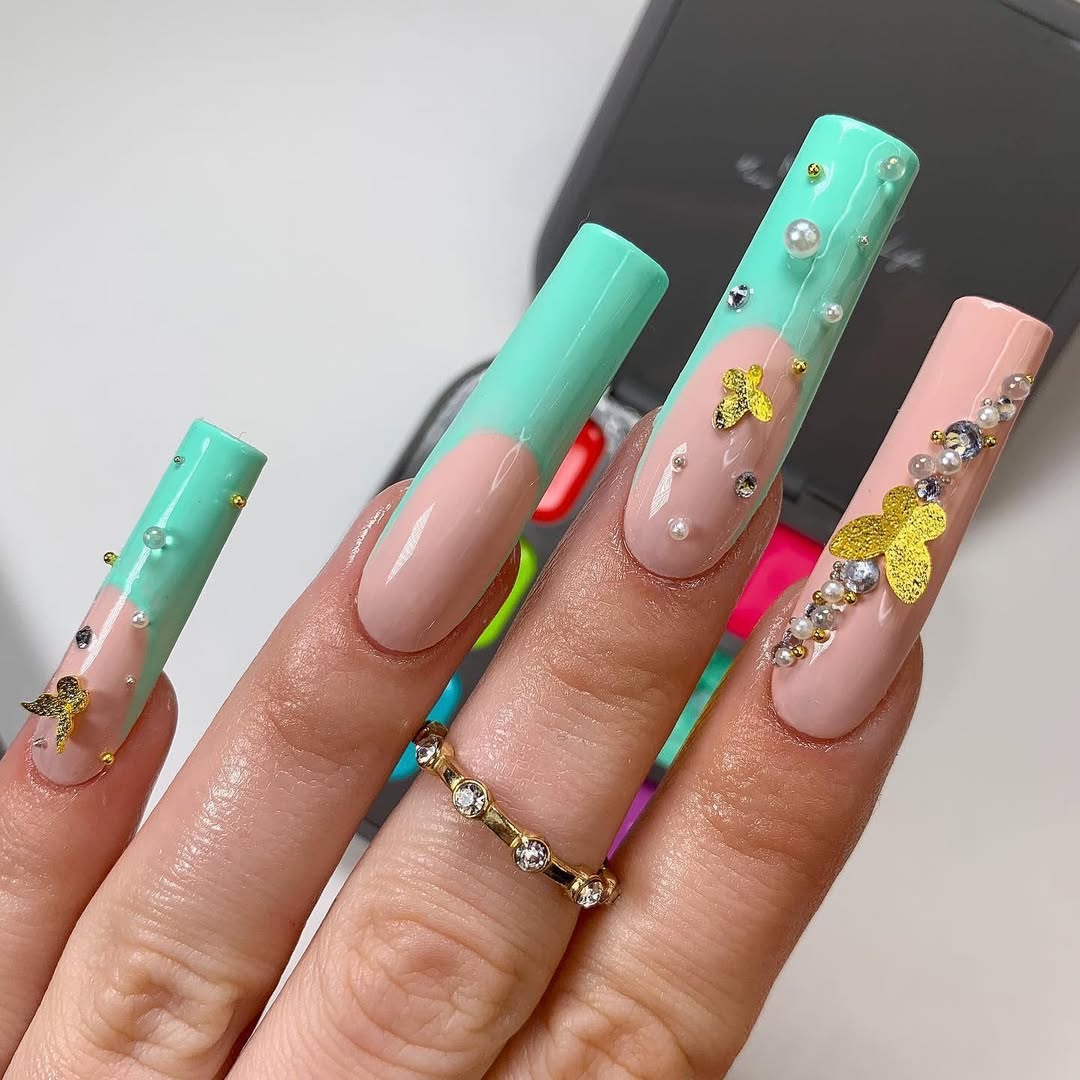
Rhinestones bring a dazzling, glamorous touch to any nail design, while 3D sculpture gel allows you to create intricate, elevated patterns and textures. When combined, these two tools give you the freedom to create unique, eye-catching designs that reflect the bold and rich hues of autumn. Think of golden leaves, shimmering accents, and sculpted pumpkins—rhinestones and 3D sculpture gel can make these designs come to life.
Tools You’ll Need for Your Fall Nail Designs
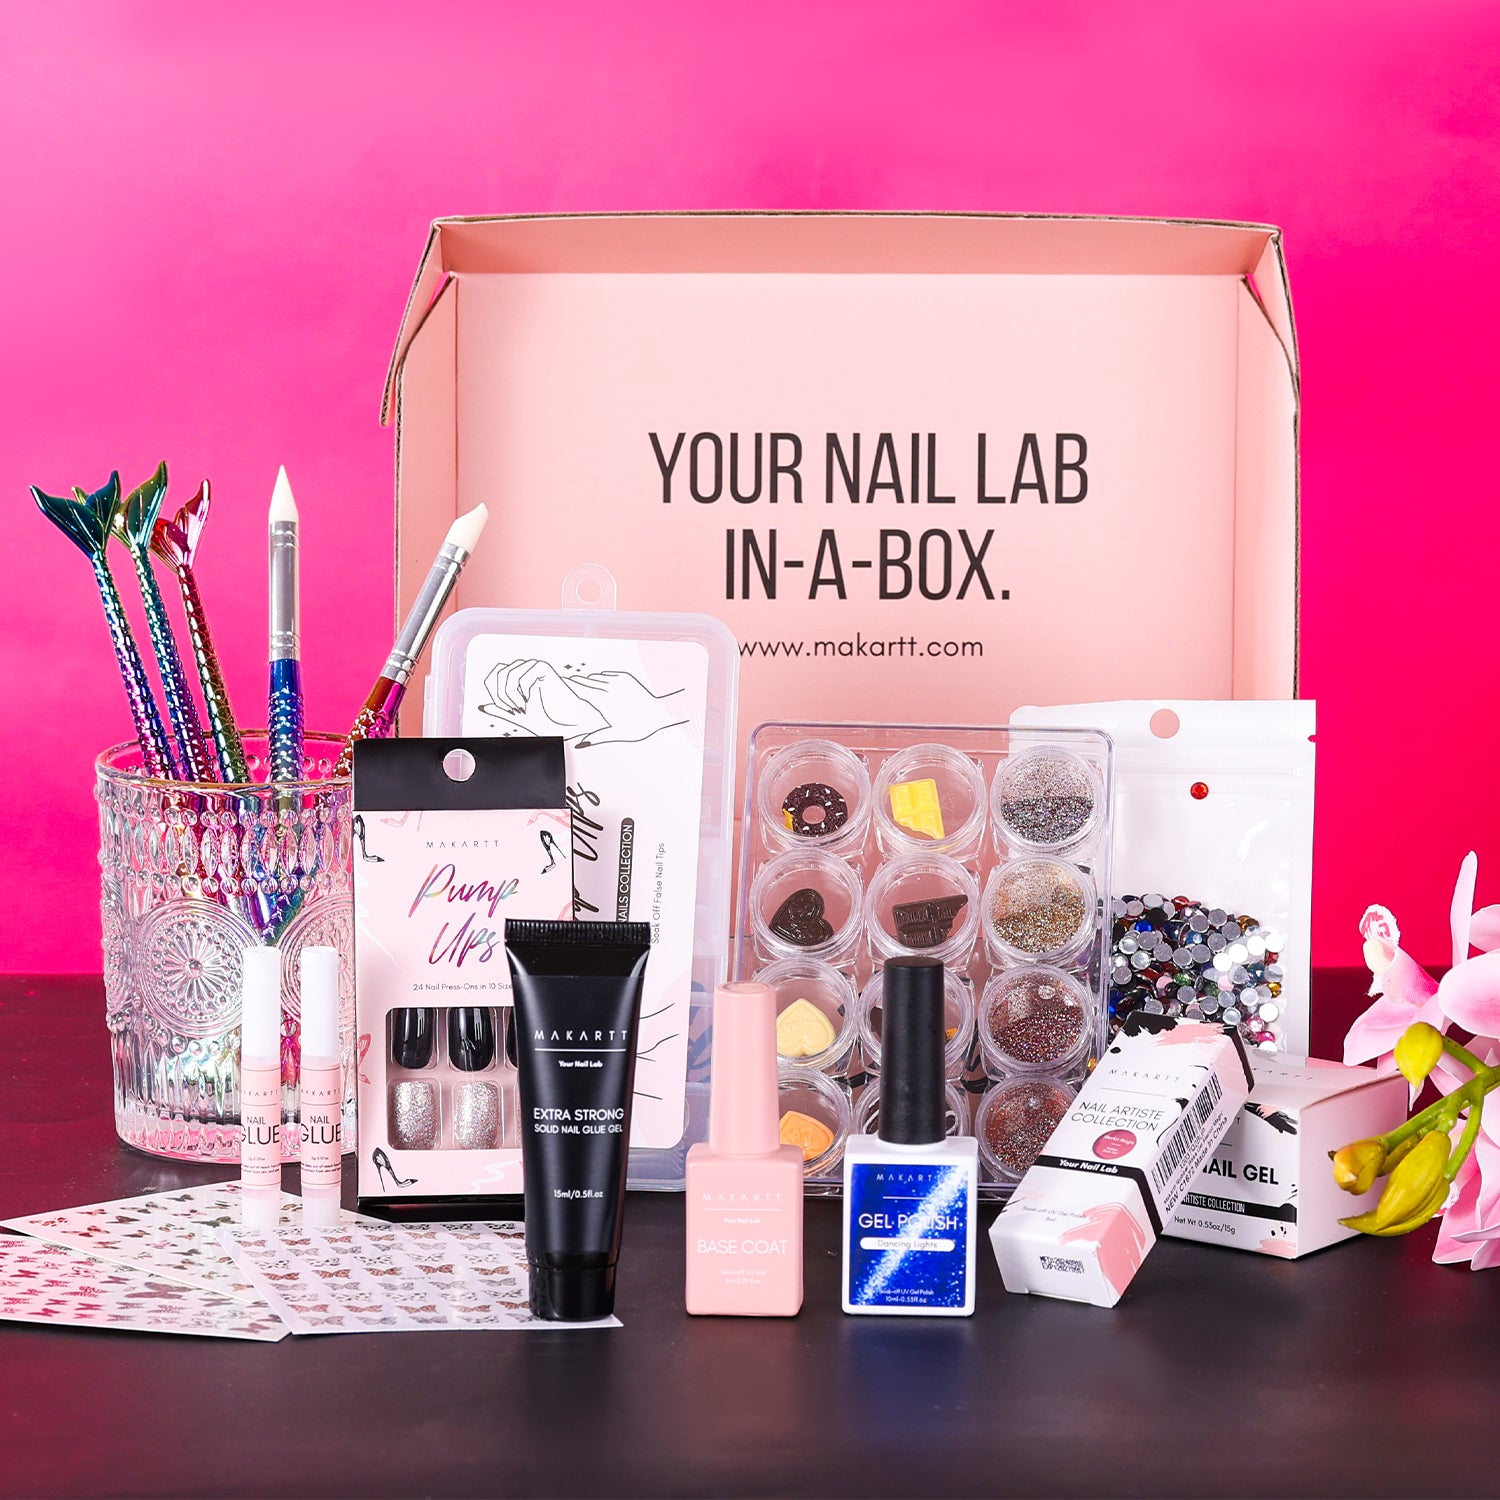
To get started on your autumn-inspired rhinestone and 3D sculpture gel nails, you’ll need the following tools:
- 3D Sculpture Gel – A versatile gel that allows you to mold and create raised designs on your nails. It’s perfect for adding texture and dimension.
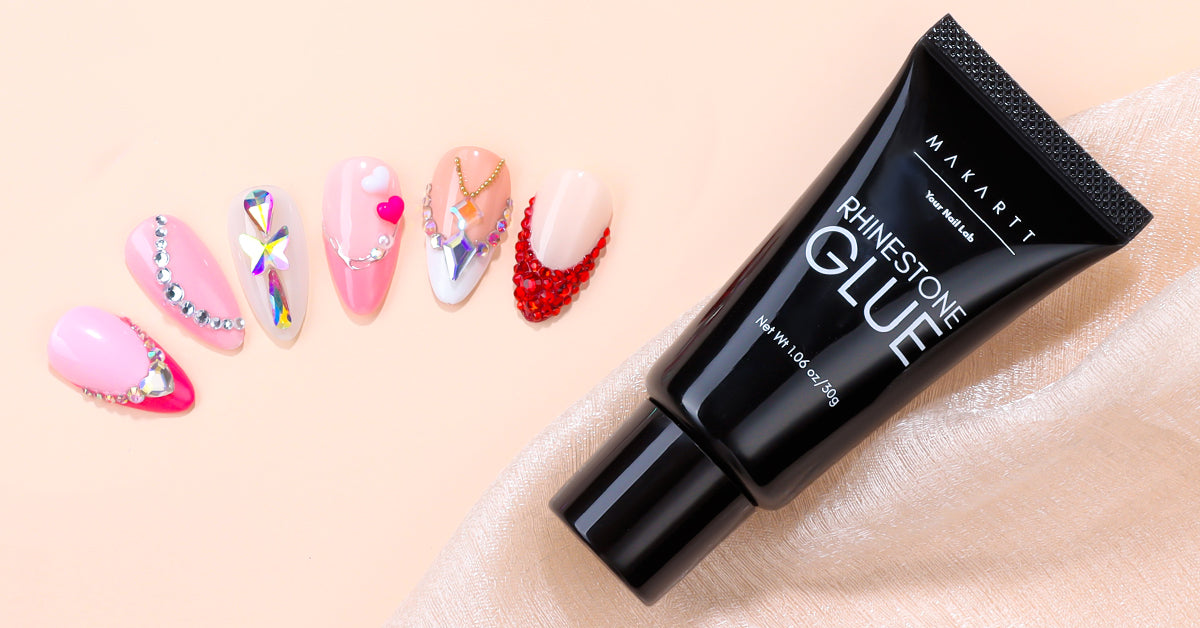
- Rhinestones – Available in a variety of shapes, sizes, and colors to add sparkle and glam to your designs.
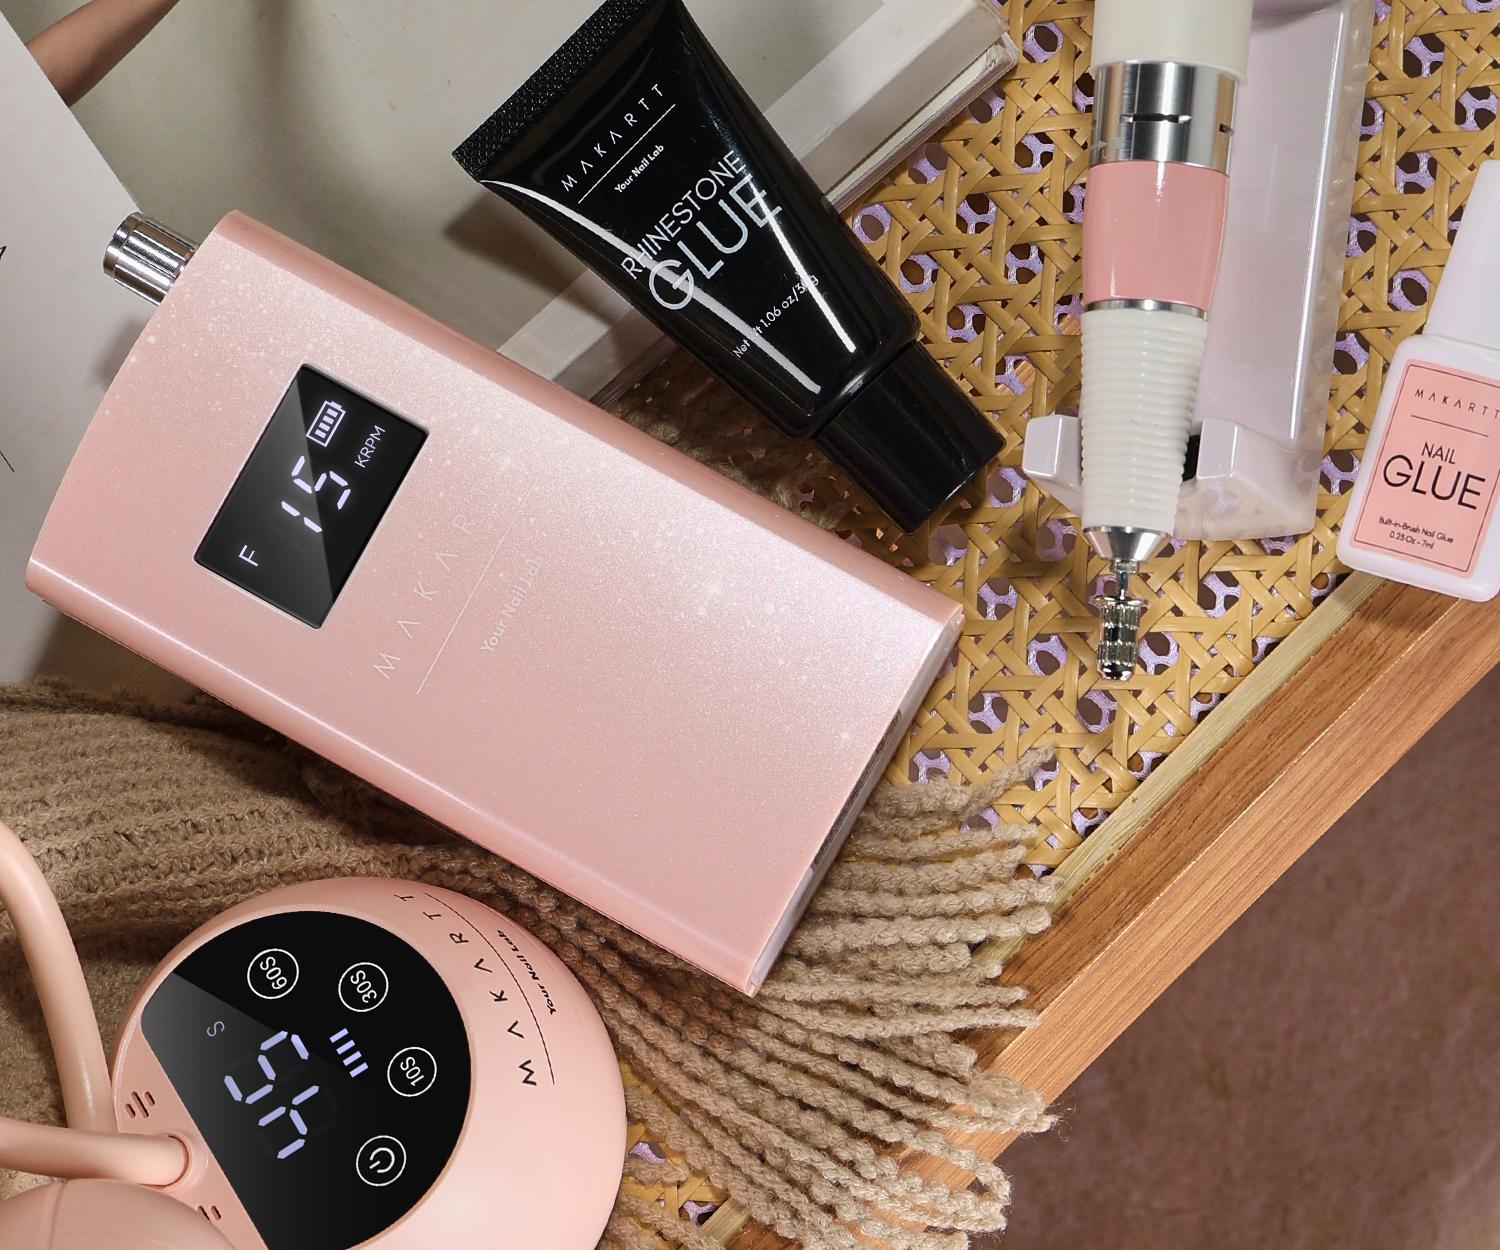
- Rhinestone Glue – A strong adhesive designed specifically for securing rhinestones to your nails without the risk of falling off.
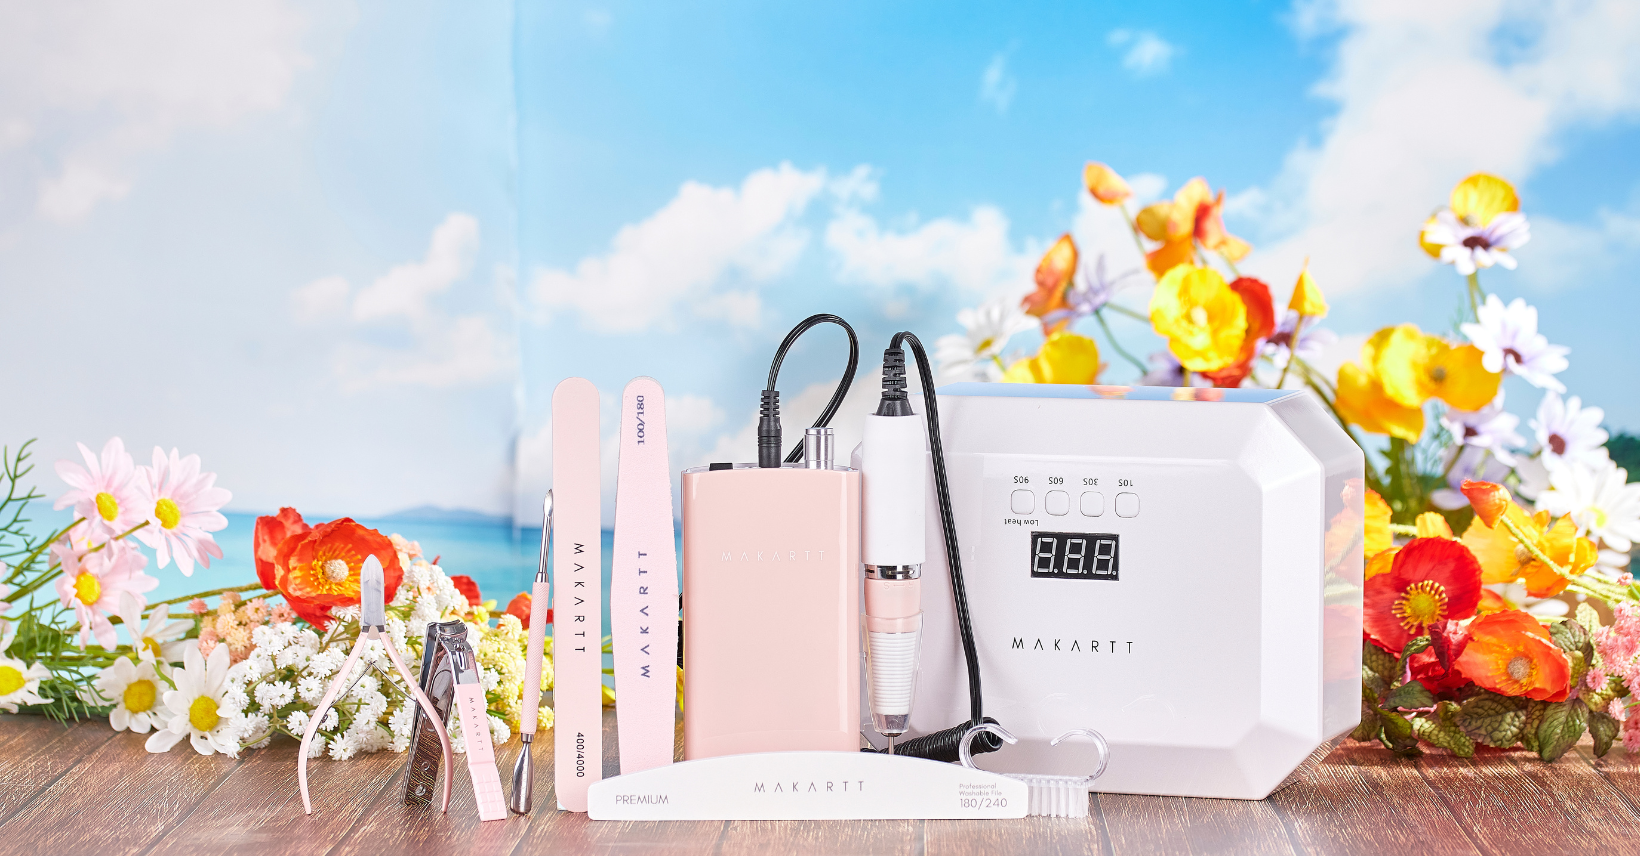
- Nail Drill – This tool helps in preparing the nail surface, ensuring that it’s smooth for gel application and strong enough to support the design.
- UV/LED Lamp – Necessary for curing both the 3D sculpture gel and rhinestone glue, ensuring the design sets firmly and lasts longer.
- 3-in-1 Top Coat – Used to seal the design and add a high-gloss finish, protecting the rhinestones and 3D elements from wear and tear.
- Nail Brushes – Essential for precise application of 3D sculpture gel, allowing you to sculpt fine details.
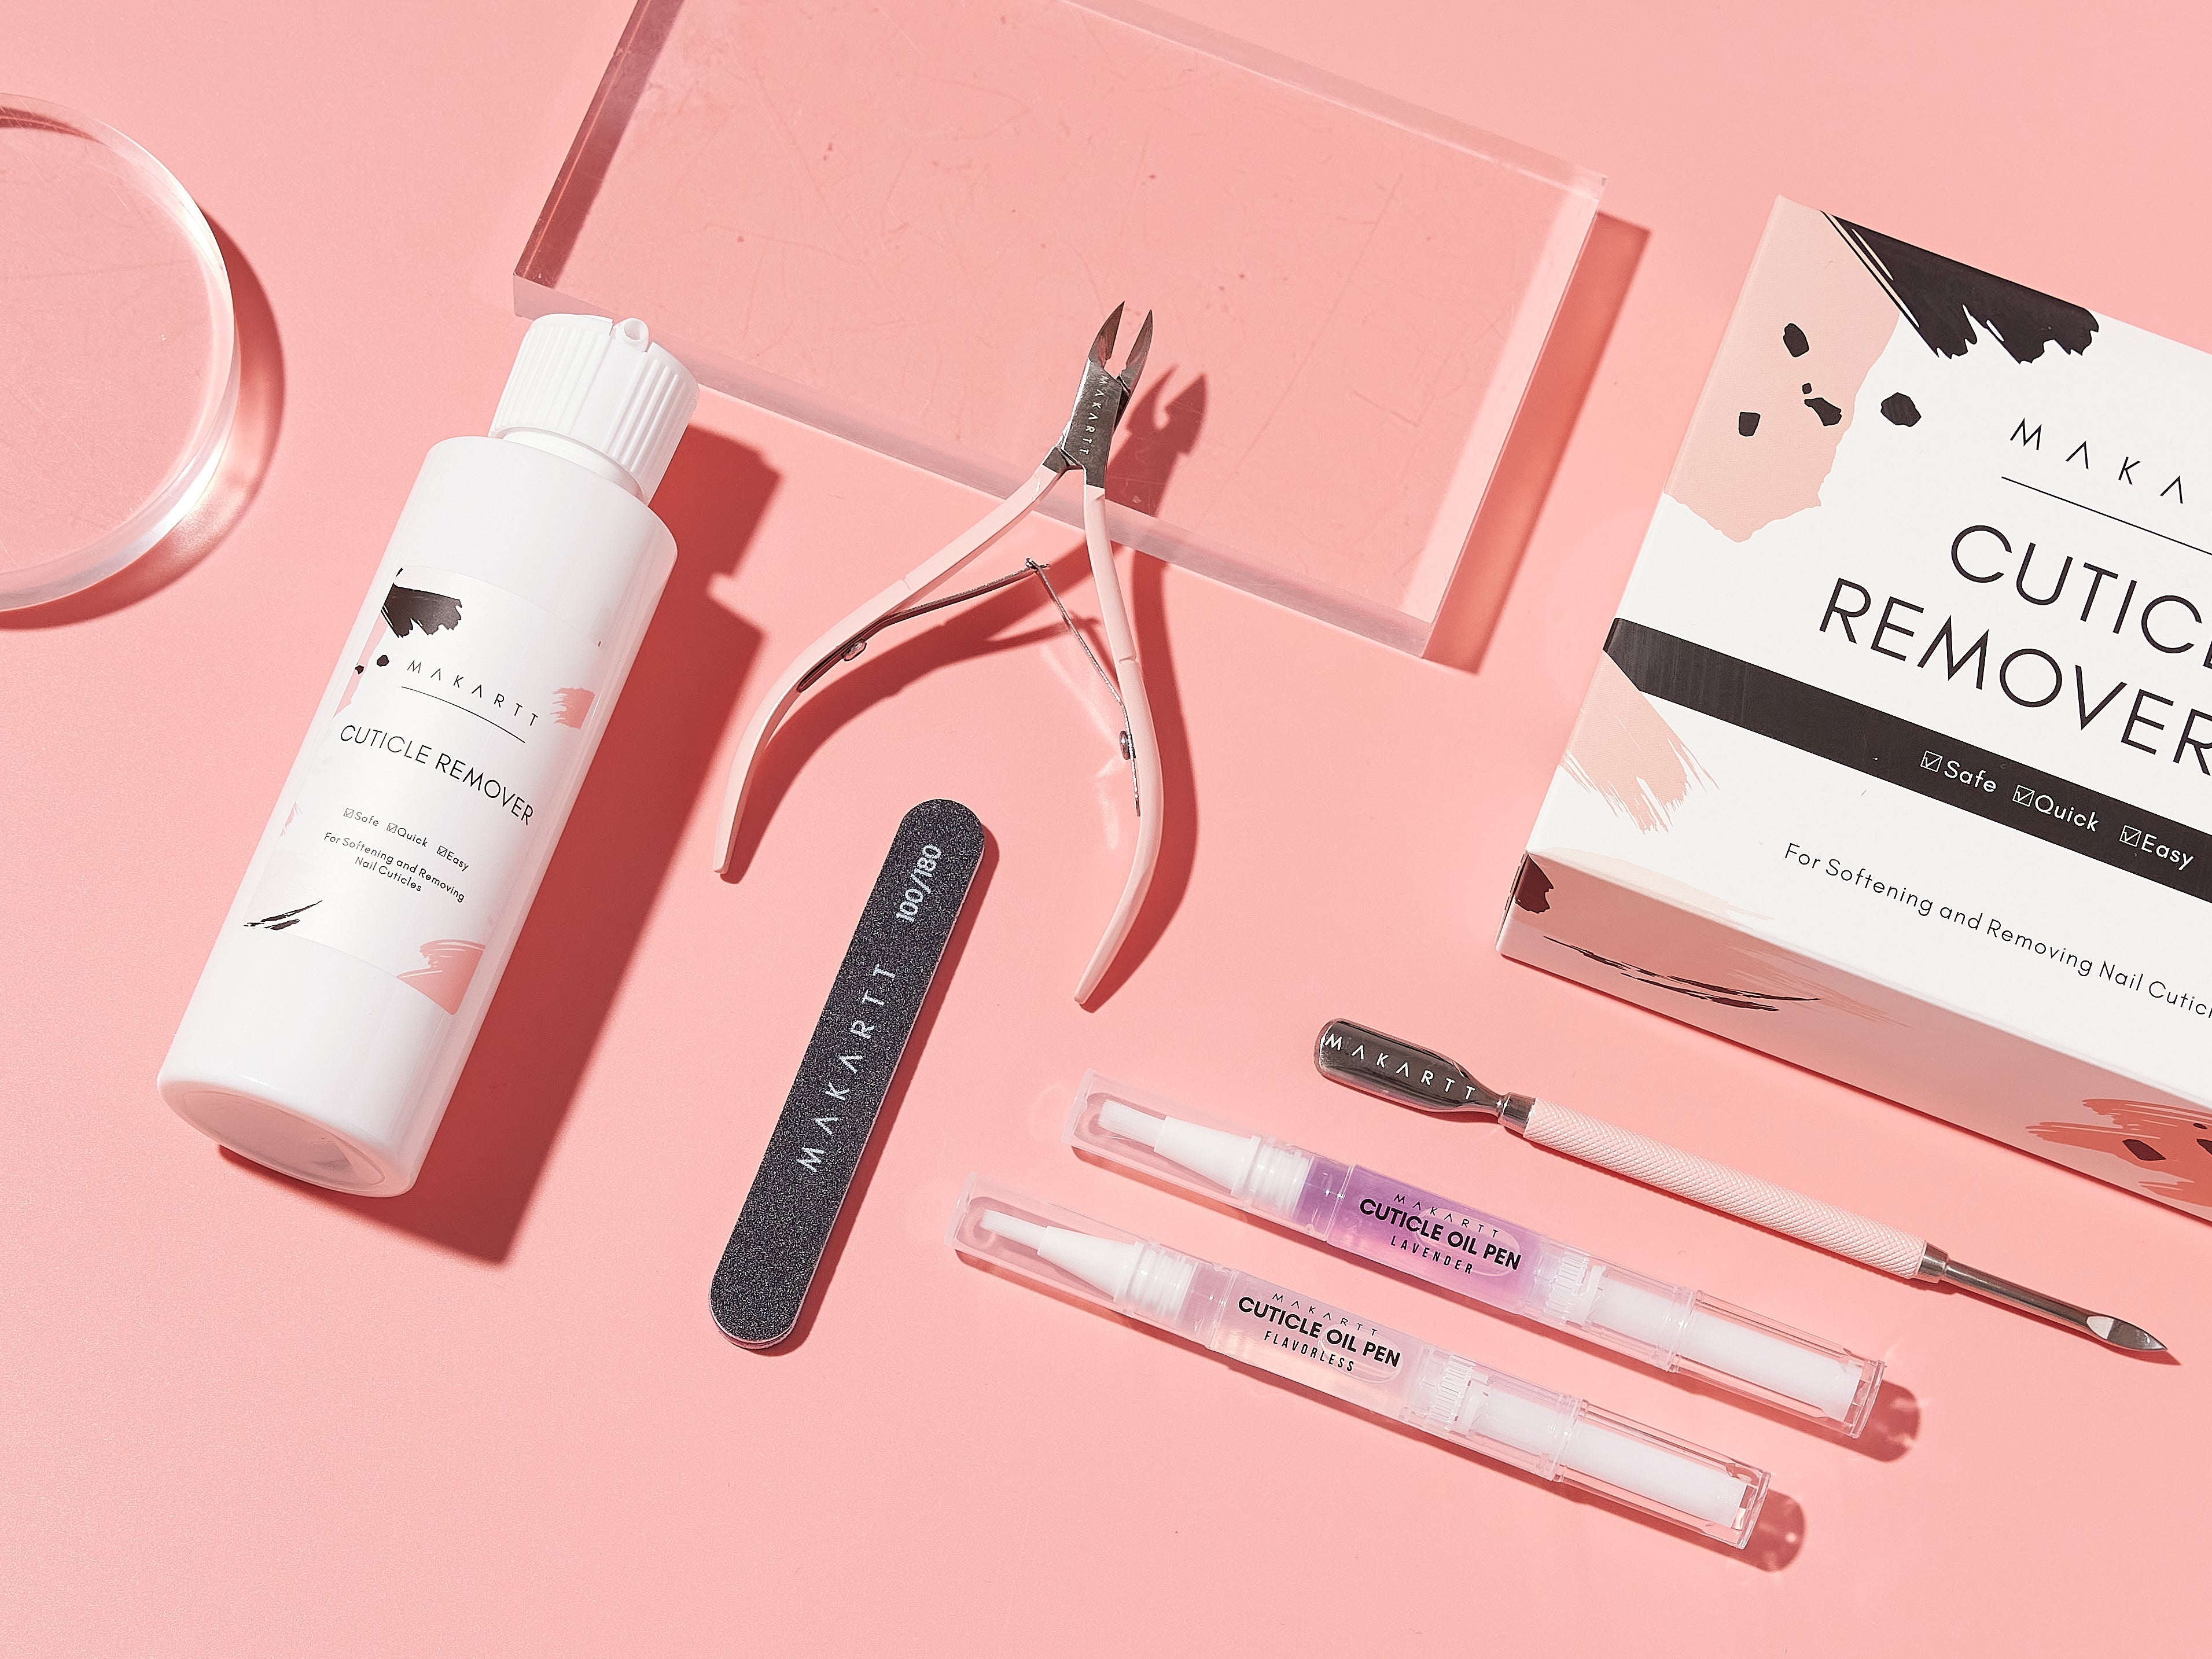
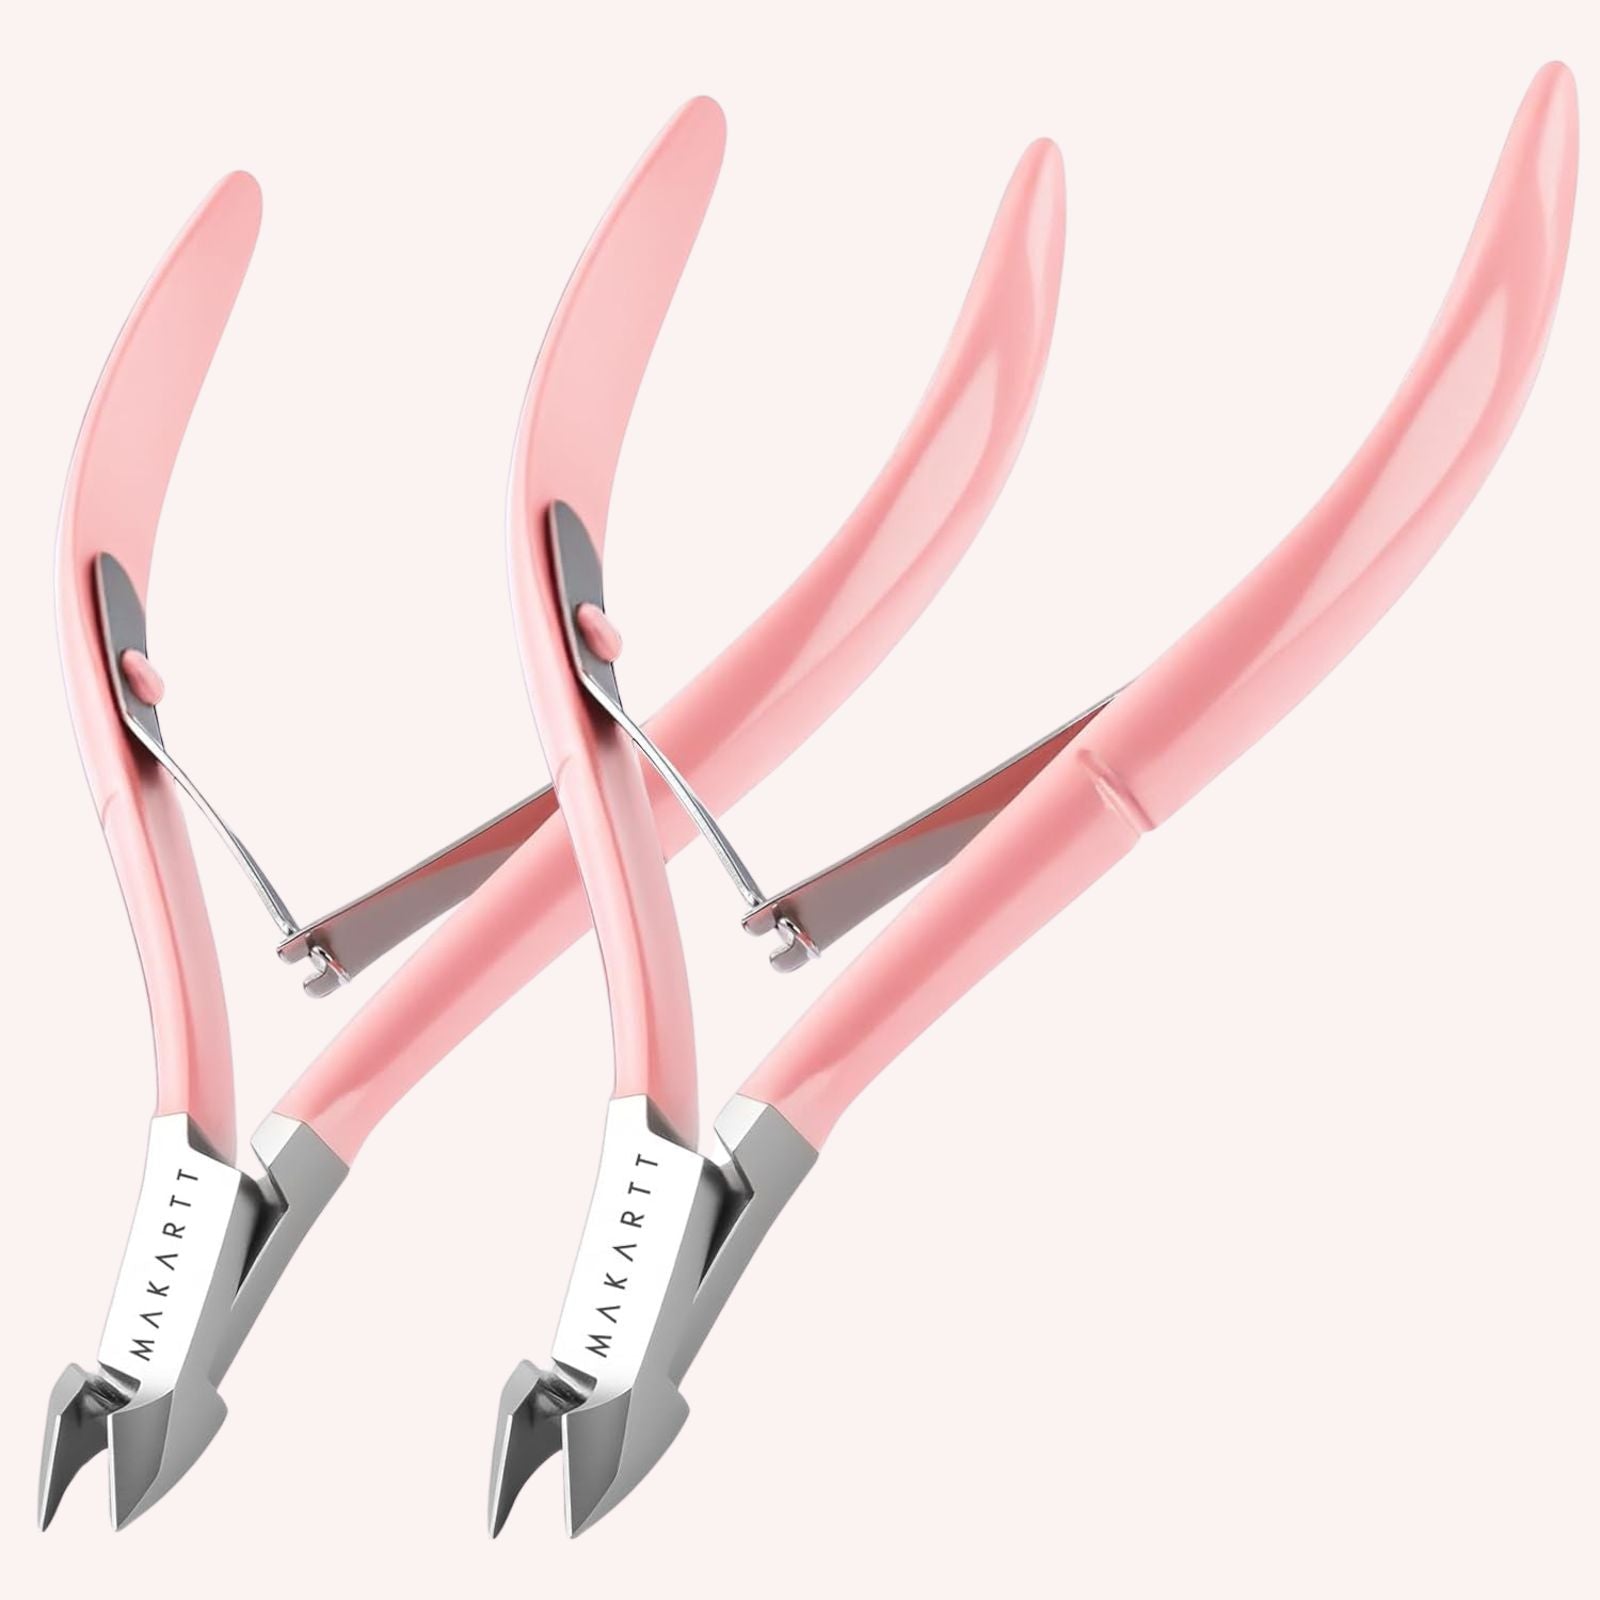
- Cuticle Pusher and Clippers – To prepare the nail bed for a clean and professional finish before applying your designs.
Step-by-Step Guide to Creating Autumn Glam Nails
Here’s a breakdown of how to create your fall-inspired rhinestone and 3D sculpture gel nails:
1. Prep Your Nails
Start by cleaning your nails thoroughly. Use your nail drill to smooth the nail surface and gently push back the cuticles. This step is crucial for ensuring your rhinestones and 3D gel adhere well and stay in place for longer. A clean and even surface provides the best canvas for intricate nail art.
2. Apply a Base Coat
Before applying any gel or polish, apply a base coat or a 3-in-1 top coat to protect your natural nails and give the design something to adhere to. The base coat helps prevent your nails from staining and ensures a smooth application of the 3D sculpture gel.
3. Create Your 3D Design with Sculpture Gel
Once your base coat has cured, you can start working with your 3D sculpture gel. Using a fine nail brush, sculpt designs that reflect the autumn season, such as leaves, acorns, or even miniature pumpkins. Apply the gel in layers to build up the design and cure each layer under a UV/LED lamp for at least 30-60 seconds, depending on the thickness.
- Tip: If you’re new to using 3D gel, start with simpler designs like raised dots or swirls, and gradually work your way up to more intricate shapes as you gain confidence.
4. Add Rhinestones for a Touch of Glam
Once you’ve completed your 3D design, it’s time to add some sparkle with rhinestones. Using rhinestone glue, apply small dots where you want to place your rhinestones. Use tweezers or a wax pencil to carefully position the stones. Once placed, cure the glue under the UV/LED lamp to ensure a secure hold.
- Tip: Don’t overload your design with rhinestones. Focus on accent nails or subtle highlights to keep the look balanced and elegant.
5. Seal the Design with a 3-in-1 Top Coat
After you’ve finished placing your rhinestones and completing your 3D design, seal everything with a 3-in-1 top coat. This will protect your design from chipping and add a beautiful, glossy finish. Be sure to cure the top coat under the UV/LED lamp for a longer-lasting result.
Common Mistakes to Avoid When Using Rhinestones and 3D Sculpture Gel
To make sure your autumn nail designs turn out perfectly, here are a few common mistakes to avoid:
-
Overloading the Design with Rhinestones
It’s easy to get carried away with rhinestones, but adding too many can overwhelm the design and cause them to fall off easily. Stick to a few accent nails or small clusters of rhinestones to achieve a chic and sophisticated look. -
Not Curing the 3D Sculpture Gel Properly
Ensure each layer of your 3D sculpture gel is fully cured before adding more. If the gel isn’t hardened properly, it can lead to smudging or lifting, which will ruin the design. -
Applying Rhinestones Without Proper Adhesive
Regular nail glue isn’t strong enough to hold rhinestones securely. Always use a specialized rhinestone glue and cure it under a UV lamp to make sure the stones stay in place. -
Skipping the Top Coat
A 3-in-1 top coat is essential for sealing your design and preventing the rhinestones and 3D elements from falling off. Don’t skip this step, as it adds durability to your manicure.
Tips for Maintaining Your Autumn Glam Nail Designs
Here are some tips to keep your fall-inspired rhinestone and 3D sculpture gel nails looking their best for as long as possible:
-
Wear Gloves When Doing Household Chores
Rhinestones and 3D elements can be fragile, so protect your nails by wearing gloves when washing dishes or cleaning. Water and chemicals can weaken the adhesive over time. -
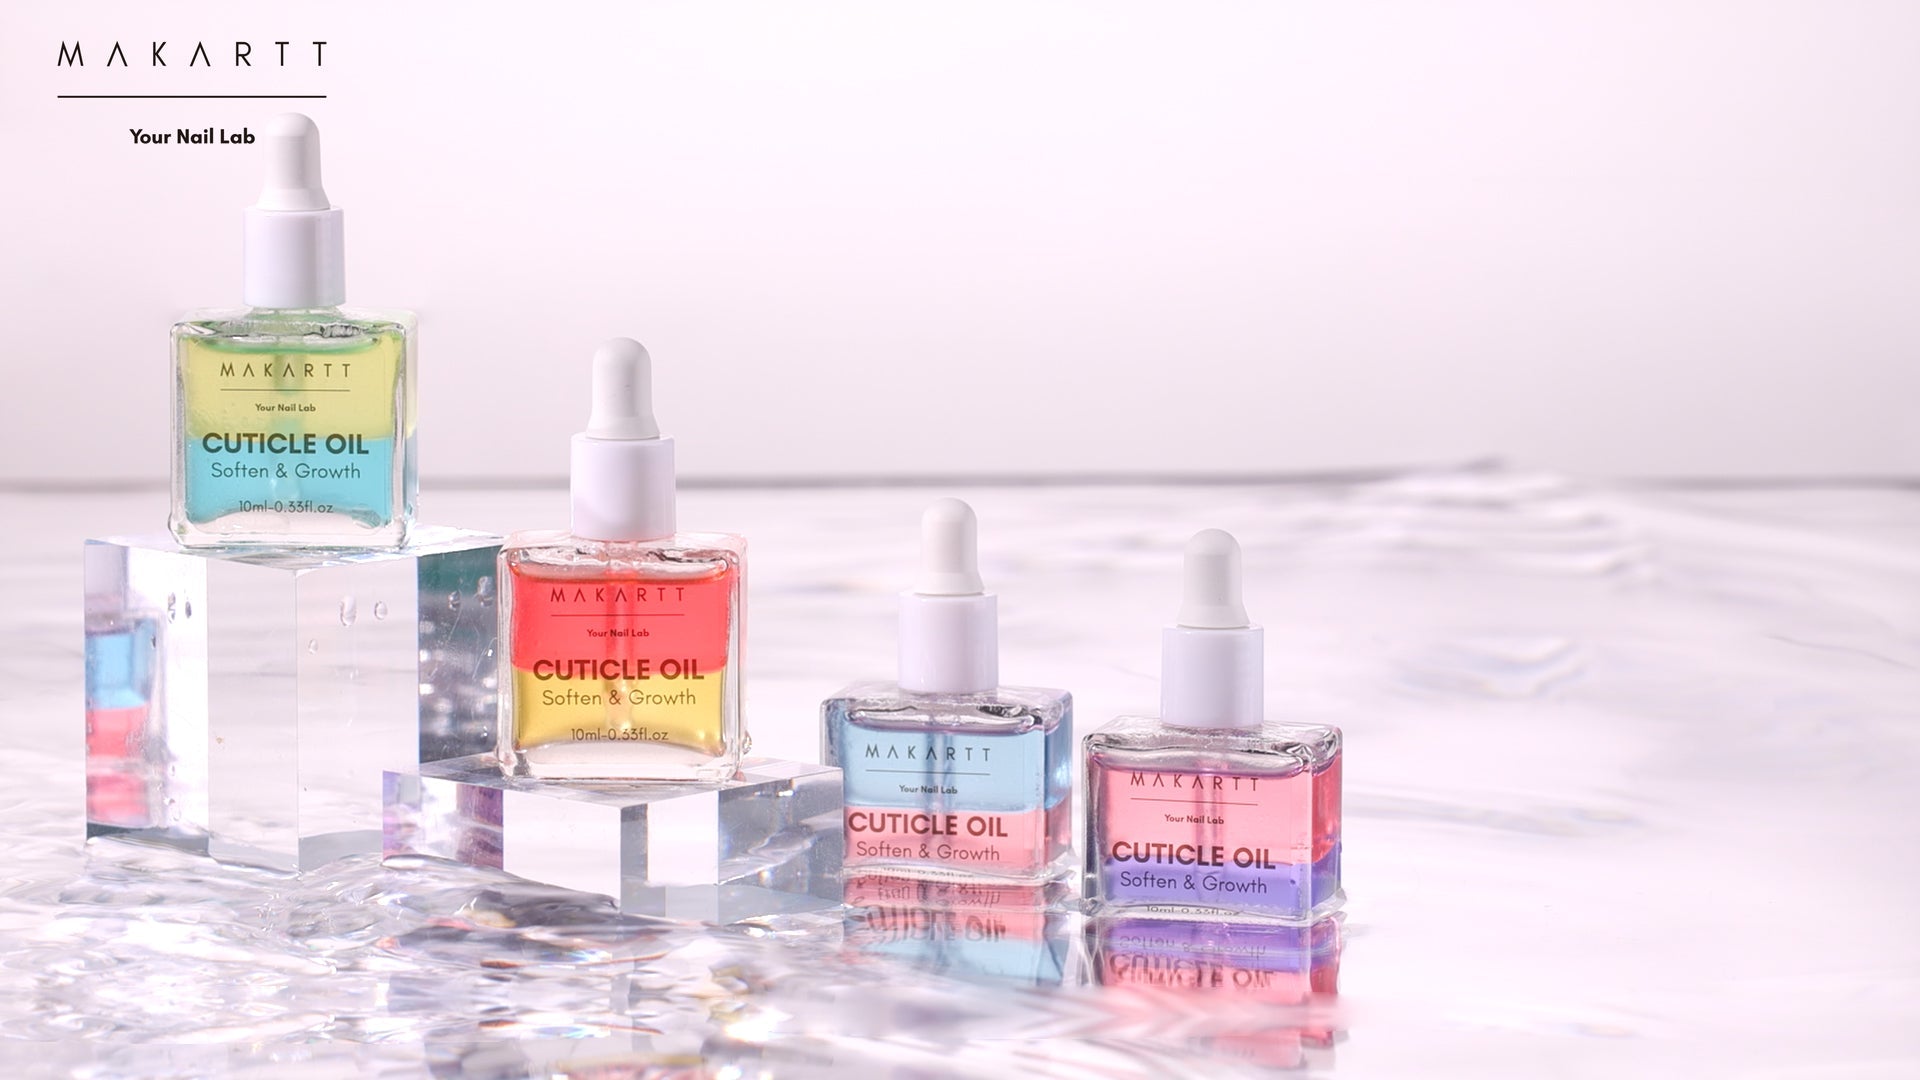
Moisturize Your Cuticles Regularly
Keeping your cuticles hydrated will enhance the overall appearance of your nails. Use a cuticle oil daily to prevent dryness, which can make your nails brittle. -
Avoid Picking at Your Nails
If you notice any lifting, resist the temptation to pick at your nails. This can cause the entire design to peel off prematurely. Instead, touch up with extra rhinestone glue or reapply a top coat. -
Schedule Regular Touch-Ups
If you’re wearing your nails for an extended period, consider doing a weekly touch-up by applying a fresh layer of top coat to maintain the shine and reinforce the adhesive.
User Reviews: What Others Are Saying About Rhinestones and 3D Sculpture Gel
Rhinestone Nail Art Reviews
“I’ve always loved adding rhinestones to my nails for that extra sparkle. The rhinestone glue I’ve been using holds them in place for up to two weeks, which is impressive. They’re perfect for adding glam to my fall nail designs.”
— Lisa, Nail Art Enthusiast
“I used rhinestones on my accent nails with an autumn leaf design, and the results were stunning. They stayed on through multiple washes and didn’t budge!”
— Sarah, DIY Nail Artist
3D Sculpture Gel Reviews
“3D sculpture gel has completely changed my nail game. I can create detailed designs like pumpkins and leaves that add depth and texture to my fall nails. It’s so easy to use and gives a professional result.”
— Emily, Salon Professional
“I’ve just started using 3D gel, and it’s fantastic! My nails now have a unique, textured look that I haven’t been able to achieve with regular polish. Plus, the gel holds up really well!”
— Megan, Nail Tech
Adding rhinestones and 3D sculpture gel to your fall nail designs is a surefire way to create stunning, glamorous nails that capture the spirit of the season. With the right tools, such as a nail drill, rhinestone glue, and a 3-in-1 top coat, you can achieve professional-quality results that last. Whether you’re a beginner or an experienced nail artist, rhinestones and 3D sculpture gel provide endless possibilities for creativity and style.
By following the step-by-step guide, avoiding common mistakes, and taking proper care of your nails, you’ll enjoy a long-lasting, show-stopping manicure that’s perfect for autumn. So go ahead—embrace the glam, and let your nails shine this fall!
Share