
How to do Ombre Gel Nail Design?
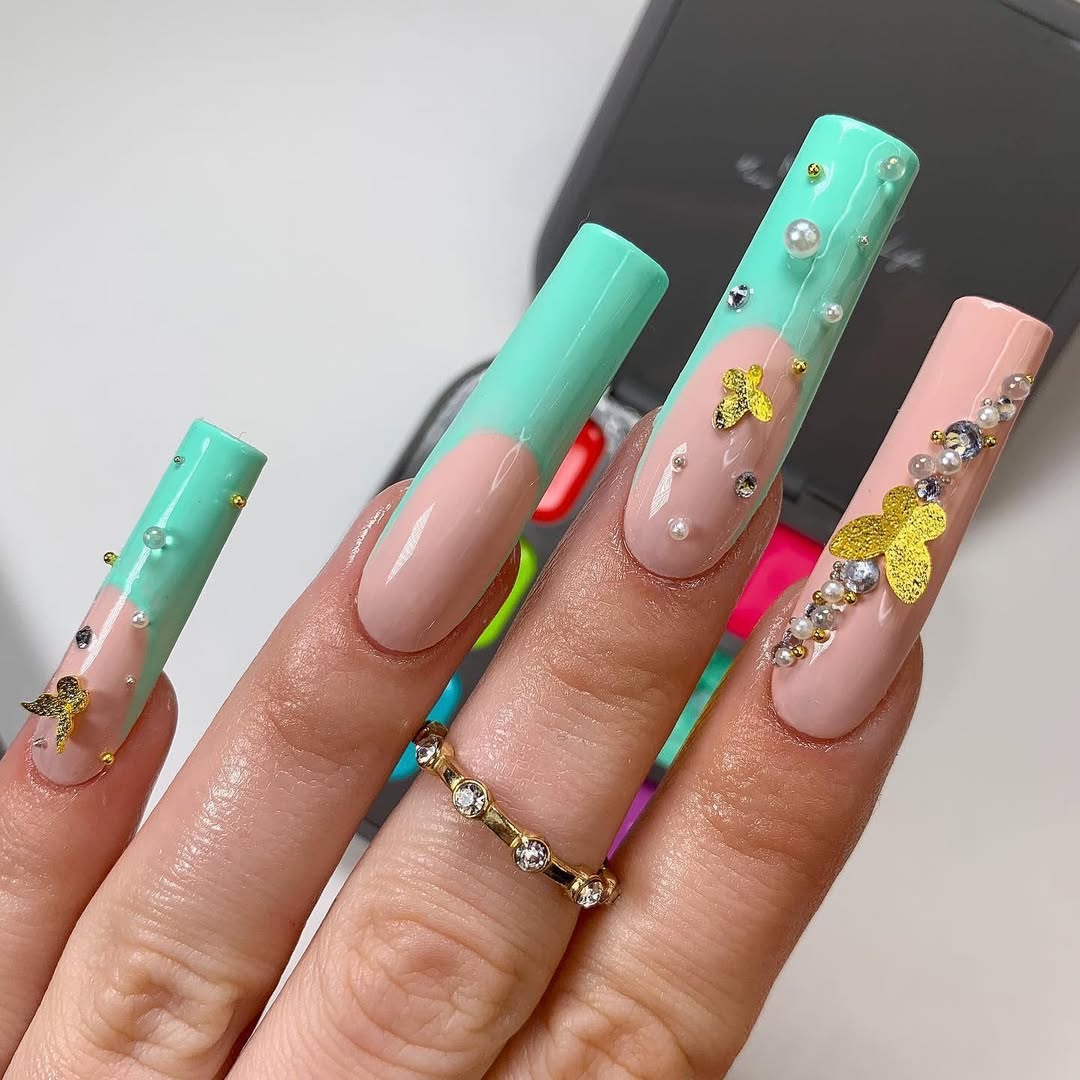
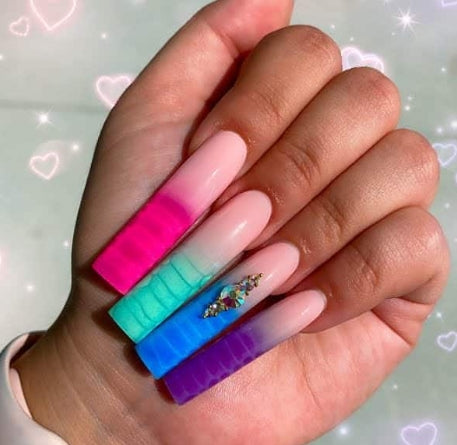
Ombre Gel nail designs are a stunning and versatile way to elevate your nail game. This gradient effect can be achieved with various color combinations, making it perfect for any season or occasion. If you’re wondering how to do ombre nail gel design, this step-by-step guide will help you create beautiful, salon-quality nails at home. Let’s dive into the process and learn how to achieve that flawless gradient look.
What You’ll Need
Before we start, gather the following supplies:
- A top coat and base coat designed for gel polish
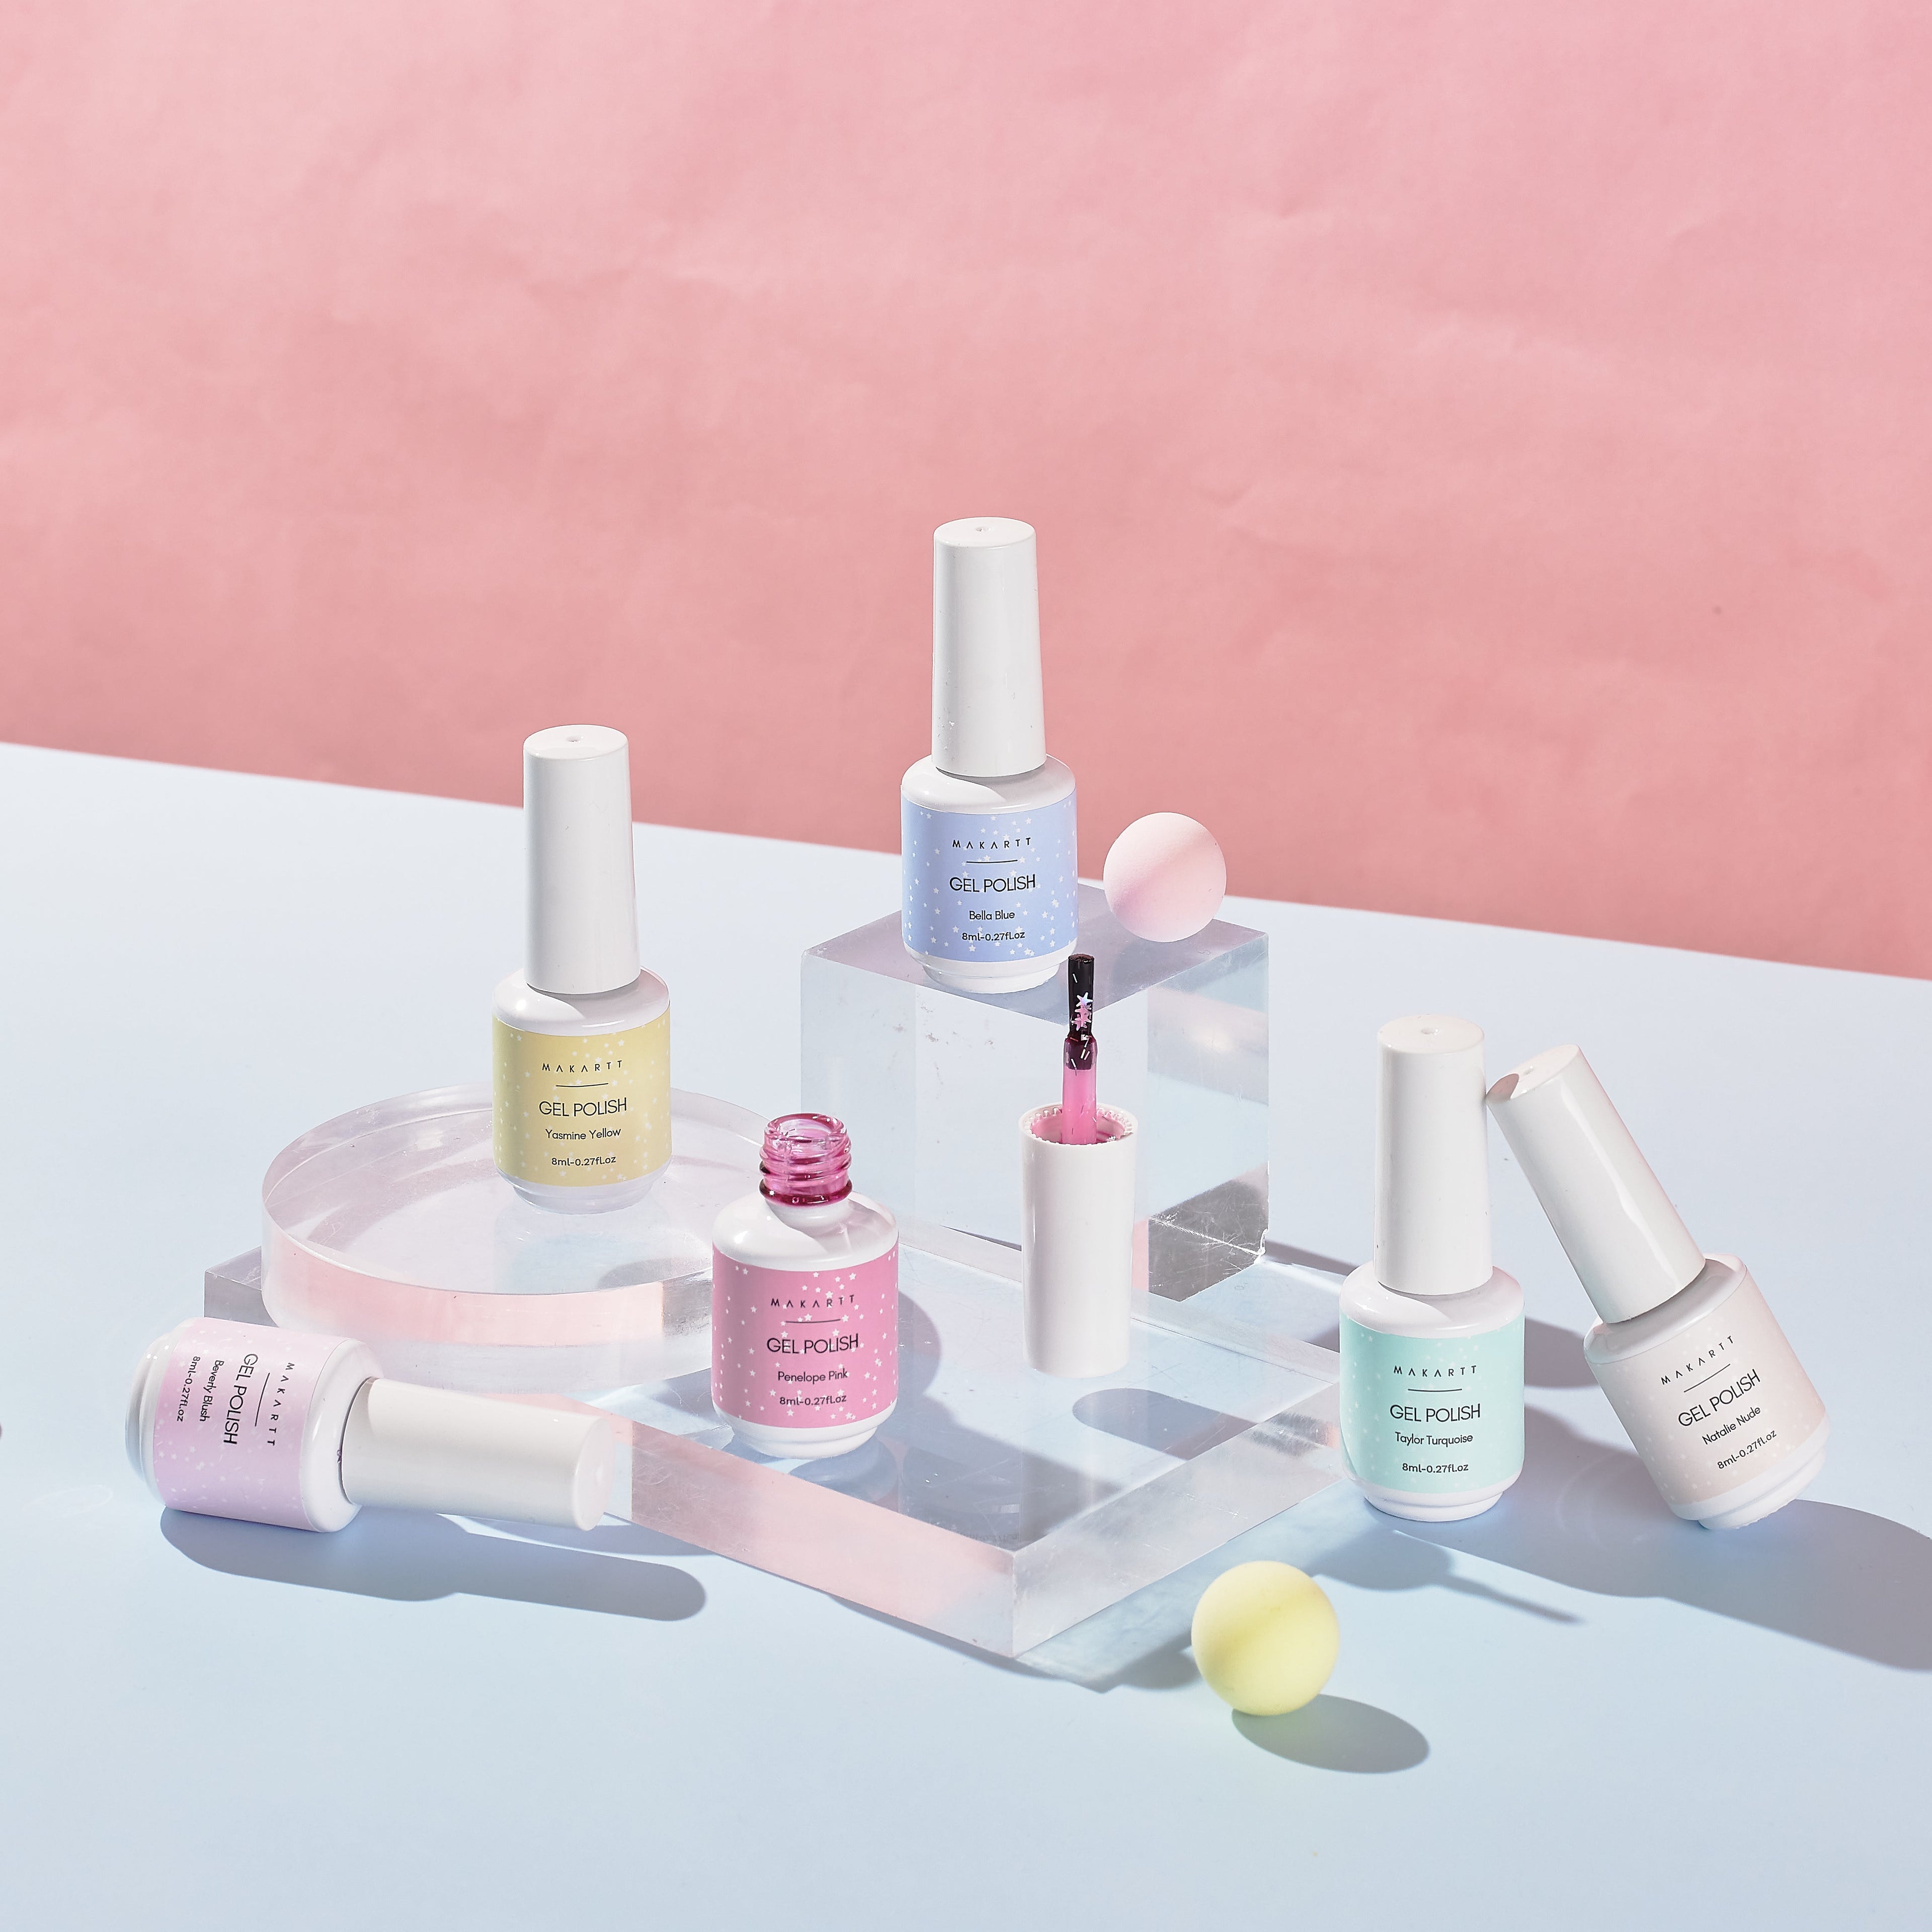
- At least two colors of gel polish
- Makeup sponge or ombre brush
- Small piece of foil or palette
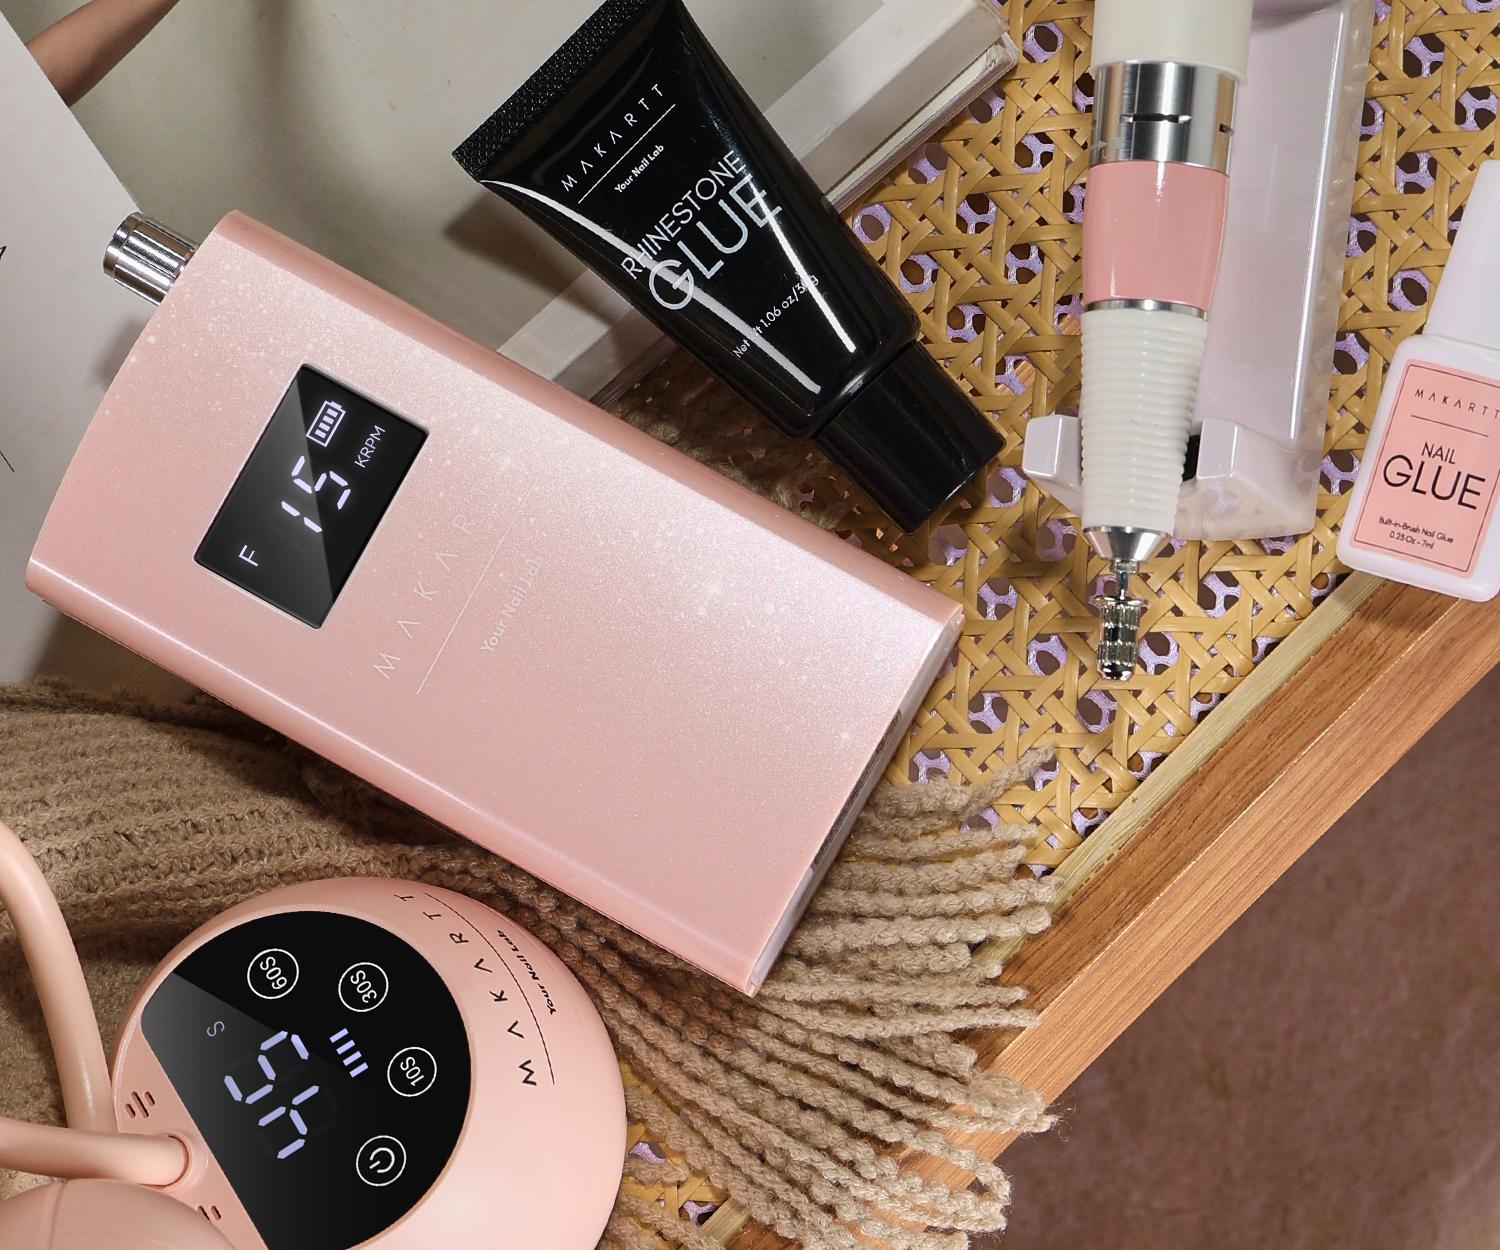
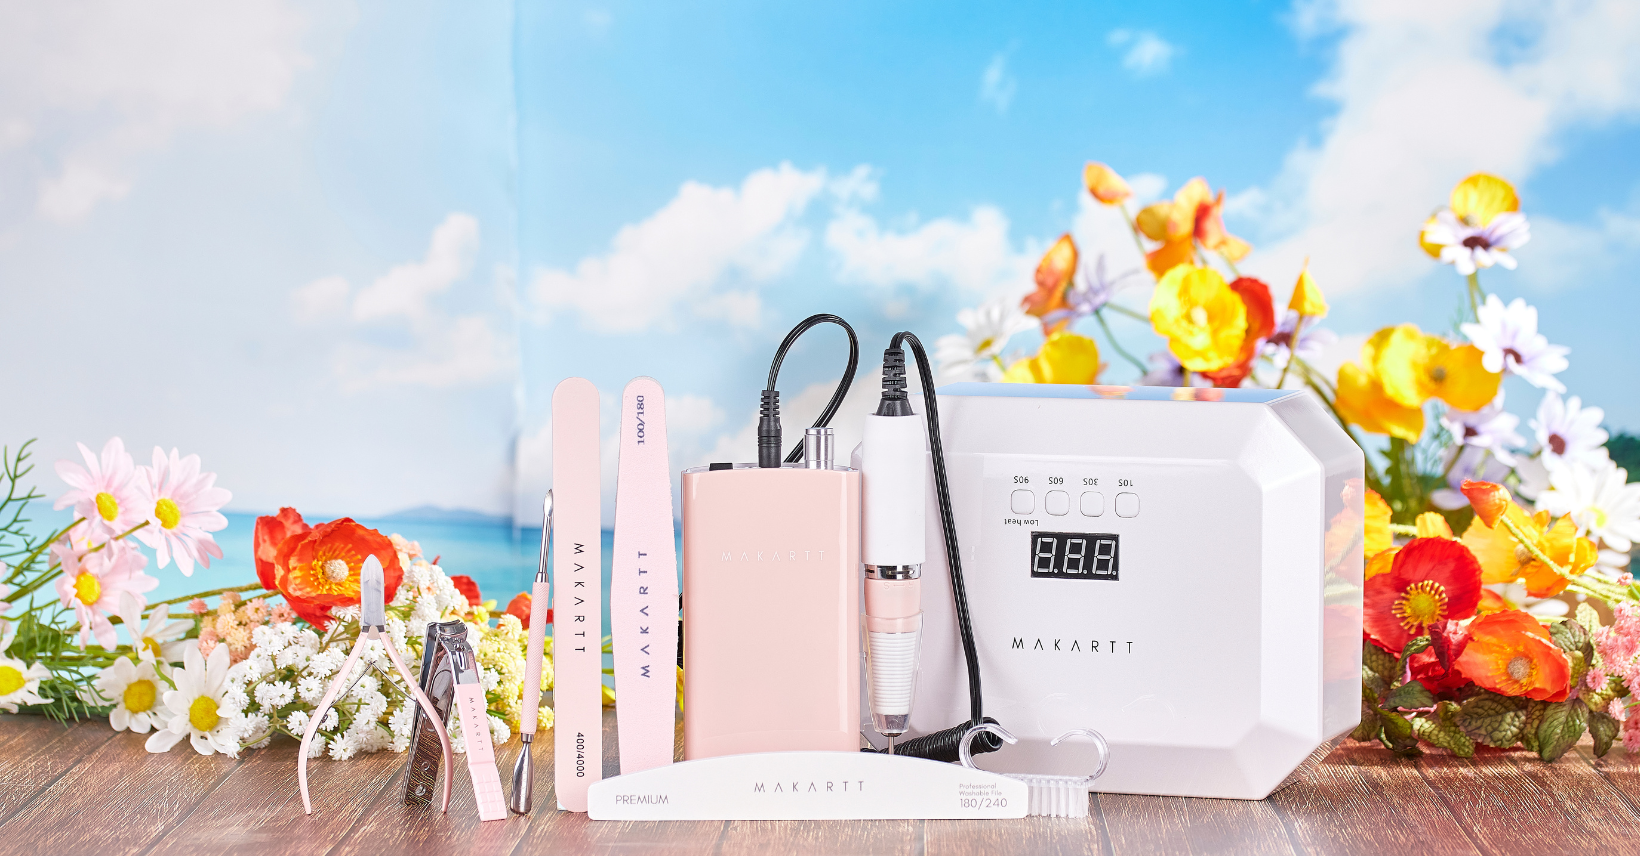
- A UV or LED lamp
- Alcohol wipes or lint-free wipes soaked in alcohol
- Cuticle oil
Step-by-Step Guide to Ombre Gel Nail Designs
1. Prep Your Nails
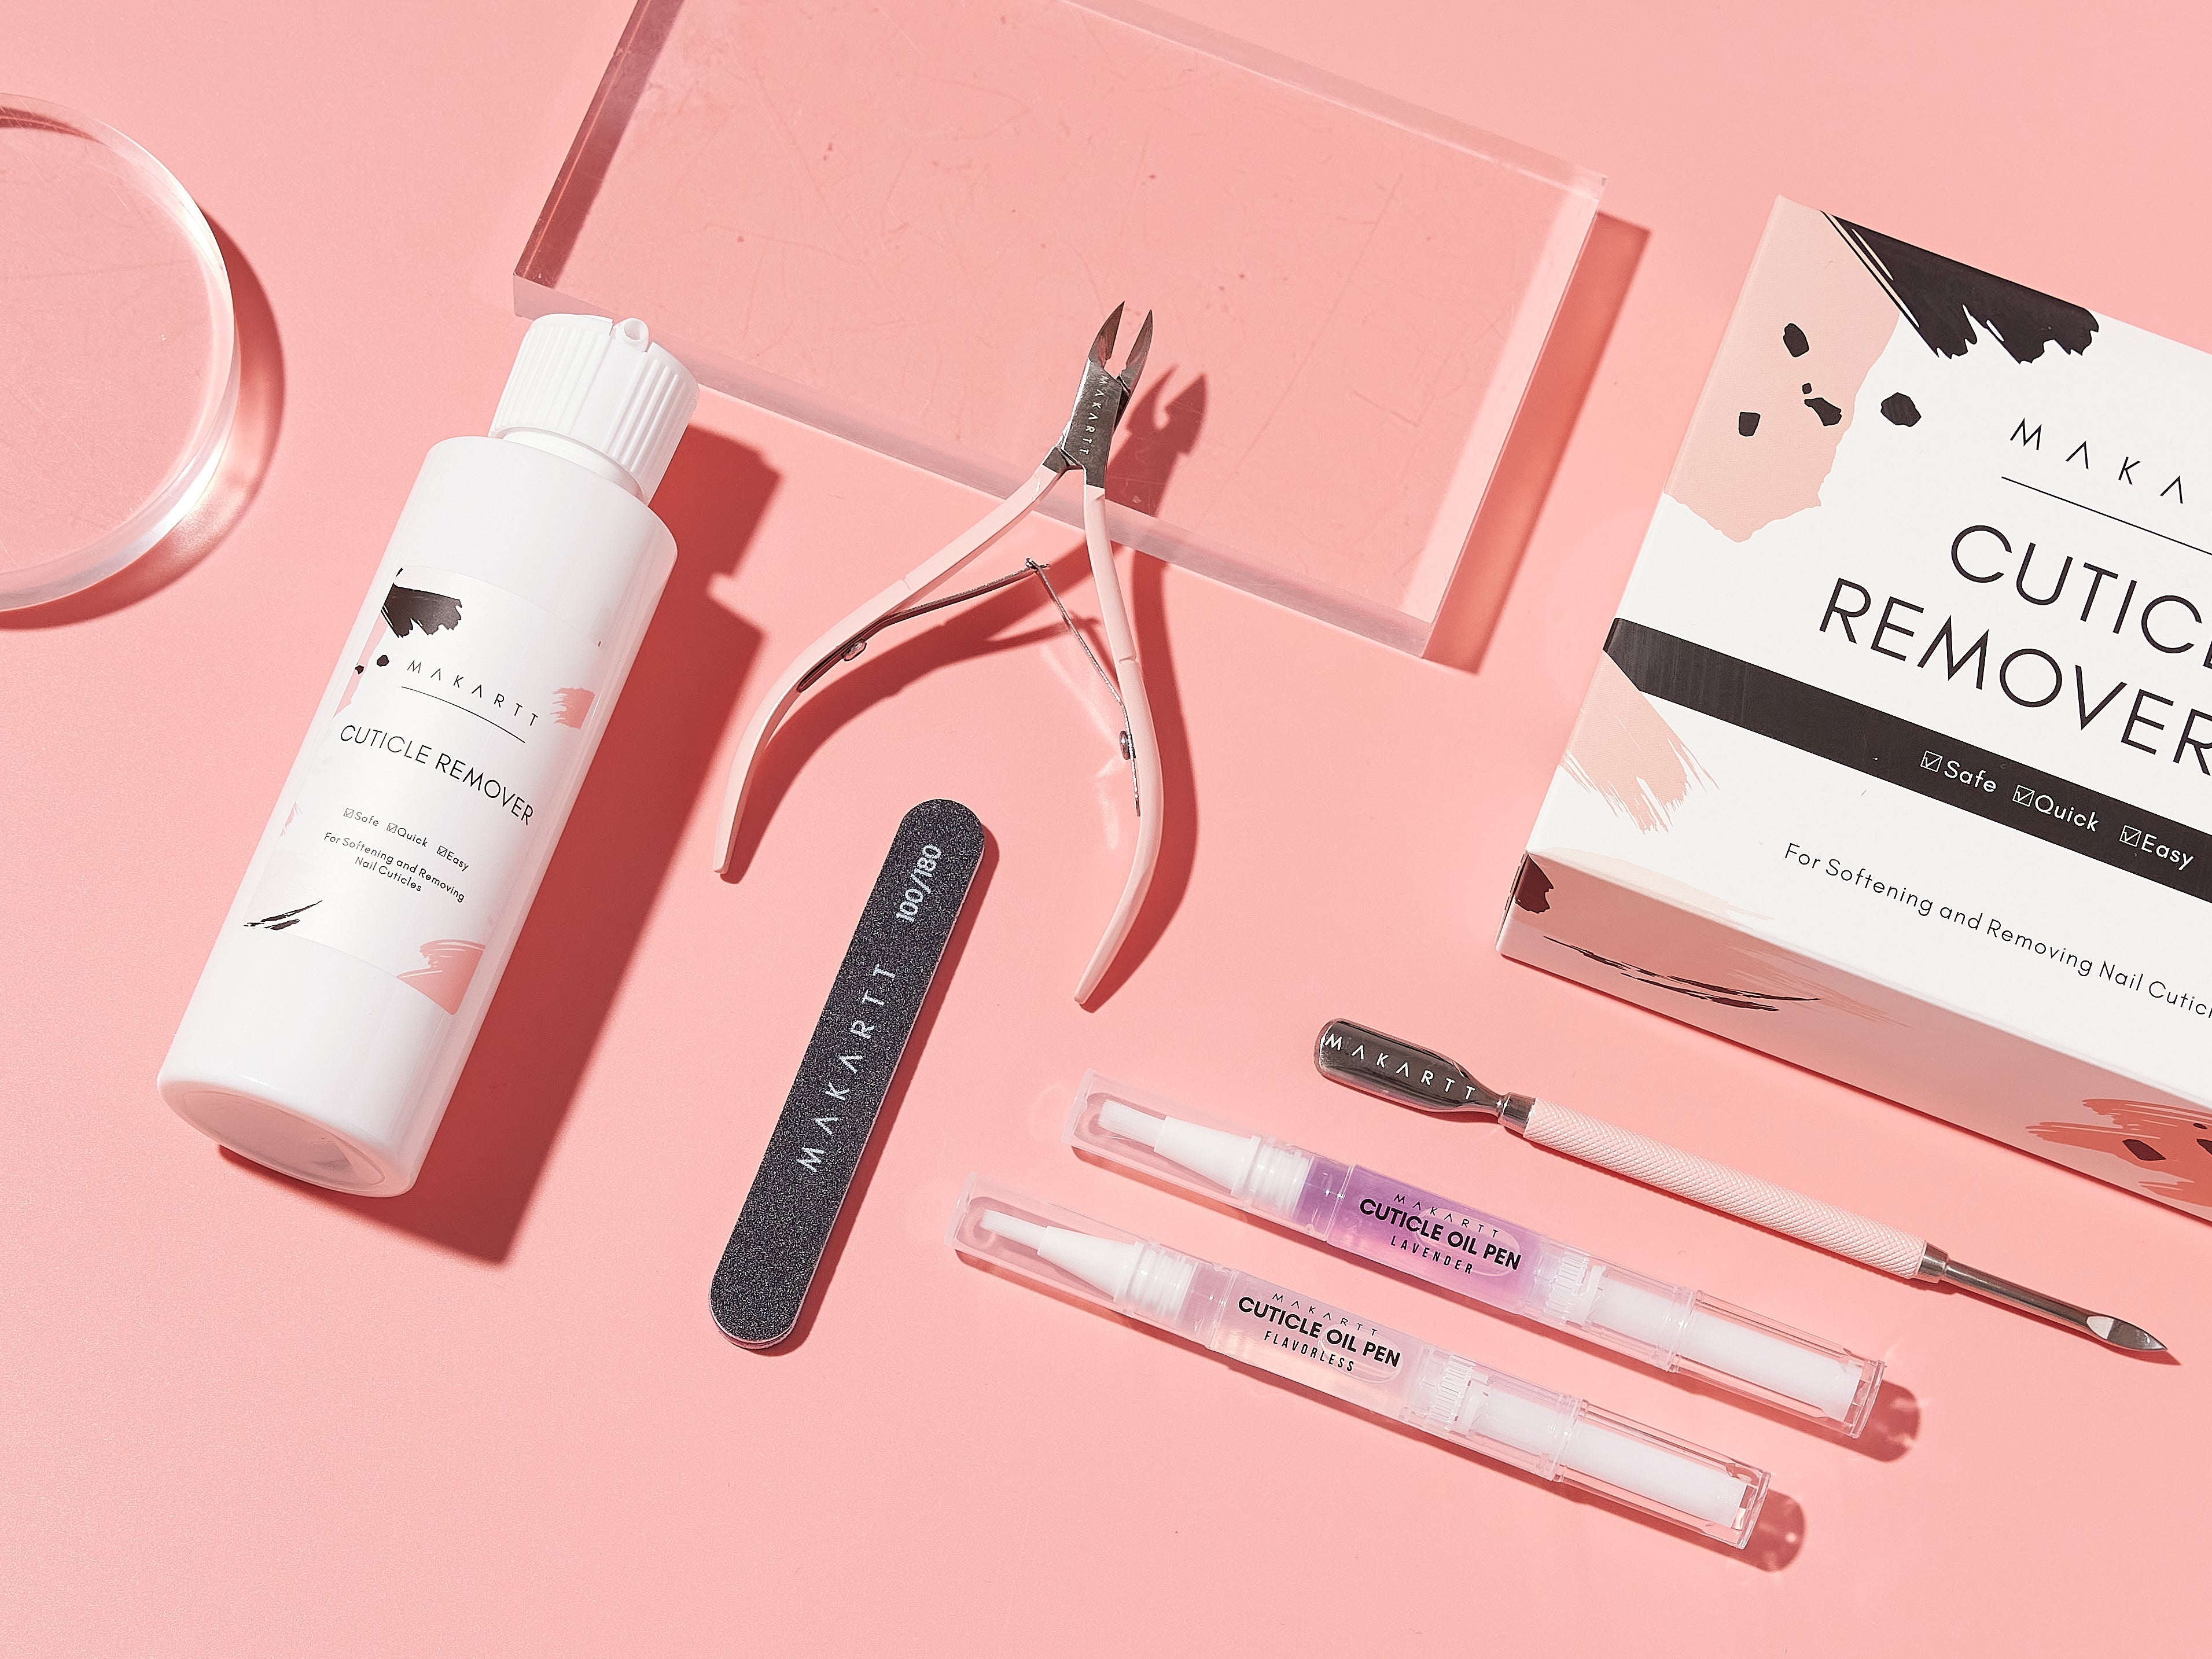
Start by preparing your nails. Remove any old polish and clean your nails thoroughly. Push back your cuticles, trim any excess skin, and file your nails to your desired shape. Buff the surface of your nails gently to remove shine and create a smooth base for the gel polish.
2. Apply Base Coat
Apply a thin layer of base coat to your nails. This step is crucial as it protects your natural nails and helps the gel polish adhere better. Cure the base coat under a UV or LED lamp according to the product instructions.
3. Apply the First Gel Color
Choose the lighter shade of your ombre design and apply it evenly to your nails. This will serve as the base color. Apply a thin layer and cure it under the UV or LED lamp. Repeat this step if necessary to achieve the desired opacity, curing each layer.
4. Create the Ombre Effect
To create the ombre effect, you’ll need a small piece of foil or palette to mix the colors. Place a drop of each gel polish color on the foil, close enough to blend them but not touching. Use a nail brush or sponge applicator to pick up both colors simultaneously.
5. Blend the Colors
Using a makeup sponge or nail art sponge, dab the colors onto your nail, starting from the cuticle area and moving towards the tip. Blend the colors gently to create a seamless gradient. You may need to repeat this step a few times to achieve the perfect blend. Cure the nails under the UV or LED lamp after each application.
6. Refine the Gradient
If needed, use a clean nail brush to refine the gradient further. Blend any harsh lines and ensure the colors transition smoothly. Once satisfied with the gradient, cure your nails again under the UV or LED lamp.
7. Apply Top Coat
To seal and protect your ombre design, apply a generous layer of top coat. This will add a glossy finish and help the manicure last longer. Ensure to cap the free edges of your nails to prevent chipping. Cure the top coat under the UV or LED lamp.
8. Cleanse and Moisturize
After curing the top coat, use a nail cleanser or alcohol wipe to remove any sticky residue. Finish by applying cuticle oil to keep your nails and cuticles hydrated and healthy.
Tips for Perfect Ombre Nails
- Choose Complementary Colors: For a cohesive look, select colors that blend well together. You can opt for shades within the same color family or contrasting colors for a bold effect.
- Use a Light Hand: When blending the colors with a sponge, use a light dabbing motion. This prevents the colors from becoming too mixed and muddy.
- Practice Makes Perfect: Ombre nails can be tricky, especially for beginners. Practice on a nail wheel or fake nails to get the technique down before applying it to your natural nails.
- Experiment with Textures: Don’t be afraid to experiment with glitter or metallic gel polishes to add dimension to your ombre design.
Common Mistakes to Avoid
- Skipping the Base Coat: Always apply a base coat to protect your natural nails and ensure the gel polish adheres properly.
- Thick Layers: Avoid applying thick layers of gel polish, as this can cause lifting and uneven curing. Thin, even layers are key to a smooth finish.
- Insufficient Curing: Ensure each layer is fully cured under the UV or LED lamp to prevent peeling and chipping.
Creating an ombre nail gel design at home is a fun and rewarding process that allows you to express your creativity. With the right tools and techniques, you can achieve salon-quality nails that last for weeks. Follow this step-by-step guide to master the ombre effect and enjoy beautiful, gradient nails that turn heads.
Remember, practice and patience are essential. Don’t be discouraged if your first attempt isn’t perfect. With time and experience, you’ll become proficient in creating stunning ombre nail designs.
Enjoy your stunning ombre nails!
Share