HOW TO
HOW TO
Chrome nail designs 2024 to switch up your manicure!
by Membership Makartt
on Jan 11 2024
When you're running out of the newest and trendiest nail ideas, why not dazzle your fingers with chrome nail designs? Get ready to be amazed by the remarkable shine, durability, and endless possibilities chrome nail designs offer for your nail creations. Your fingertips will become a true work of art with chrome nail designs!
What are Chrome Nail Designs?
Chrome nail designs are a trendy and eye-catching nail design that gives your nails a shiny, metallic appearance. The technique involves applying a chrome powder or mirror-like pigment on top of a base coat of nail polish. Once applied, the powder creates a reflective, mirror-like finish on your nails, giving them a sleek and futuristic look. It's a fun way to add some extra pizzazz to your manicure!
What Products Do We Need to Prepare to Achieve Chrome Nail Designs?
To achieve mirror chrome nail designs, you will need specific products that are designed to create that reflective finish. Here are a few essential nail products that can help you achieve stunning mirror chrome nails:
Chrome Nail Powder or Metallic Gel: This is the key product that creates the mirror-like effect. It is from metallic pigments that can be applied onto the nails to achieve the desired chrome finish.
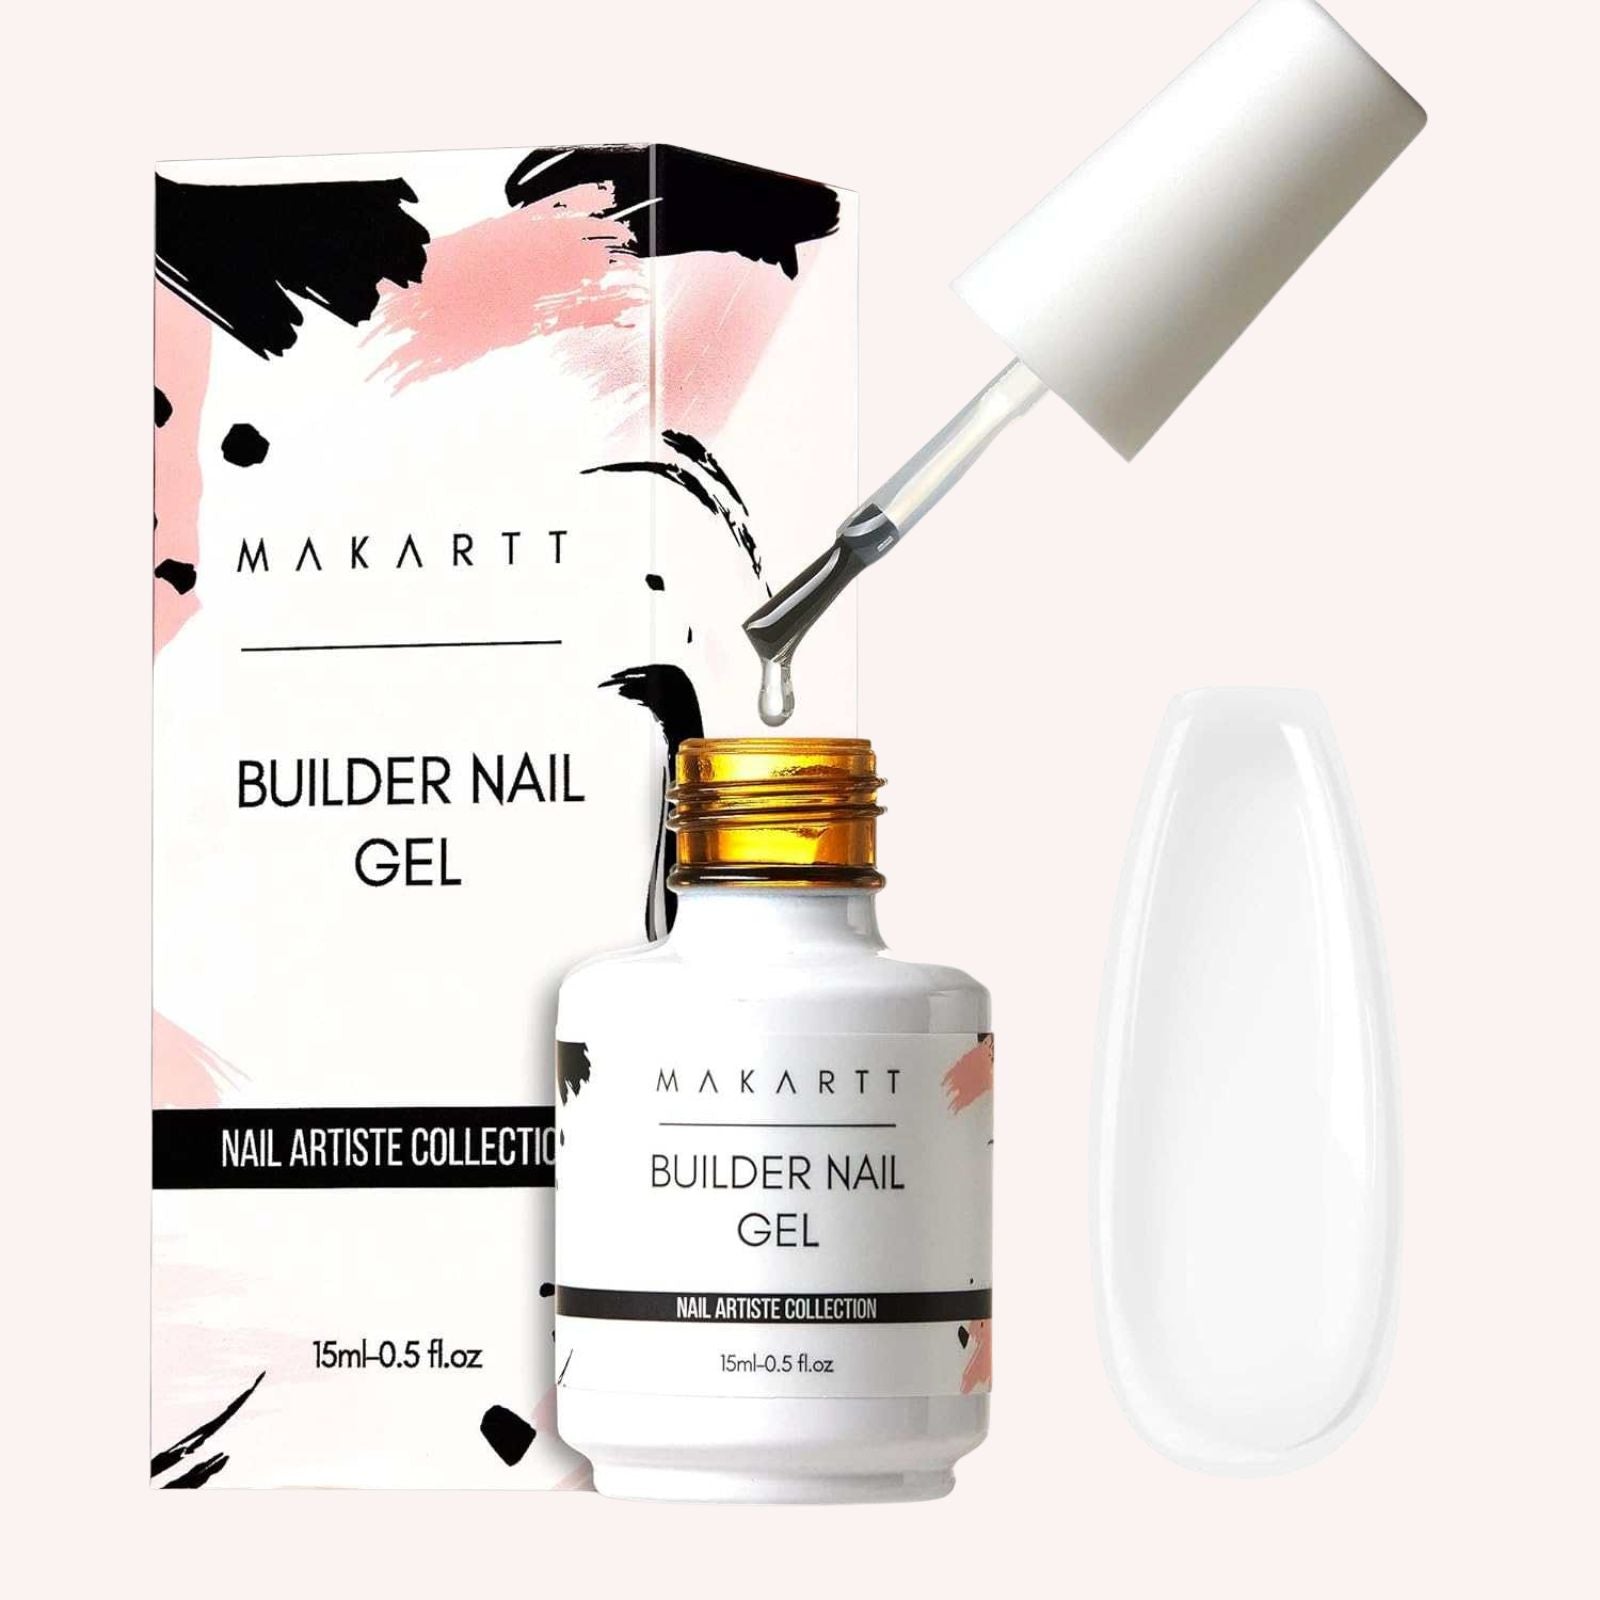
Base Coat: A good-quality base coat is essential to create a smooth surface for the chrome powder to adhere to. It helps to enhance the longevity of the manicure and provides a solid foundation for the chrome effect.
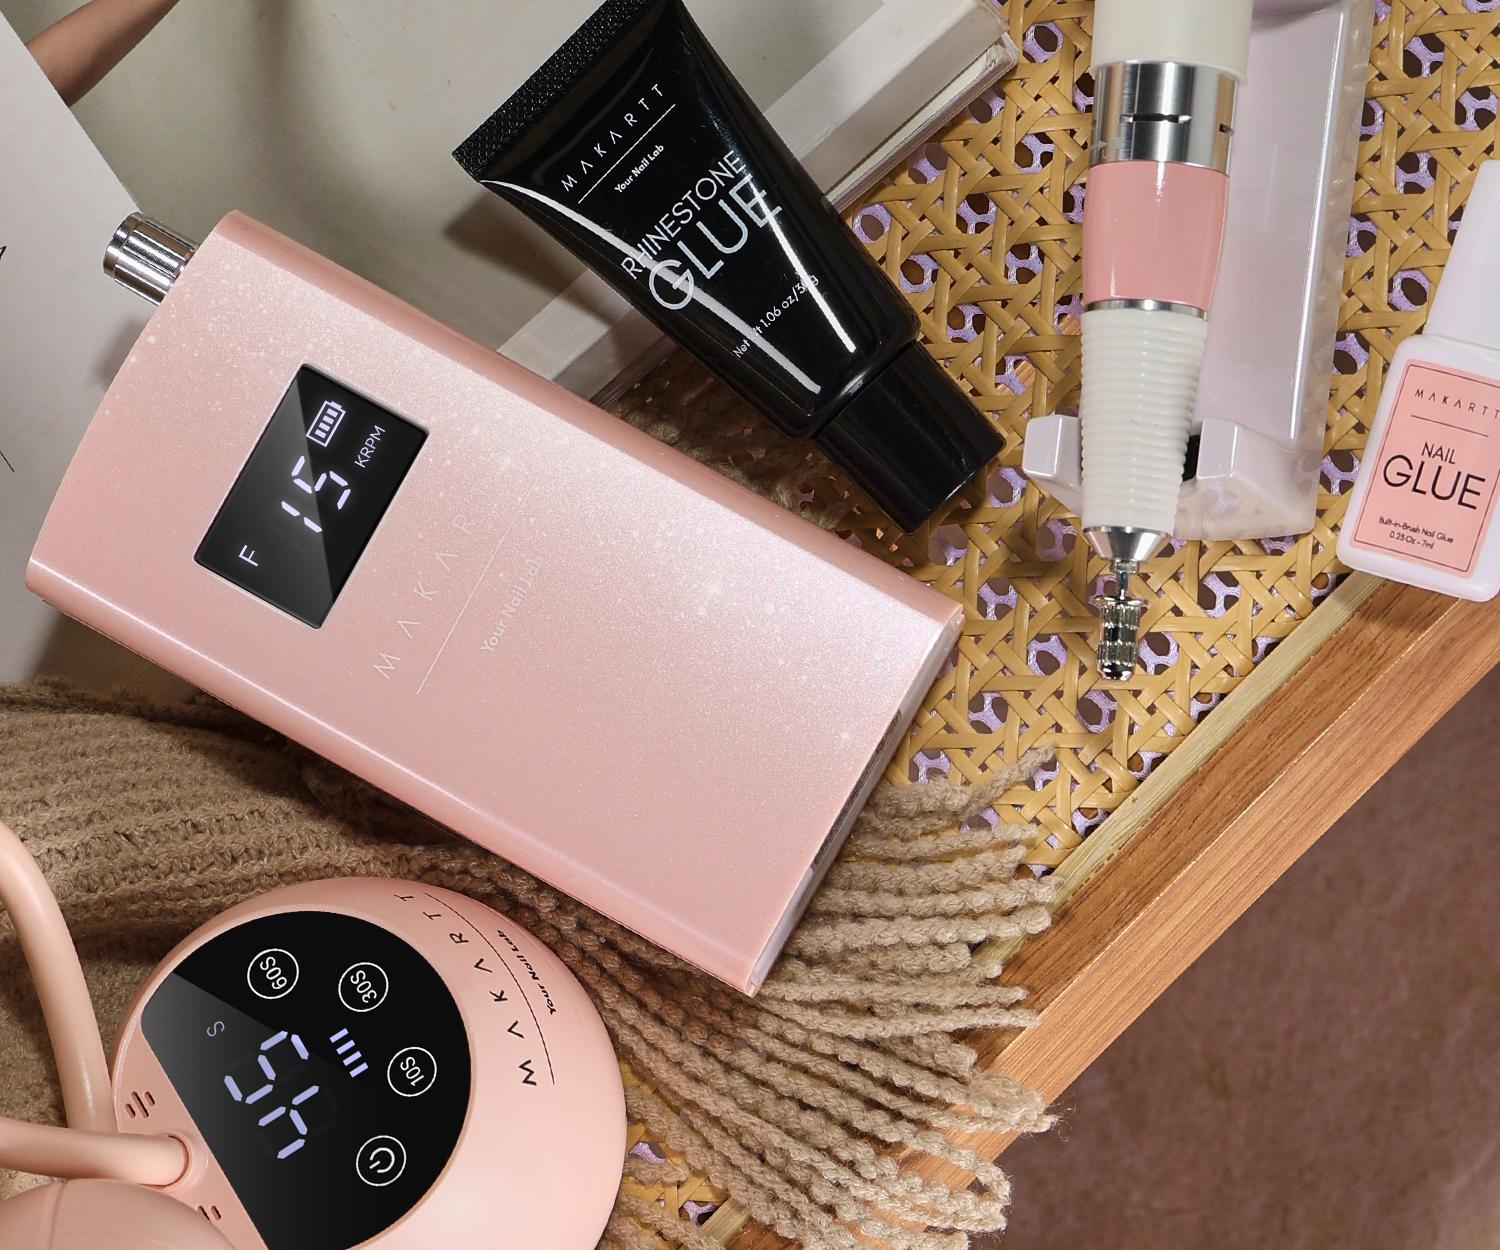
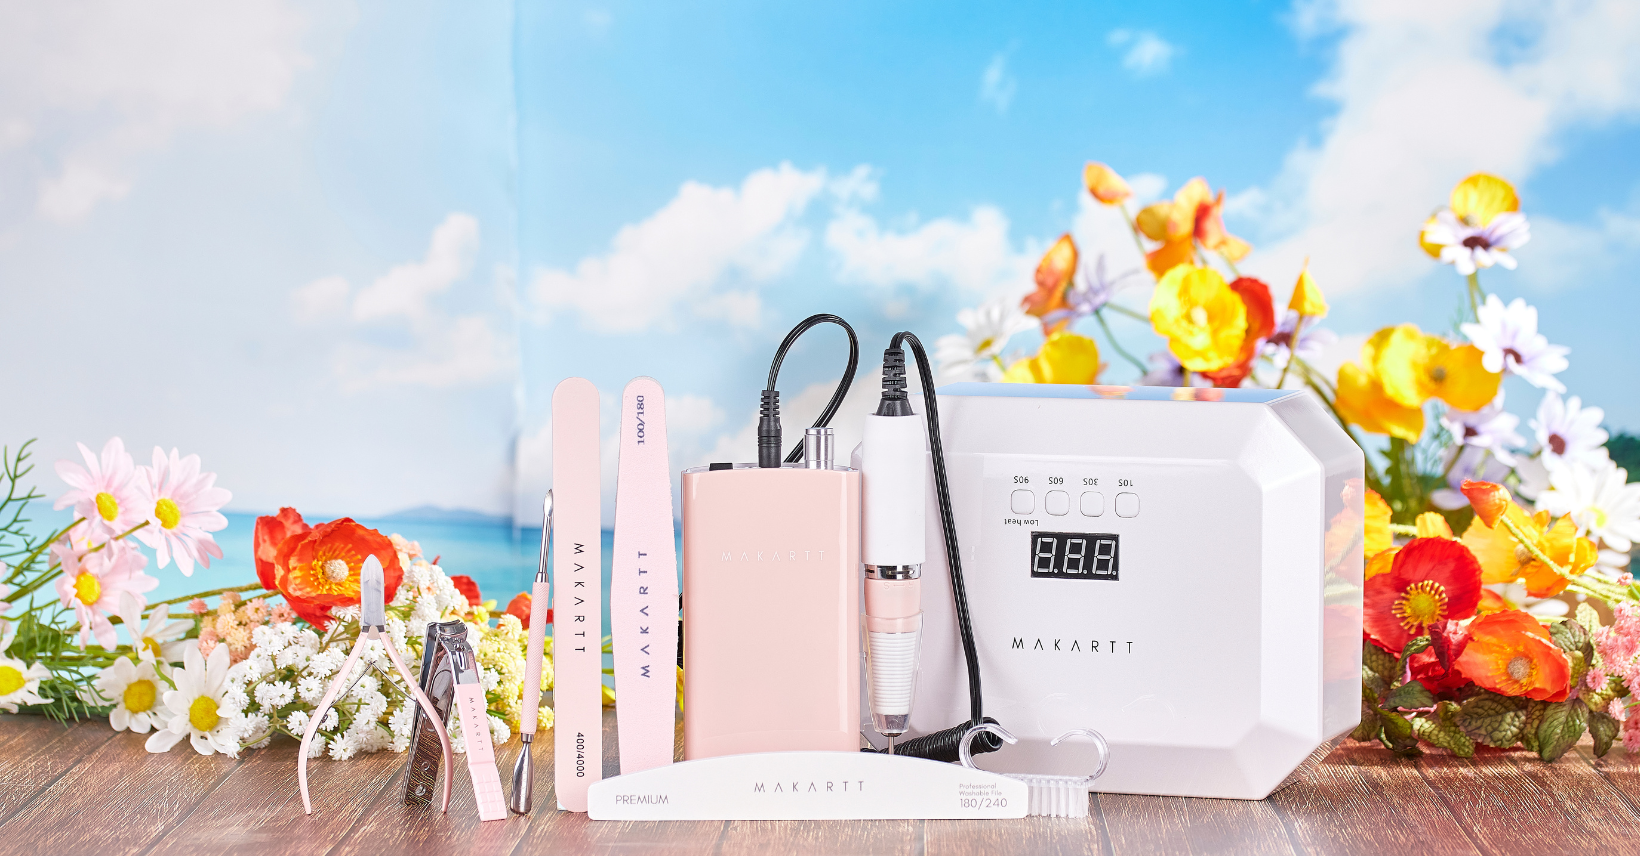
UV or LED Lamp: After applying the chrome nail product, it needs to be cured or set in place using a UV or LED lamp. The light emitted by these lamps helps to dry and harden the polish, ensuring a long-lasting and durable finish.
Top Coat: Applying a top coat is crucial to seal and protect the chrome design. It enhances the shine and prevents chipping or peeling, ensuring your mirror chrome nails stay flawless for longer.
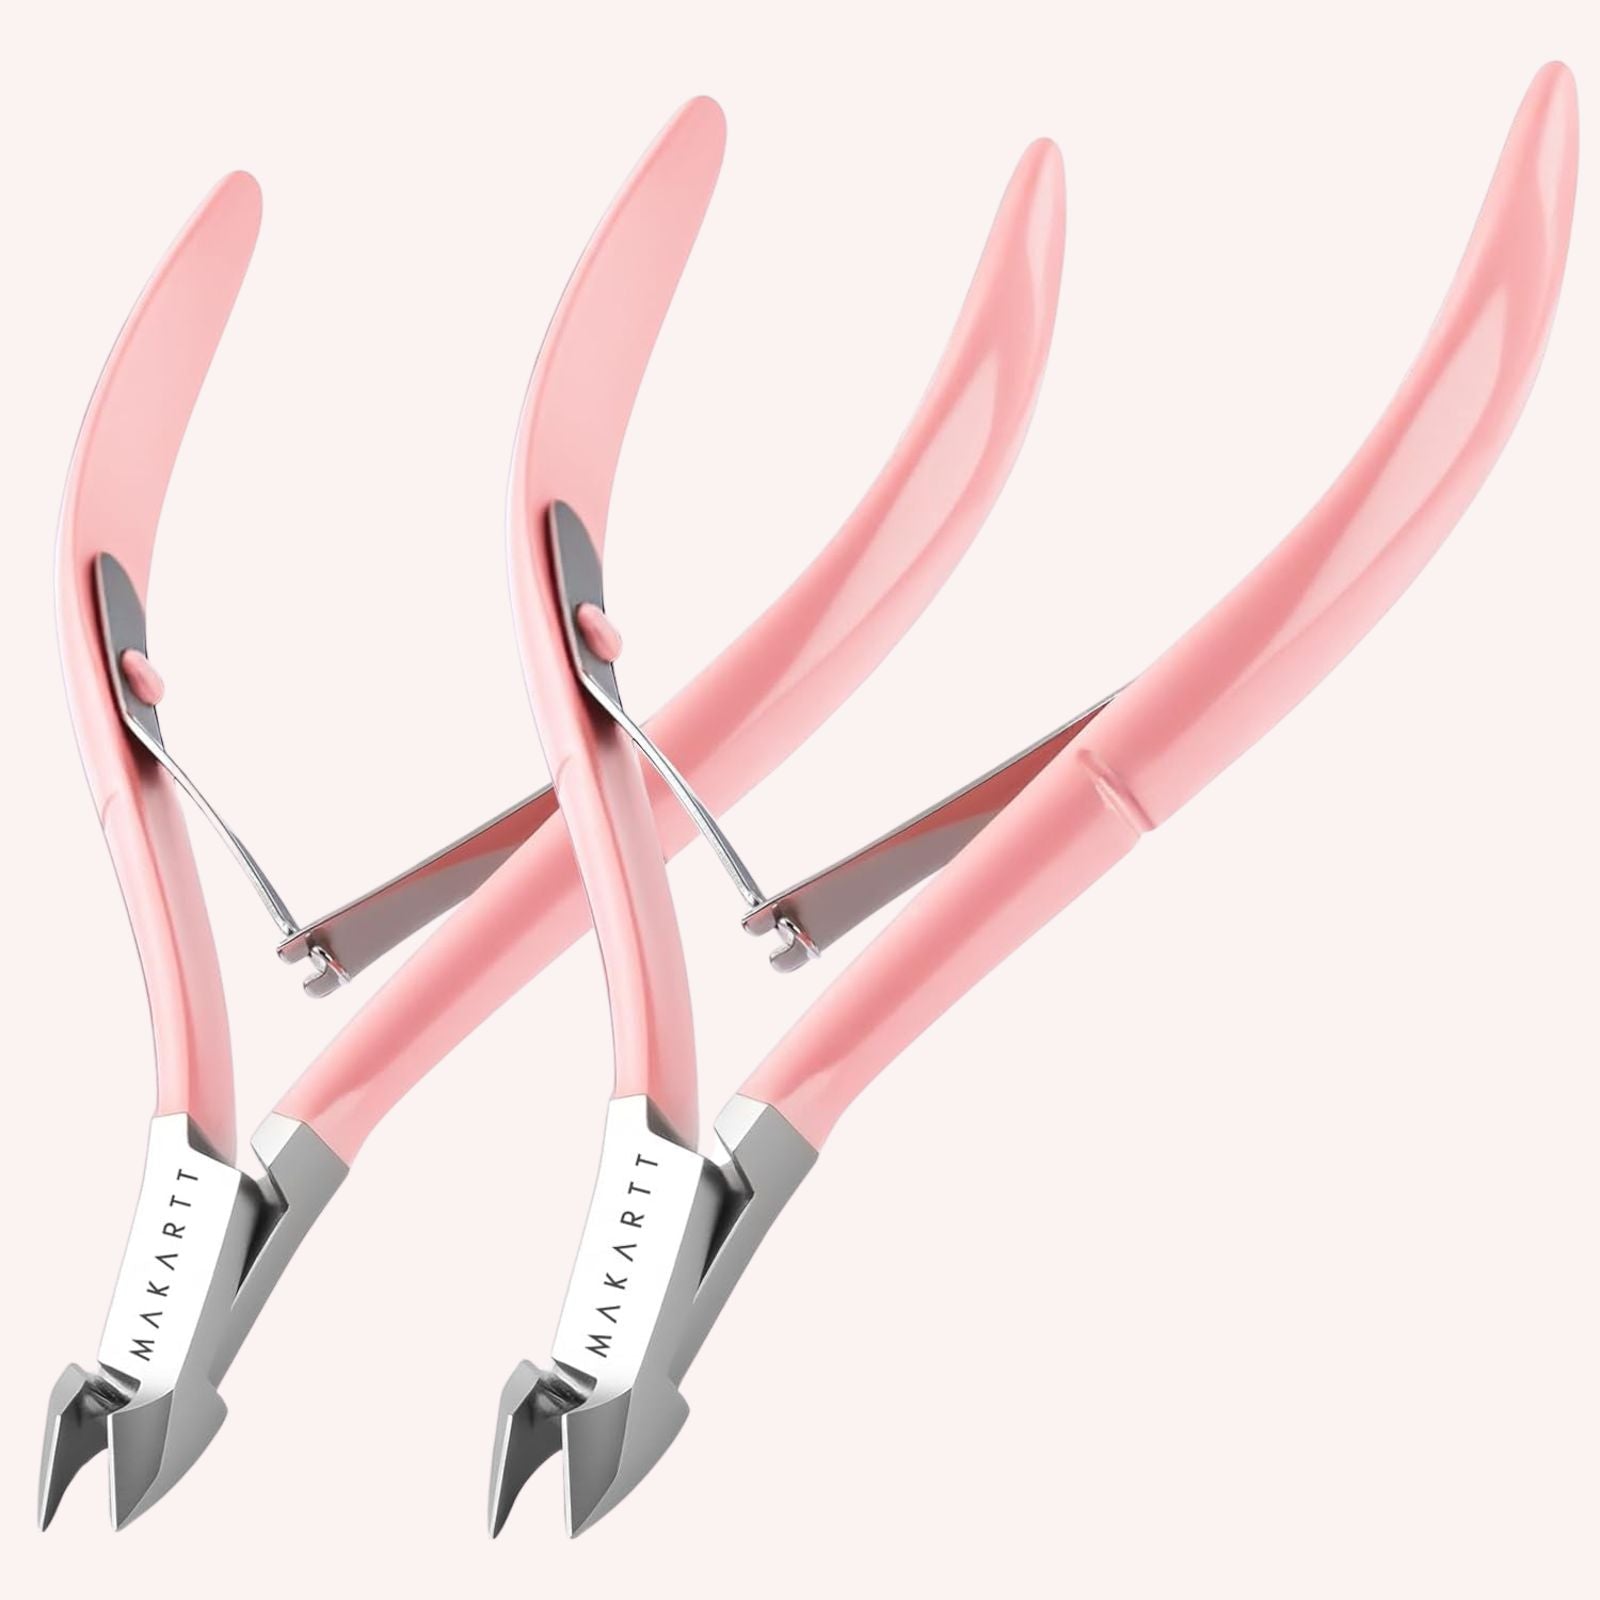
Applicator Tools: To achieve precise application of the chrome powder, you may need tools like sponge applicators or nail liner brushes. These tools help to evenly distribute the powder onto the nails for a smooth and consistent finish.
Applying Mirror Chrome Nail may seem like a complex task, but fear not! We offer user-friendly options that include different colors and step-by-step instructions. With a little practice, you'll become a nail artist in no time! Get ready to be amazed by the remarkable shine, durability, and endless possibilities it offers for your nail creations. Your fingertips will become a true work of art!
How to Apply Chrome Nail Designs
Achieving stunning chrome nail designs is easier than you might think. Follow these steps for a flawless, mirror-like manicure:
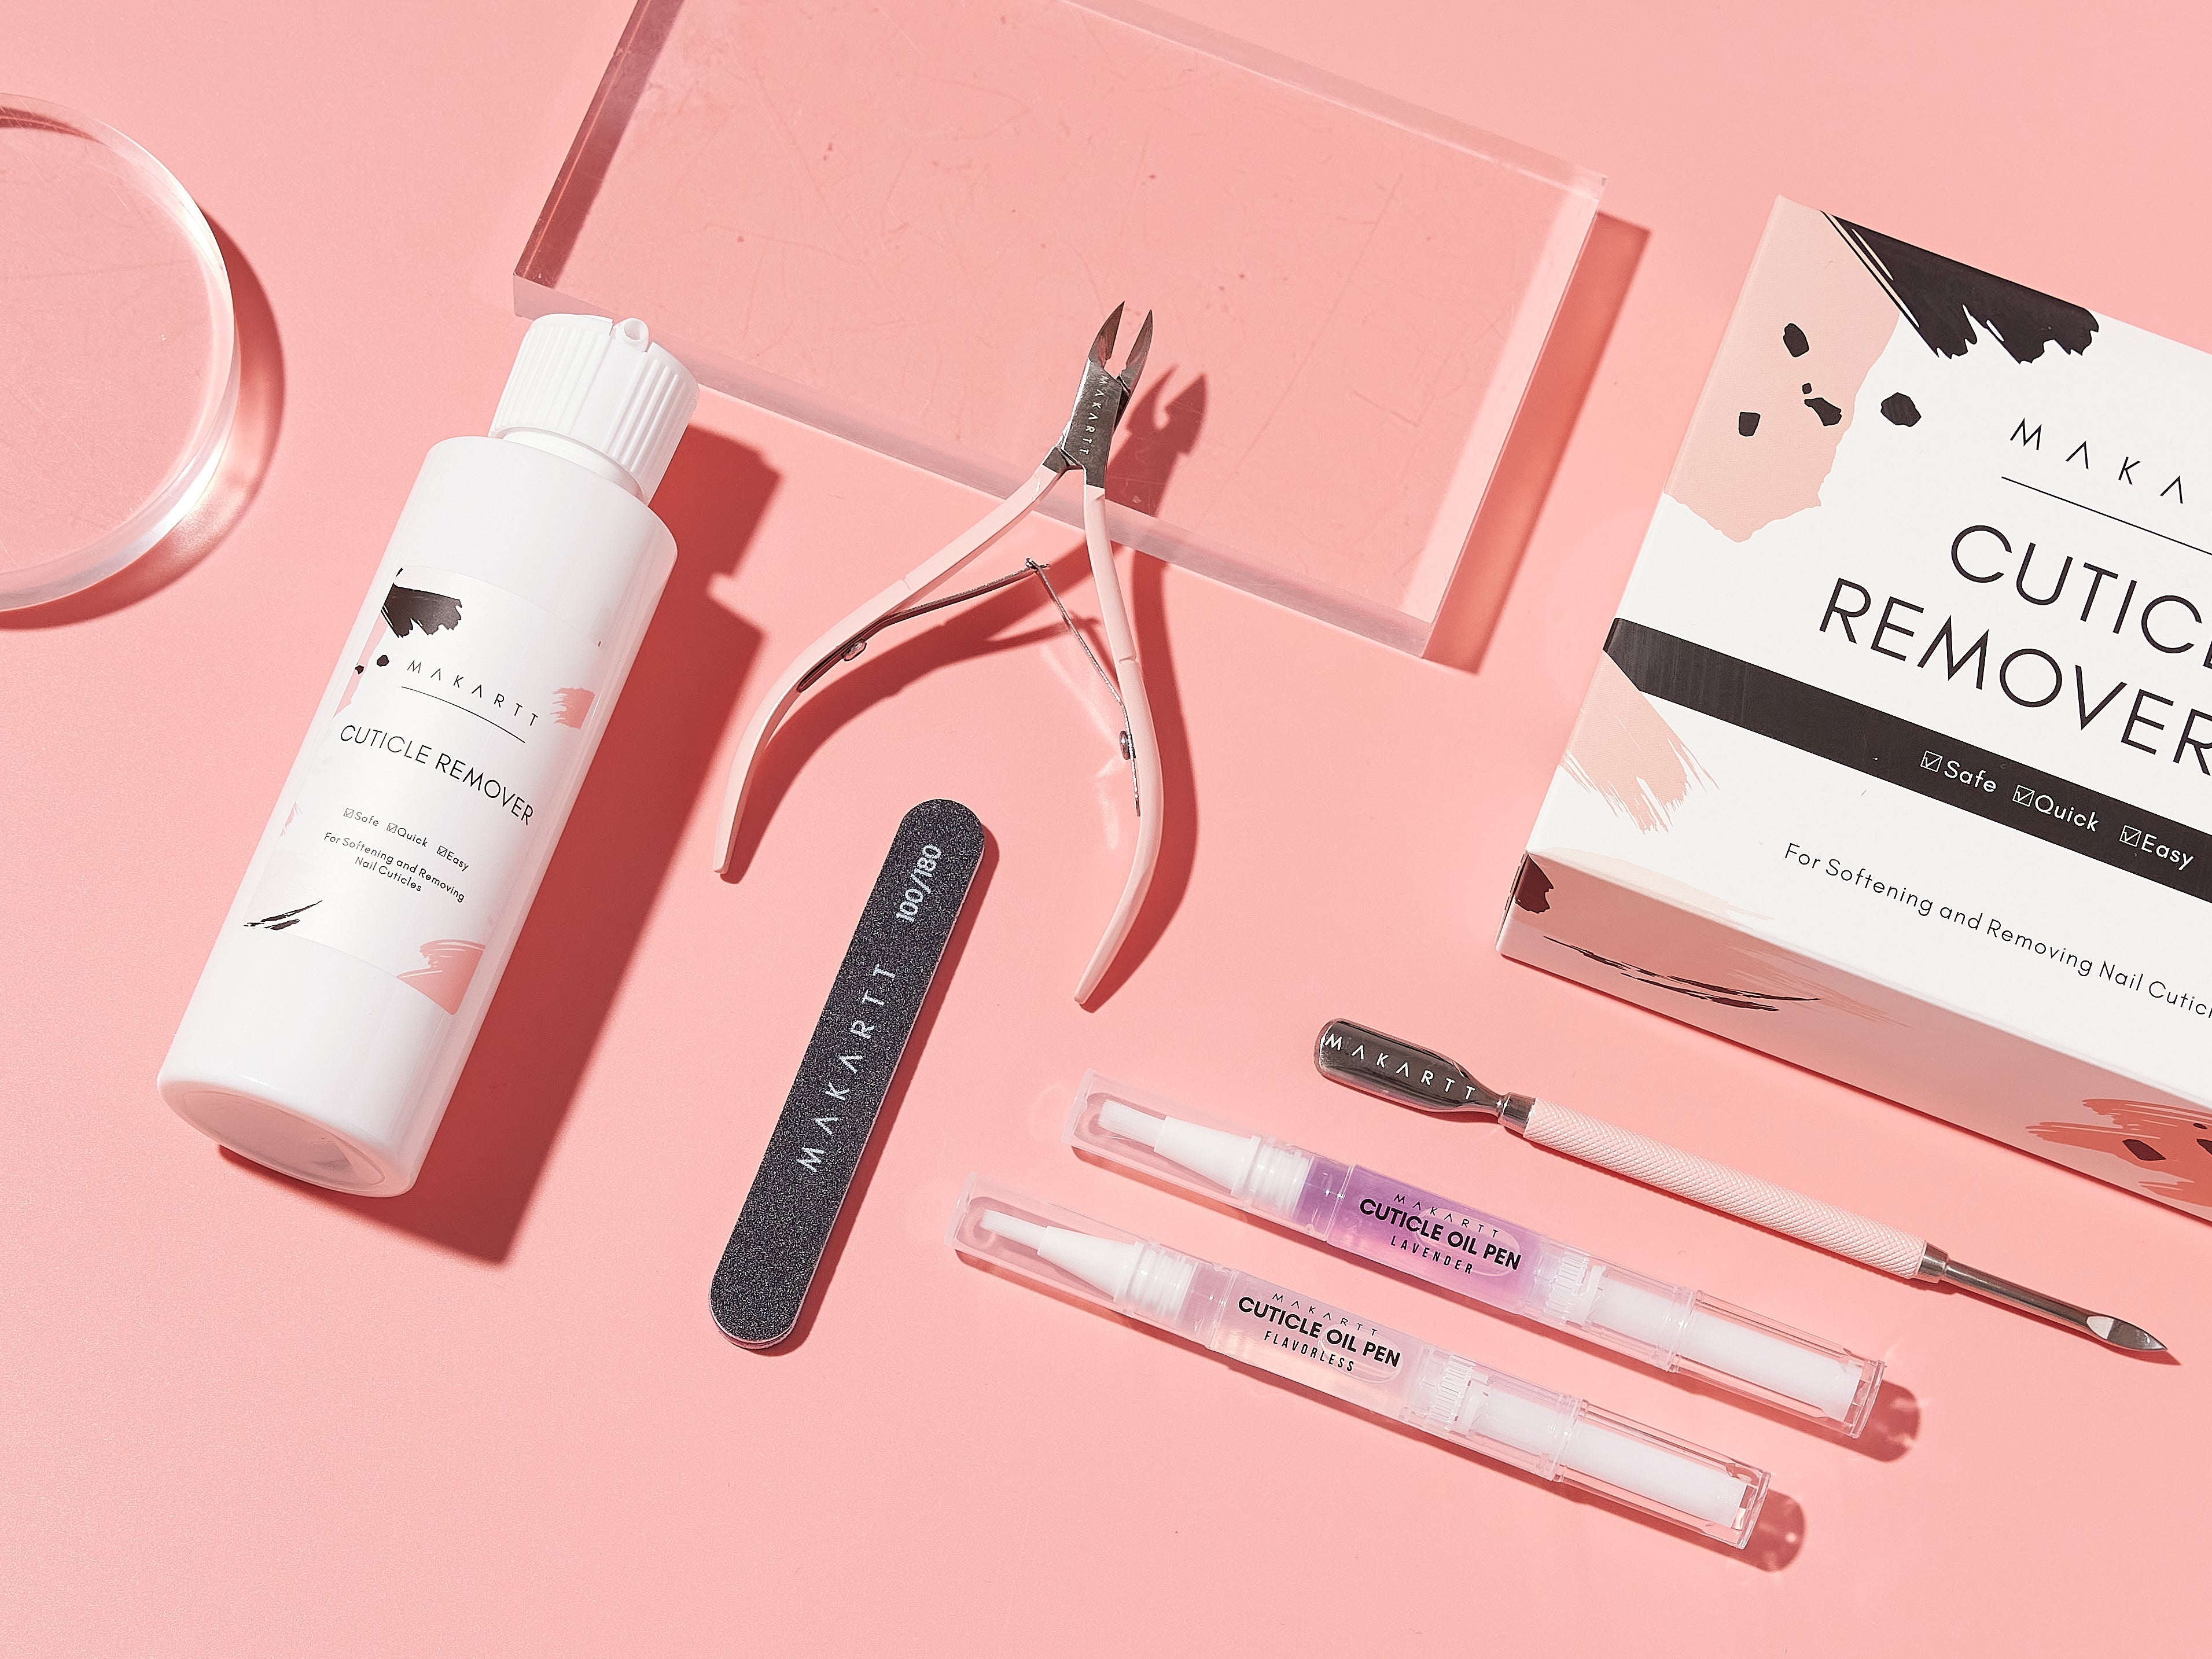
Prepare Your Nails: Start by cleaning and filing your nails to your desired shape. Push back your cuticles and remove any old nail polish.
Apply Base Coat: Apply a thin layer of base coat to your nails and cure it under a UV/LED lamp if using gel polish.
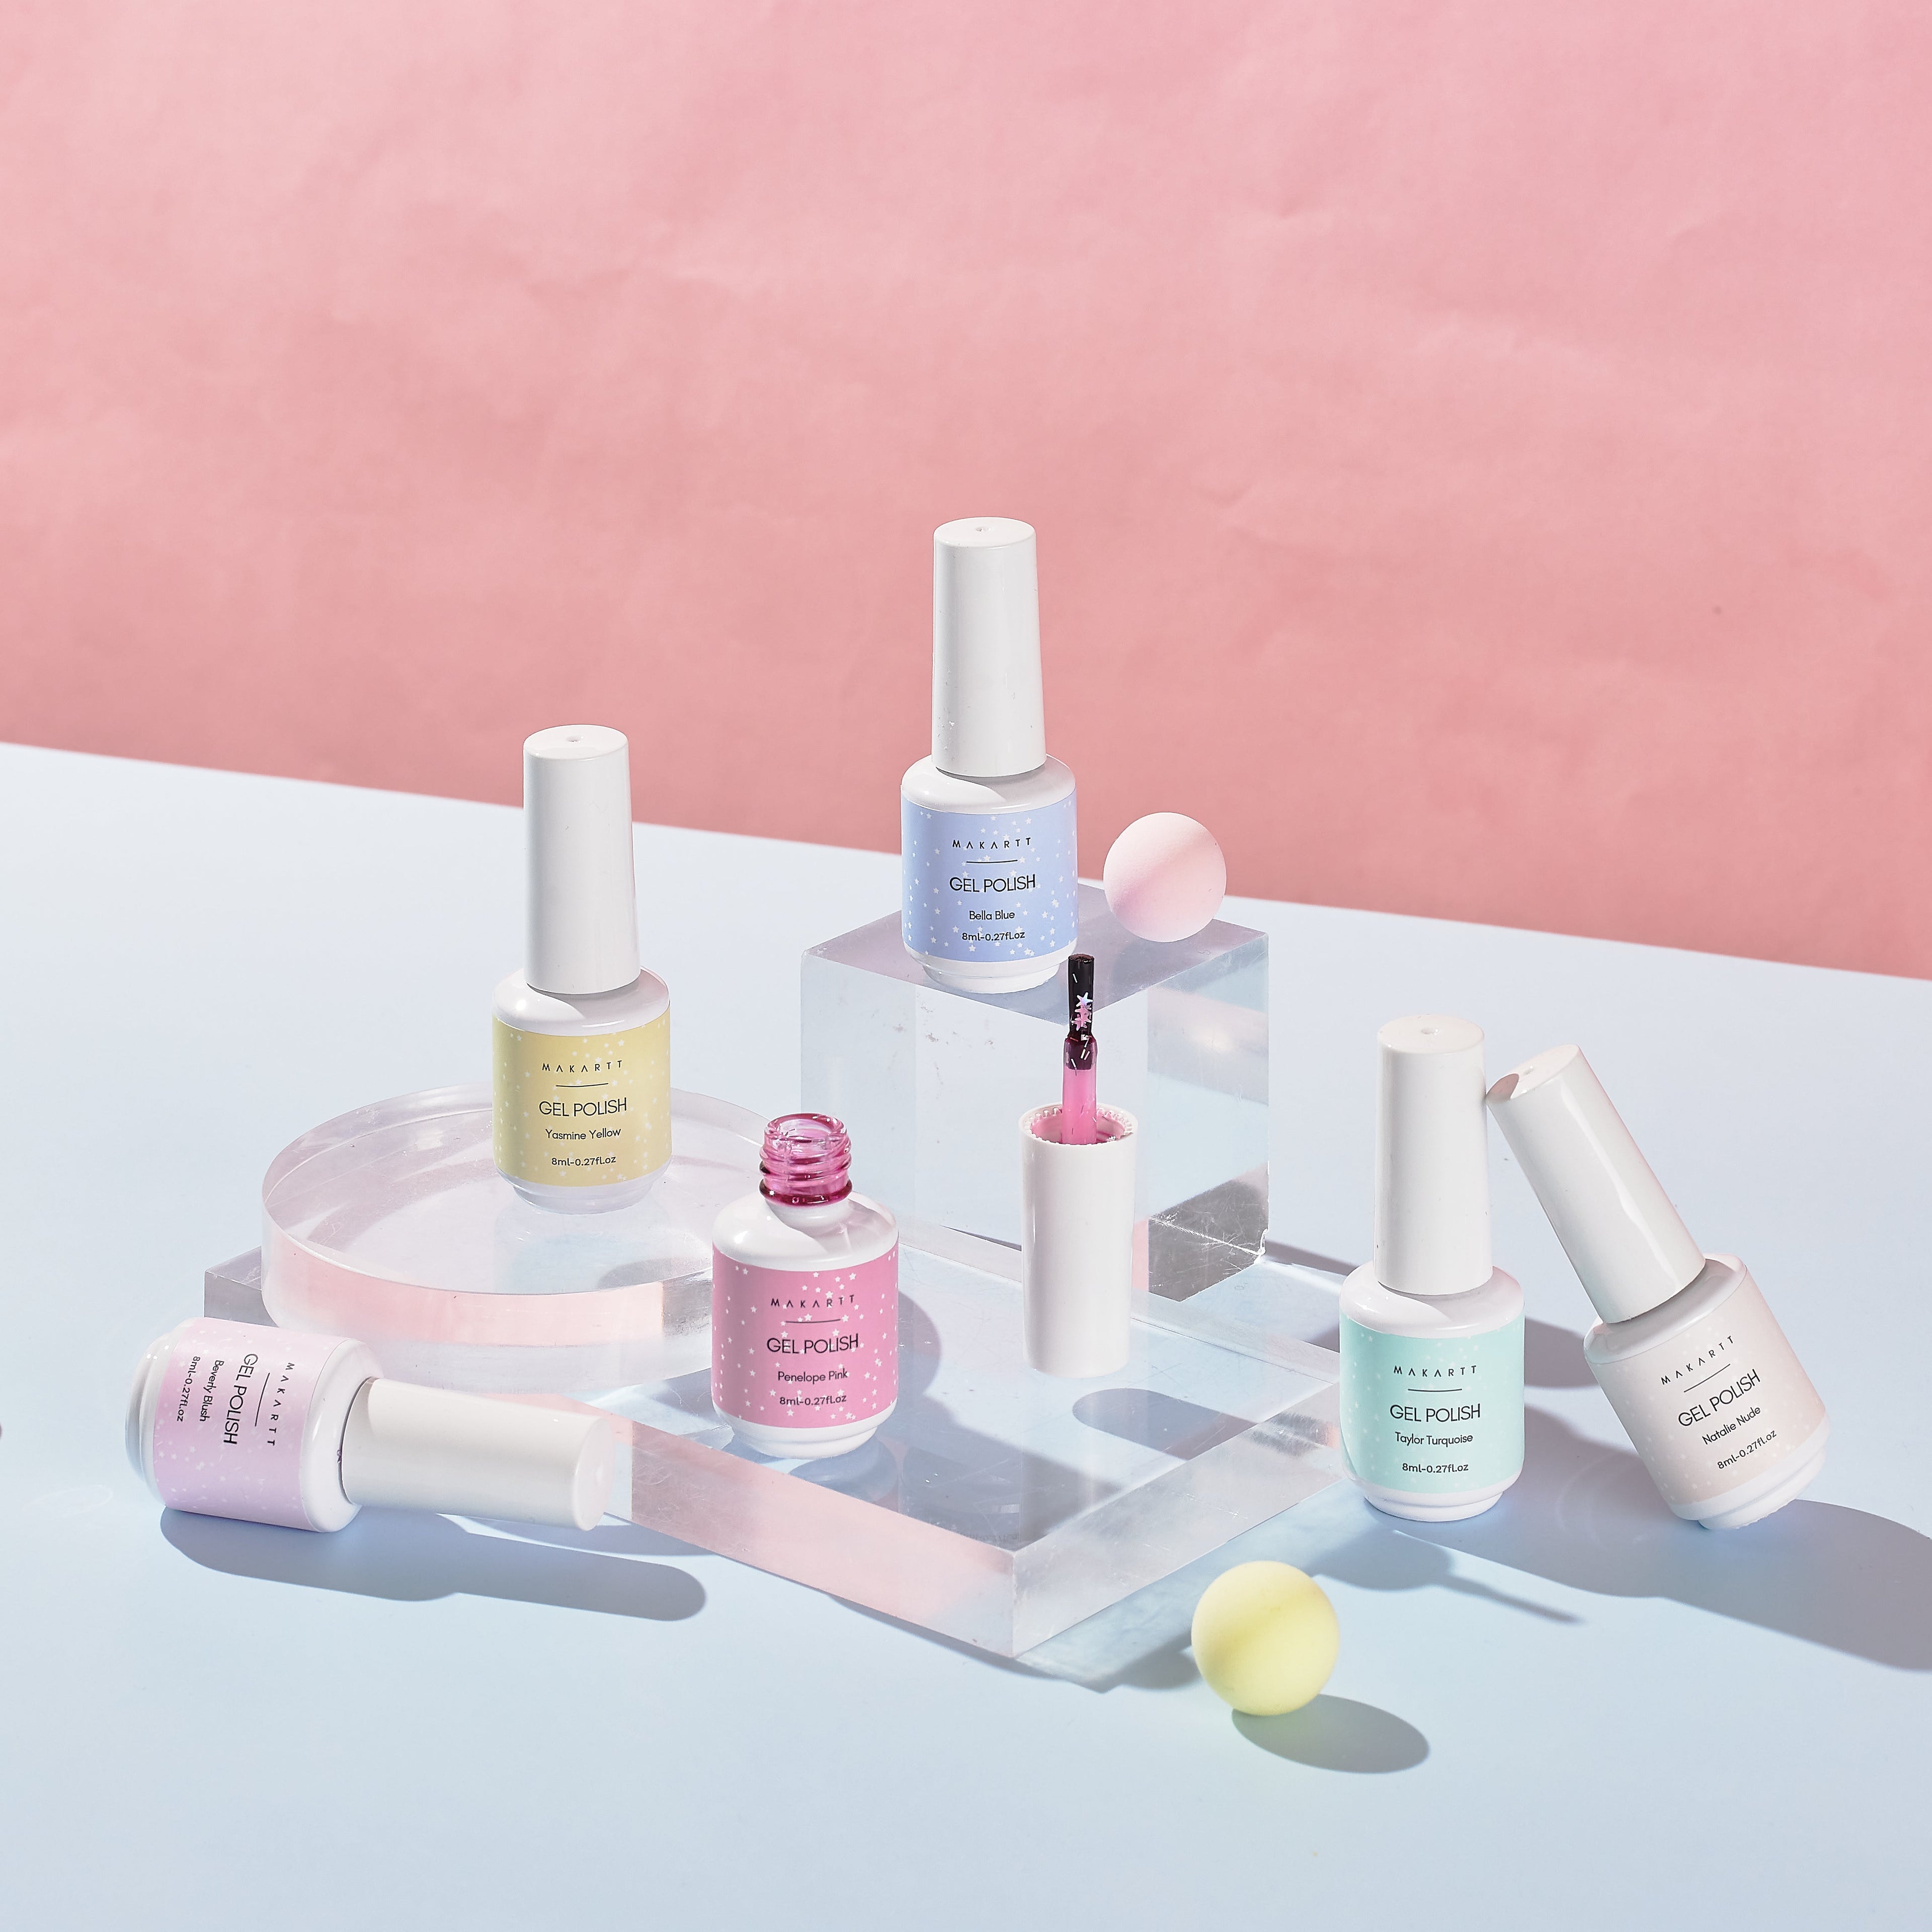
Apply Gel Polish: Apply two layers of your chosen gel polish color, curing each layer under the UV/LED lamp.
Apply Top Coat: Apply a no-wipe gel top coat and cure it under the lamp. The top coat should be smooth and tack-free to ensure the chrome powder adheres properly.
Apply Chrome Powder: Using the applicator, pick up a small amount of chrome powder and rub it onto your nails in a gentle, circular motion. Continue until your nails have a smooth, reflective finish.
Seal with Top Coat: Apply another layer of gel top coat to seal in the chrome powder and cure under the UV/LED lamp. This will give your chrome nail designs a glossy and long-lasting finish.
Popular Chrome Nail Designs
Chrome nail designs are incredibly versatile and can be customized to suit any style. Here are some popular chrome nail design ideas to inspire your next manicure:
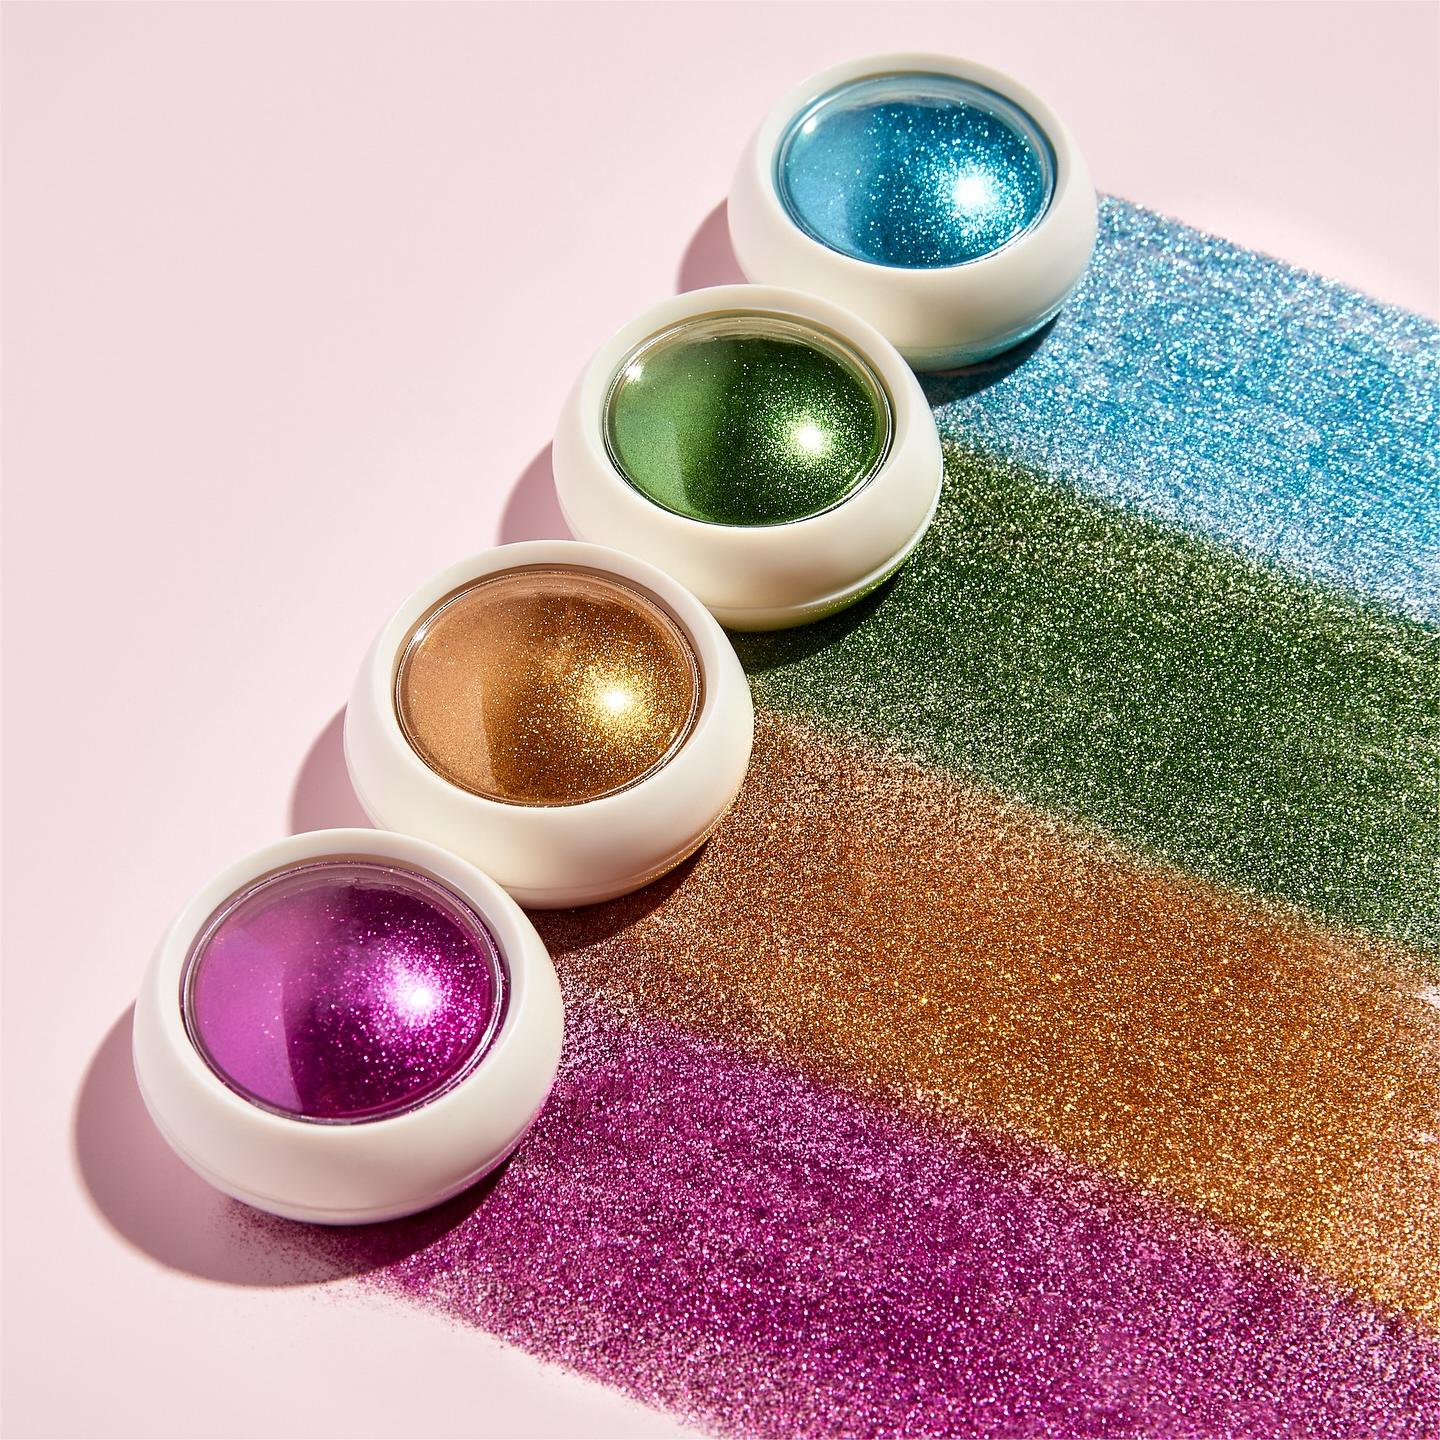
Classic Silver Chrome: The original and most popular chrome nail design, silver chrome nails are sleek, modern, and perfect for any occasion.
Holographic Chrome: For a futuristic and eye-catching look, try holographic chrome nails. These nails shift colors depending on the light, creating a mesmerizing effect.
Rose Gold Chrome: A softer, more feminine take on chrome nail designs, rose gold chrome nails are elegant and chic.
Two-Tone Chrome: Combine two different chrome powders for a unique and striking manicure. For example, you can use silver on one half of your nail and gold on the other.
Chrome French Tips: Update the classic French manicure with chrome tips. This look is subtle yet sophisticated and adds a modern twist to a timeless design.
Tips for Perfect Chrome Nail Designs
To ensure your chrome nail designs look their best, keep these tips in mind:
Smooth Application: Make sure each layer of polish is applied smoothly and evenly. Any imperfections will be magnified by the reflective chrome powder.
Use a No-Wipe Top Coat: A no-wipe gel top coat is essential for chrome nail designs. It provides a smooth, tack-free surface for the chrome powder to adhere to.
Seal Properly: Ensure you seal the chrome powder with a top coat to prevent chipping and extend the life of your manicure.
Chrome nail designs are a fantastic way to add a touch of glamour and sophistication to your nails. With their shiny, metallic finish and endless design possibilities, chrome nail designs are perfect for any occasion. Whether you prefer classic silver, holographic, rose gold, or a combination of colors, chrome nail designs will make your nails stand out. Don't wait any longer to try out this stunning nail trend. Gather your supplies, follow the application steps, and get ready to flaunt your dazzling chrome nail designs!
HOW TO
How to Make Chrome Nail Last Long?
by Membership Makartt
on Jan 11 2024
Chrome Nail Powder typically has excellent longevity and durability, allowing you to enjoy your stunning chrome manicure for an extended period. When properly applied and maintained, it can last up to two weeks or even longer.
How to Make Chrome Nail Last Long?
To ensure the longevity of your chrome manicure, follow these essential tips:
1. Proper Nail Preparation
Start by properly prepping your nails before applying the Chrome Nail Powder. Ensure your nails are clean, dry, and free from any oils or residue. Gently push back your cuticles and shape your nails for a clean canvas.
2. Use a High-Quality Base Coat
Before applying the Chrome Nail Powder, it's important to use a high-quality base coat. This not only helps the chrome polish adhere better to your nails but also provides an additional layer of protection.
3. Apply Gel Polish
For the best results, use a gel polish as the base color for your chrome nails. Choose a color that complements the chrome powder you will be using. Apply two thin coats of gel polish, curing each layer under a UV or LED lamp. Thin layers prevent the polish from lifting and help the chrome powder adhere evenly.
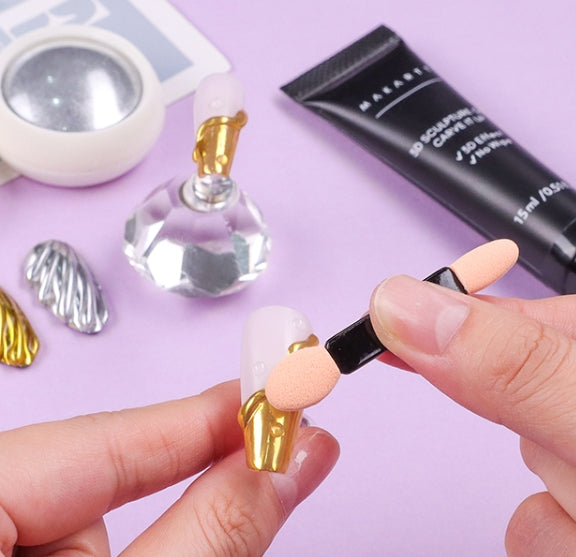
4. Perfect the Chrome Powder Application
The application of chrome powder is crucial for achieving a long-lasting finish. Use a high-quality chrome powder and a silicone applicator or a sponge eyeshadow applicator for the best results. After curing the gel polish, rub the chrome powder onto the nail surface in a circular motion until you achieve a mirror-like finish. Be thorough and ensure even coverage to avoid patchiness.
5. Seal with a Top Coat
Once you've achieved your desired chrome effect, make sure to seal your manicure with a top coat specifically designed for chrome nails. Use a no-wipe gel top coat for a glossy finish. Apply a generous layer, capping the free edges of your nails to prevent chipping. Cure the top coat under a UV or LED lamp for the recommended time. For added durability, consider applying a second layer of top coat and curing it again.
6. Avoid Water and Chemicals
Water and chemicals can weaken the bond of your chrome nails, causing them to lift or chip prematurely. For the first 24 hours after application, avoid prolonged exposure to water. When doing household chores or using cleaning products, wear gloves to protect your nails. This simple step can significantly extend the life of your chrome manicure.
7. Regular Maintenance
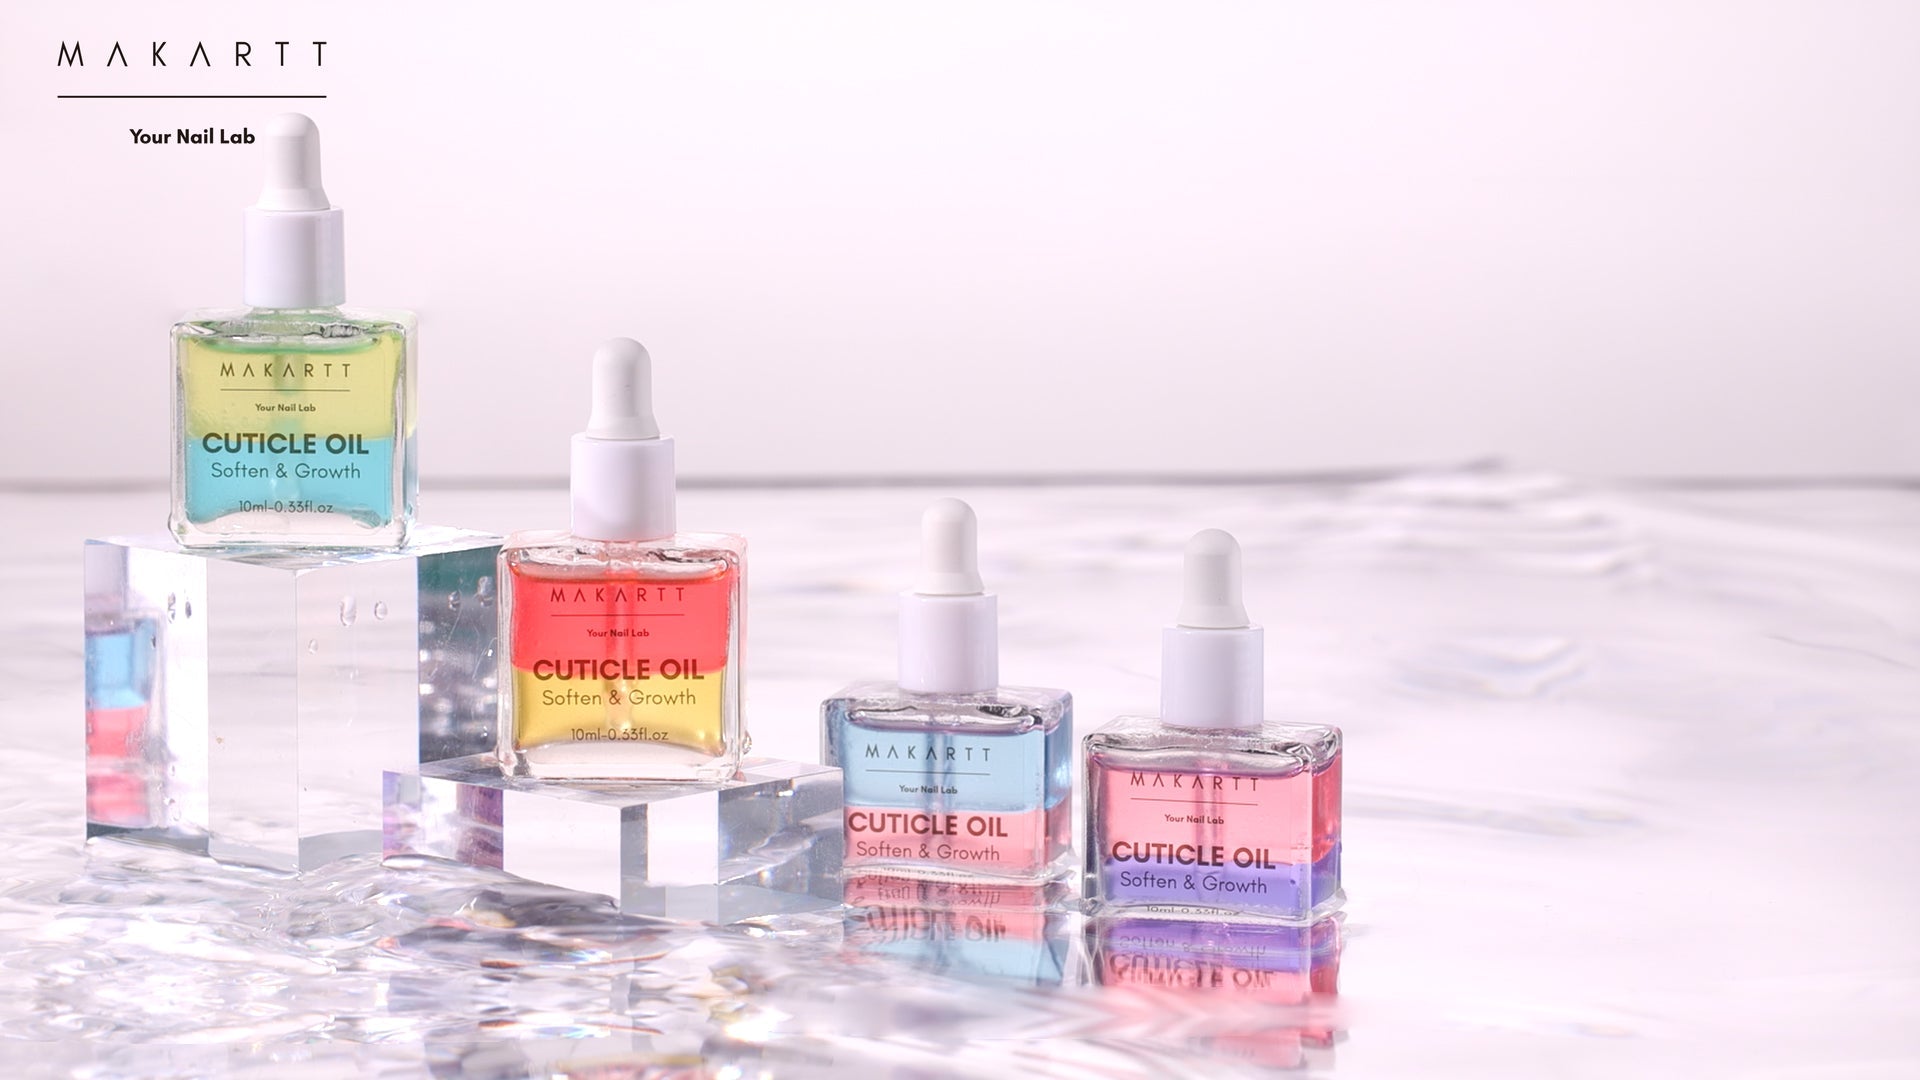
Regular maintenance is key to keeping your chrome nails looking fresh. Apply cuticle oil daily to keep your nails hydrated and prevent lifting. If you notice any chips or peeling, address them immediately to prevent further damage. A quick touch-up with gel polish and chrome powder can make your manicure look brand new.
8. Professional Removal
Proper removal is just as important as the application. Avoid peeling or picking at your chrome nails, as this can damage your natural nails. Instead, soak them in acetone and gently remove the gel polish and chrome powder. This method ensures your nails remain healthy and ready for your next stunning manicure.
Warm Tips for Long-Lasting Chrome Nails
Keep Your Hands Moisturized: Dry hands can lead to dry and brittle nails. Regularly apply hand cream and cuticle oil to keep your skin and nails hydrated.
Avoid Harsh Chemicals: Household cleaners and detergents can be tough on your nails. Always wear gloves when handling these products.
Be Gentle with Your Nails: Avoid using your nails as tools. This can cause chips and breaks, shortening the life of your manicure.
Regular Touch-Ups: If you notice minor chips or imperfections, address them immediately to maintain the overall look of your nails.
Additional Tips for Chrome Nail Longevity
Use Quality Products: Investing in high-quality gel polishes, chrome powders, and top coats can make a significant difference in the durability of your manicure. Cheaper products might not provide the same level of adhesion and longevity.
Proper Application Technique: Ensure that each layer of polish and powder is applied thinly and evenly. Thick layers are more prone to lifting and chipping. Take your time to apply each product carefully.
Cure Properly: Make sure each layer of gel polish and top coat is fully cured under the UV or LED lamp. Incomplete curing can lead to peeling and chipping. Follow the recommended curing times for each product.
Avoid Over-Buffing: While it’s important to buff the nail surface to remove shine, over-buffing can weaken your nails and make them more prone to damage. Be gentle and only buff enough to remove the surface shine.
Store Products Properly: Store your gel polishes, top coats, and chrome powders in a cool, dark place to prevent them from becoming thick or clumpy. Proper storage ensures that the products maintain their effectiveness.
Achieving long-lasting chrome nails is all about preparation, application, and maintenance. By following these tips on how to make chrome nails last long, you can enjoy a flawless and durable manicure that turns heads. Invest in high-quality products and take the time to care for your nails, and you'll be rewarded with a stunning chrome finish that lasts.
With the right techniques and a bit of care, you can ensure your chrome nails stay beautiful for weeks. Remember, the key is in the details – from proper nail preparation to using quality products and maintaining your nails regularly. Follow these guidelines and enjoy the longevity of your chrome nails.

HOW TO
How to Make Long-Lasting Polygel Nails?
by NailLab Makartt
on Dec 25 2023
Polygel nails offer numerous advantages that have contributed to their popularity. Firstly, polygel nails are incredibly lightweight, making them feel natural and comfortable on the nails. Secondly, polygel nails are highly flexible, reducing the risk of cracking or breaking. Additionally, polygel nails are odorless and do not produce any harmful fumes during the application process. Lastly, polygel nails provide excellent adhesion, ensuring long-lasting wear without lifting or peeling.
How to Make Long-Lasting Polygel Nails?
To maintain polygel nails, it's essential to follow a few simple steps. Regular nail care, such as moisturizing the cuticles and applying cuticle oil, will keep polygel nails looking healthy. Avoid using your nails as tools and be cautious while engaging in activities that may cause damage. When it comes to removal, it's recommended to visit a professional nail technician. Alternatively, you can practice using nail drills to remove polygel nails safely. Professionals will safely file down the polygel layer and soak the nails in acetone to dissolve the remaining product.
Make More Nail Art Designs with Polygel Nails
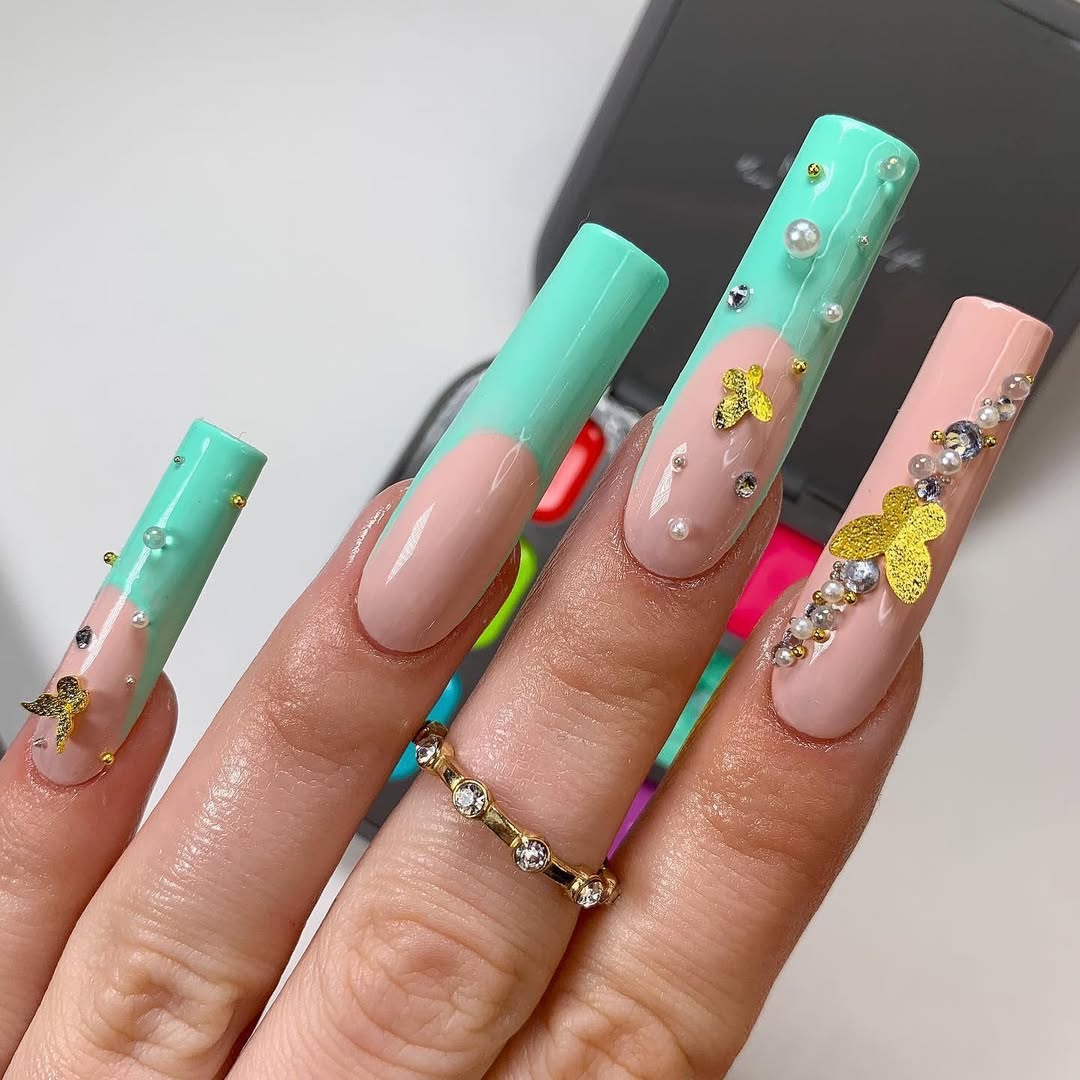
Polygel nails offer endless design possibilities for creative expression. Polygel nails can be shaped into various lengths and styles, from elegant stiletto or almond shapes to classic square or rounded tips. You can experiment with different colors, glitters, and nail art techniques to achieve unique and personalized looks. The versatility of polygel nails allows for sculpting 3D designs, embedding gems or charms, and even creating ombre effects.
Nail Art Design with Polygel Nails and Glitter or Rhinestones
Prep Your Nails and Apply the Base Coat: Start with clean, prepped nails and apply a base coat to protect your natural nails and provide a smooth surface for the polygel.
Mix the Polygel: Combine the pink poly nail extension gel with glitter powder of your choice.
Apply the Polygel: Pick some pink polygel mixed with glitter and apply it to your nails. Cure the polygel under a UV or LED lamp as directed.
Form and Shape the Nails: After curing, form and shape the polygel nails using a nail file to achieve your desired nail shape.
Apply Top Coat and Finish: Finally, apply a top coat to seal the design and cure it again under the UV or LED lamp for a glossy, long-lasting finish.
Versatility and Creative Potential of Polygel Nails
Polygel nails provide a canvas for an array of nail art designs. From subtle, understated looks to bold and glamorous creations, polygel nails can accommodate any style preference. The strength and flexibility of polygel nails make them ideal for both everyday wear and special occasions. Whether you're going for a natural look or something more extravagant, polygel nails can be customized to suit your needs.
Polygel Nails for Professionals and Enthusiasts
For nail technicians, polygel nails offer a valuable addition to their skill set. The ease of application and durable results make polygel nails a preferred choice for clients seeking reliable and beautiful nail enhancements. As an individual, polygel nails can help you achieve salon-quality results at home. With the right tools and techniques, anyone can master the application of polygel nails and enjoy their long-lasting beauty.
The benefits of polygel nails, including their lightweight feel, flexibility, and odorless application, make them a standout choice for anyone looking to improve their nail game.
By exploring the various design possibilities and following the proper maintenance steps, you can ensure your polygel nails remain beautiful and resilient. Don't hesitate to experiment with different styles and techniques to find the perfect look for you.
Step-by-Step Guide to Apply Polygel Nails
Achieving beautiful and durable polygel nails requires careful application. Here is a step-by-step guide to help you get perfect polygel nails:
Prepare Your Nails: Start by cleaning your nails thoroughly. Remove any old nail polish, push back your cuticles, and lightly buff the surface of your nails to remove any shine. This will help the polygel adhere better.
Apply Base Coat: Apply a thin layer of base coat to your nails and cure it under a UV or LED lamp according to the manufacturer's instructions. This base coat will protect your natural nails and provide a smooth surface for the polygel.
Select the Polygel: Choose your desired polygel color and squeeze a small amount onto a spatula or brush.
Form the Nail Shape: Using a brush dipped in slip solution, spread the polygel evenly over your nail or nail form. Shape the polygel into your desired nail shape and length. The slip solution prevents the polygel from sticking to the brush and helps you mold it easily.
Cure the Polygel: Once you have shaped the polygel to your liking, cure it under a UV or LED lamp. The curing time will depend on the brand of polygel you are using, so follow the instructions provided.
Shape and File: After curing, use a nail file to refine the shape of your nails. Smooth out any rough edges and ensure that the surface is even.
Apply Top Coat: Apply a layer of top coat to seal and protect the polygel nails. Cure the top coat under the UV or LED lamp.
Finishing Touches: After curing the top coat, apply cuticle oil to nourish your cuticles and give your nails a polished, professional finish.
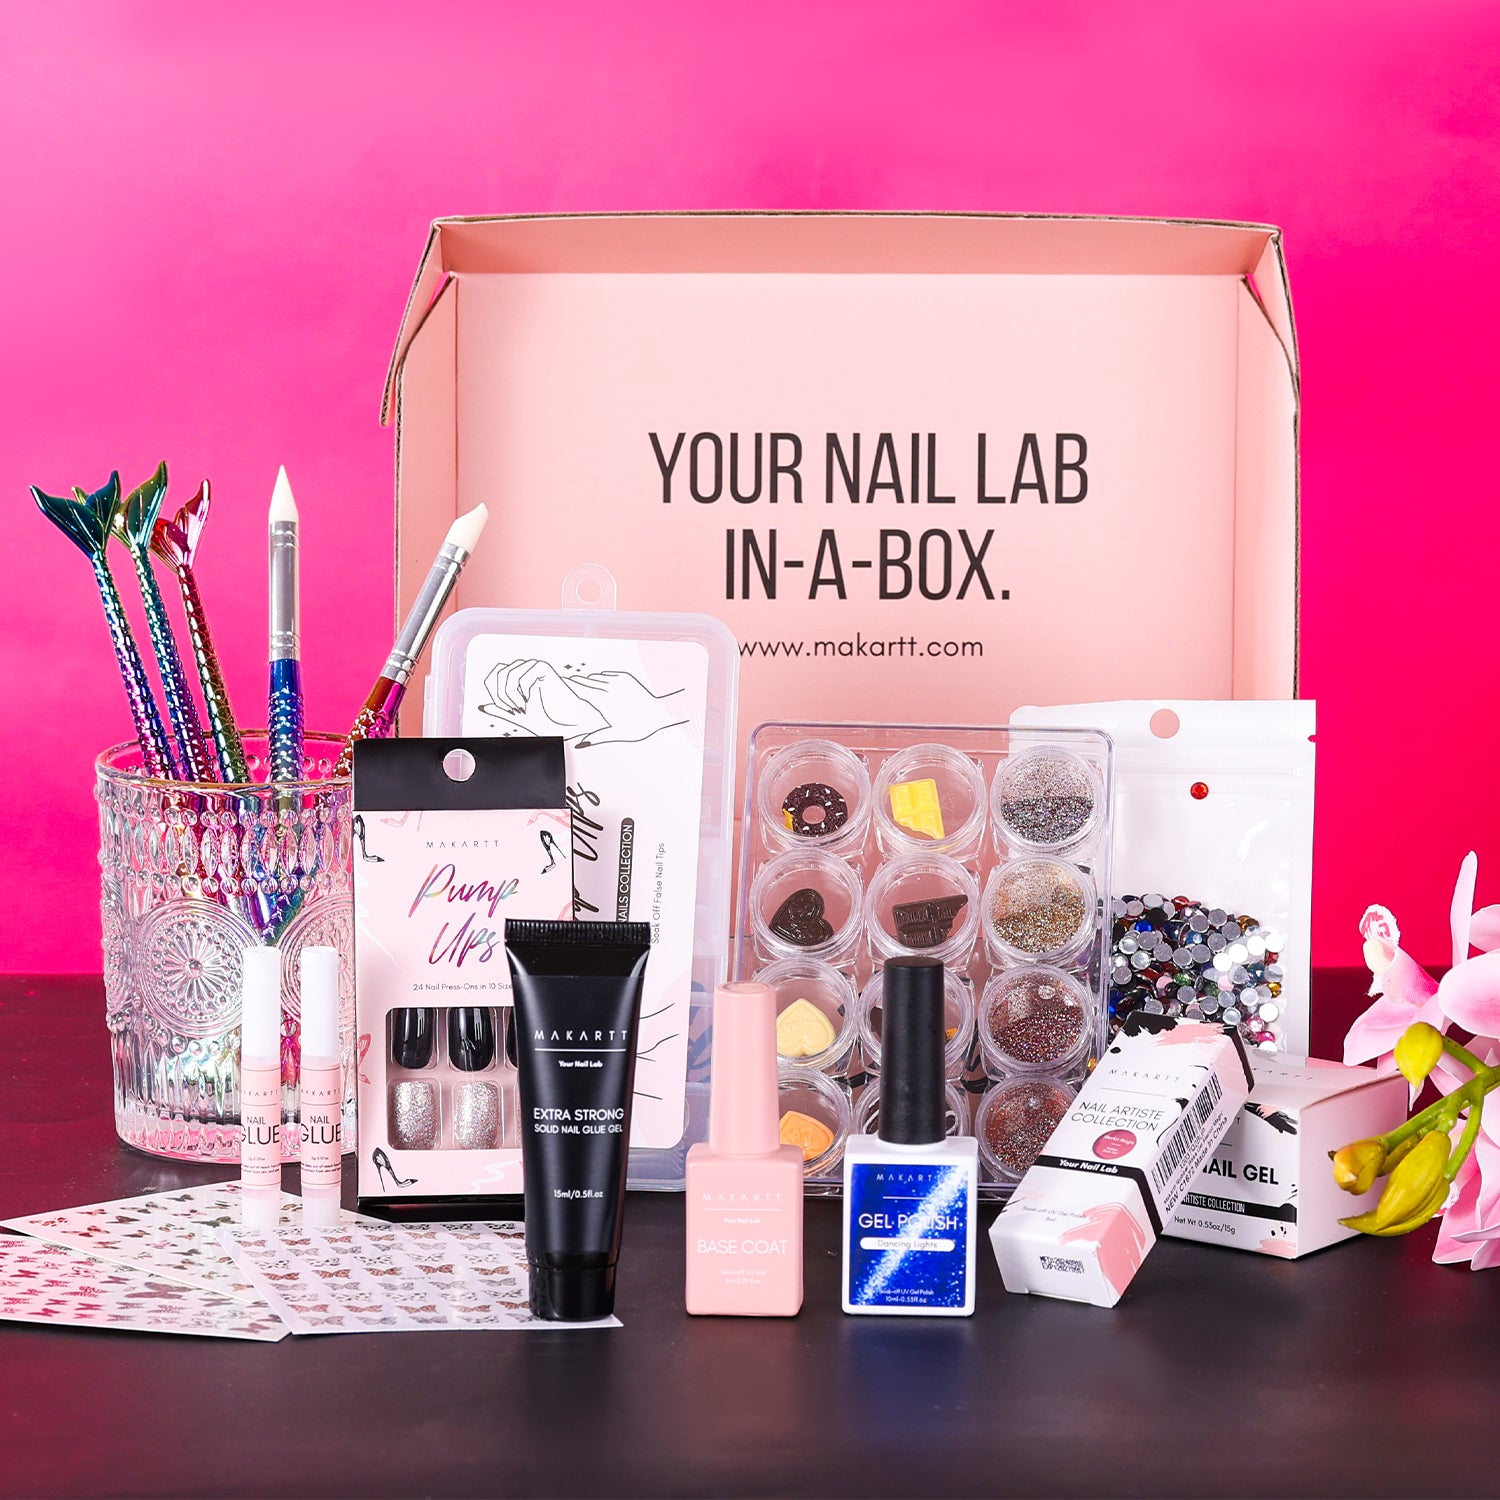
Click on the video below to start learning how to use Makartt's Polygel! The kit featured below is the Pink Poly Nail Extension Gel Kit, but the process is the same for any other Polygel kit!
P & E Trading Inc.
3500 Oak Lawn Ave.,Suite 460, Dallas,TX,75219,USA