How to Make Long-Lasting Polygel Nails?
Polygel nails offer numerous advantages that have contributed to their popularity. Firstly, polygel nails are incredibly lightweight, making them feel natural and comfortable on the nails. Secondly, polygel nails are highly flexible, reducing the risk of cracking or breaking. Additionally, polygel nails are odorless and do not produce any harmful fumes during the application process. Lastly, polygel nails provide excellent adhesion, ensuring long-lasting wear without lifting or peeling.
How to Make Long-Lasting Polygel Nails?
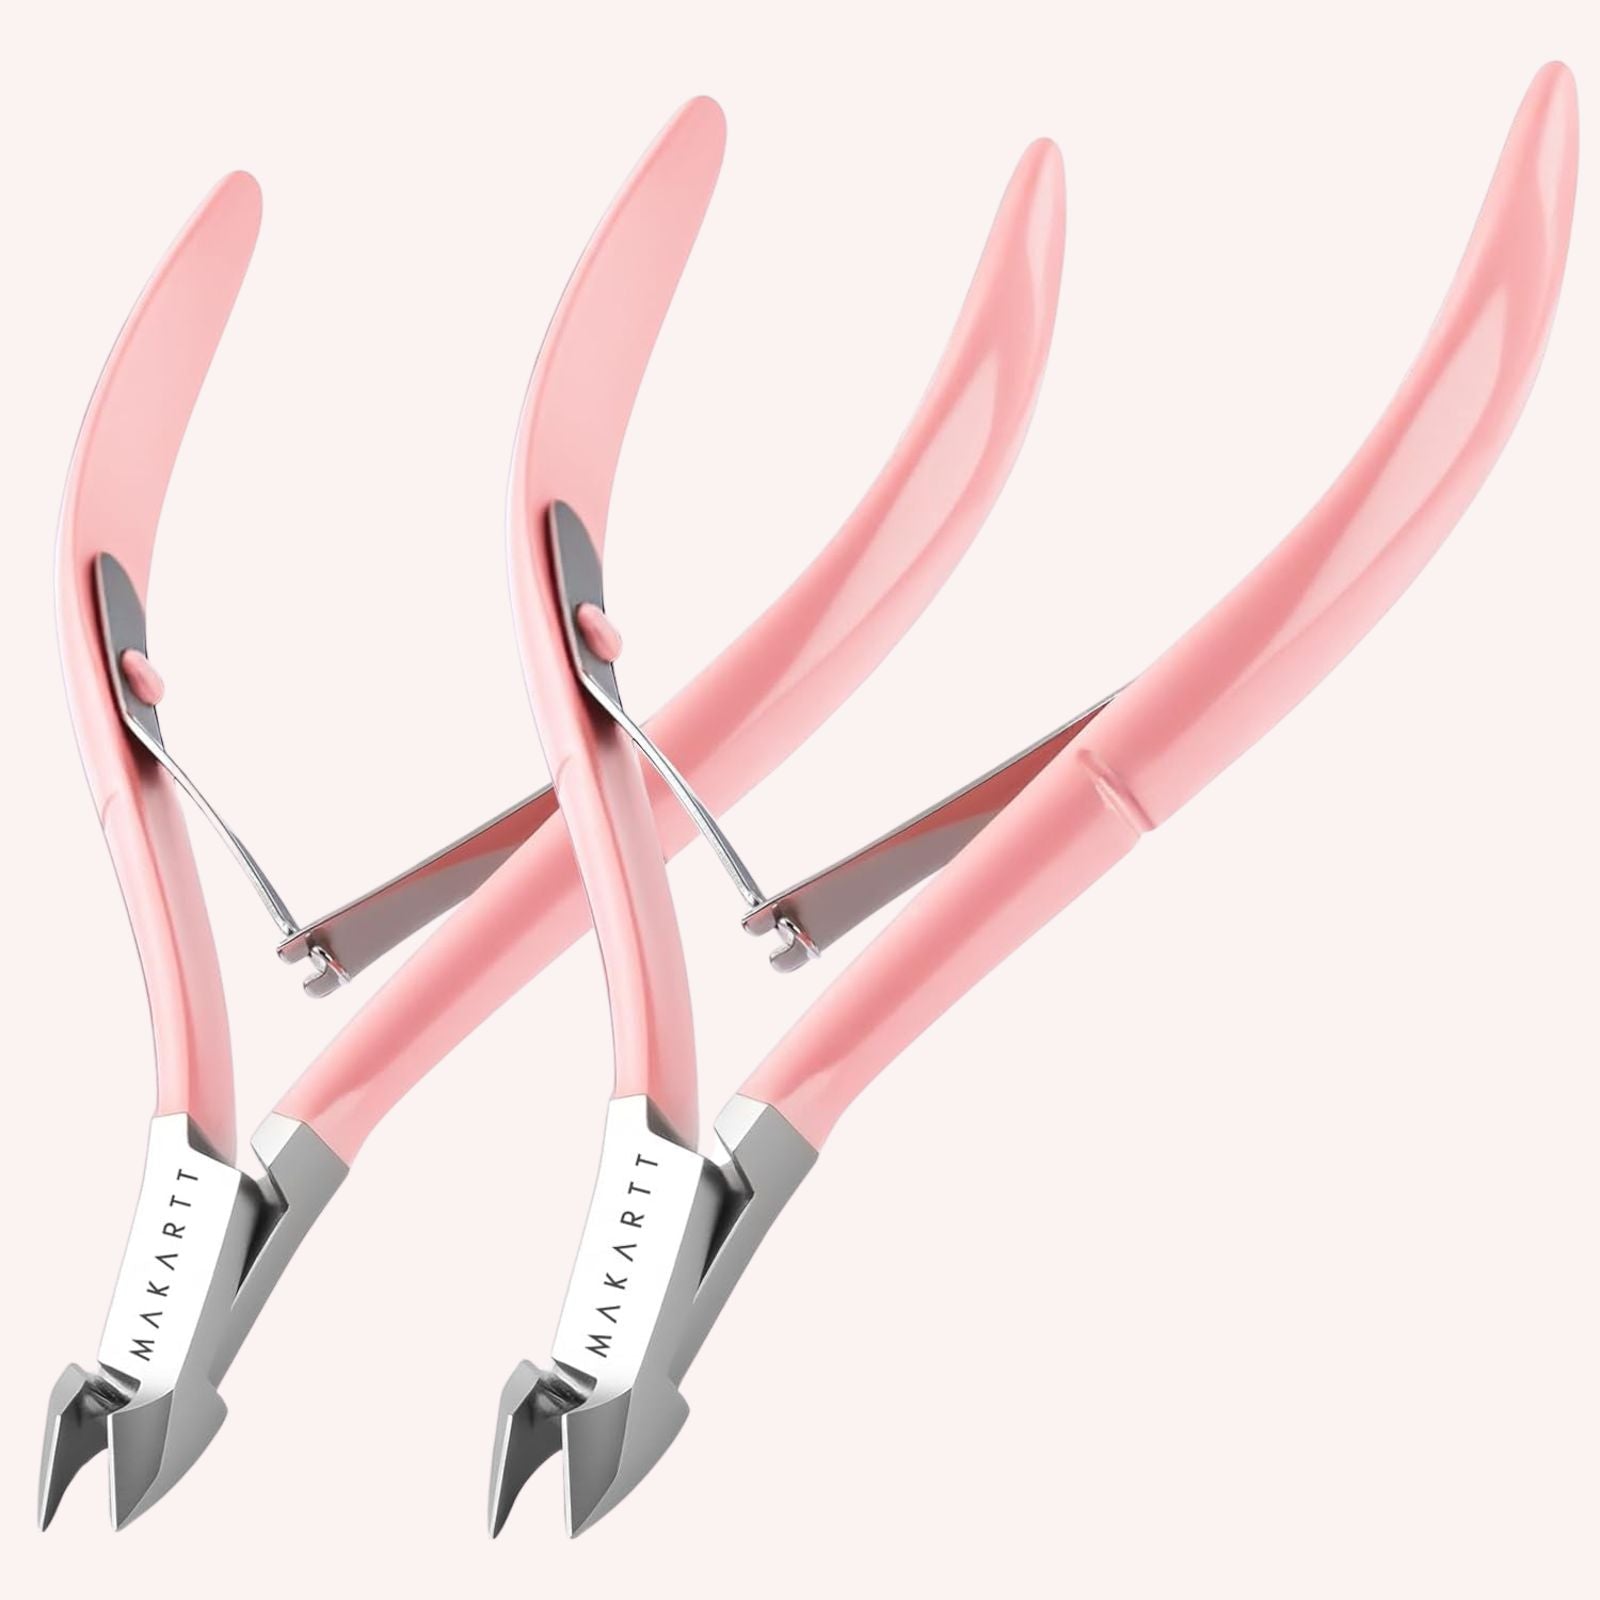
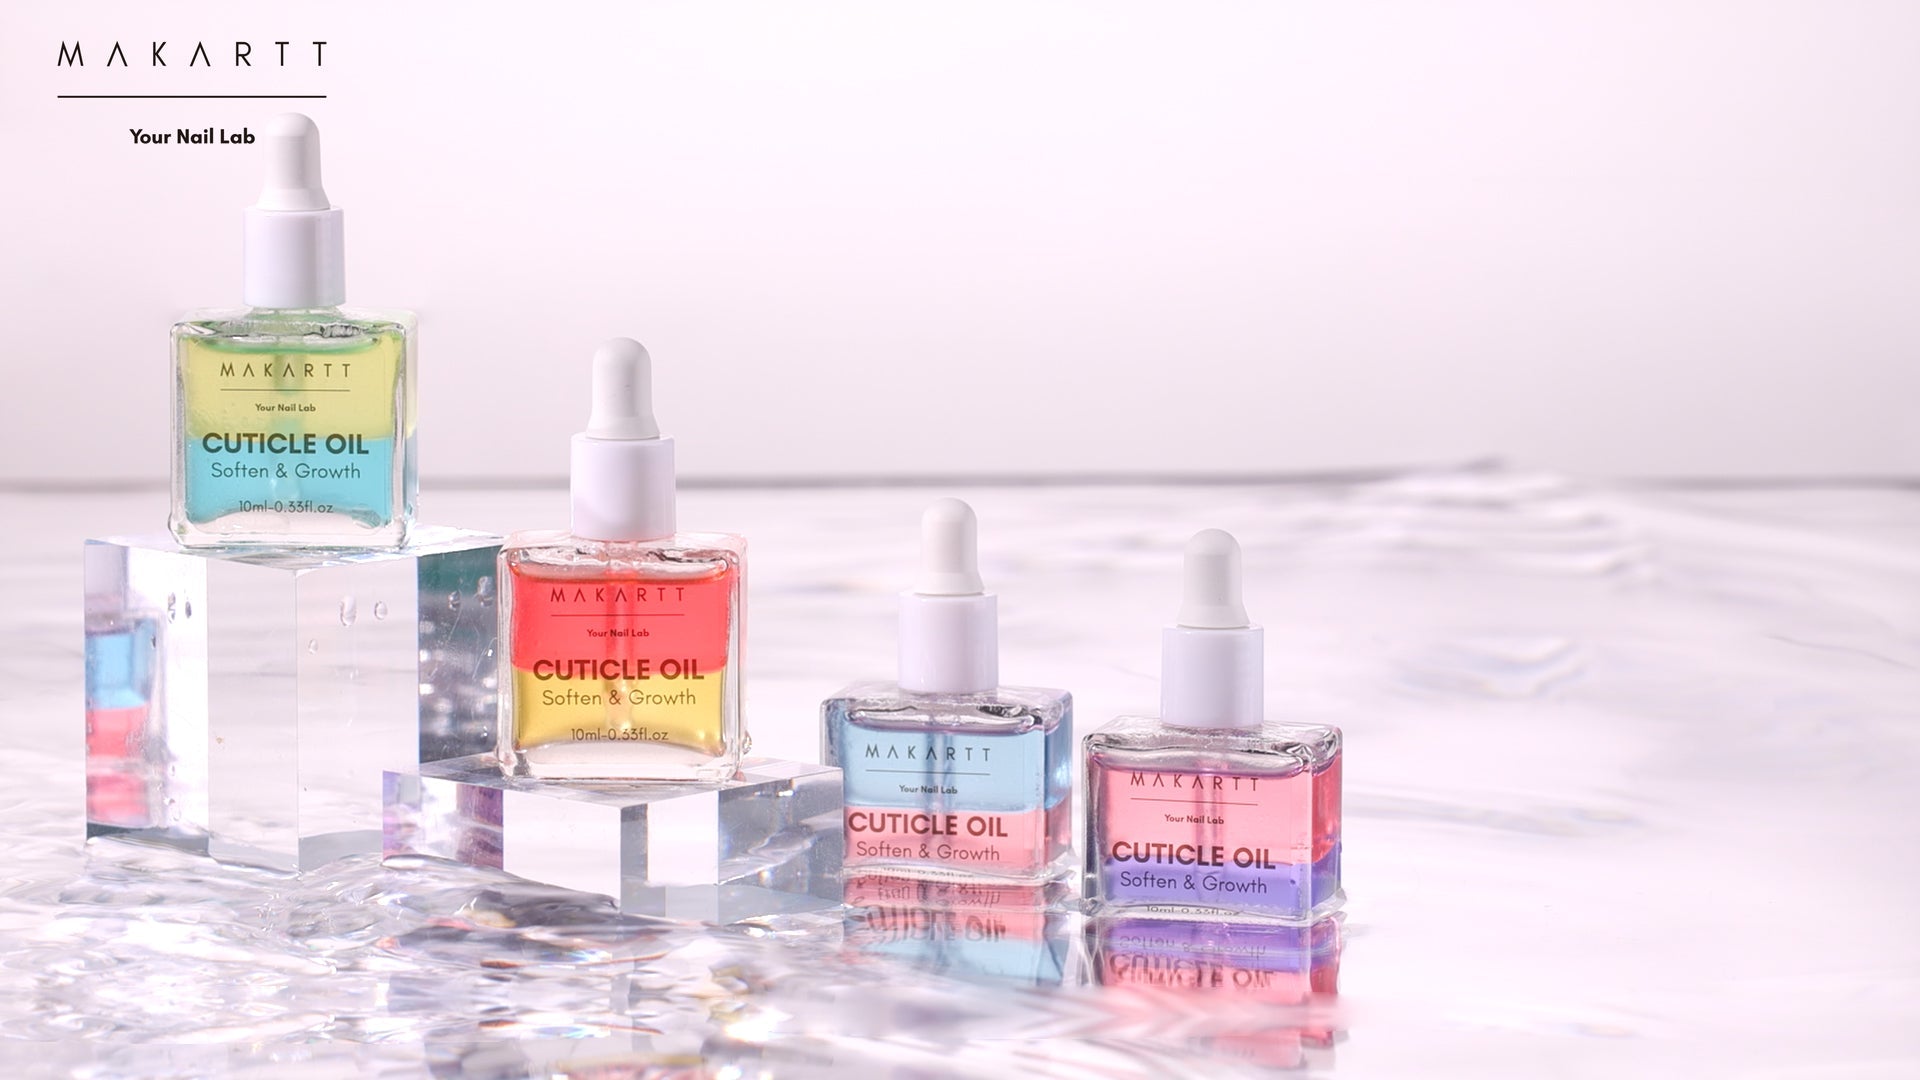
To maintain polygel nails, it's essential to follow a few simple steps. Regular nail care, such as moisturizing the cuticles and applying cuticle oil, will keep polygel nails looking healthy. Avoid using your nails as tools and be cautious while engaging in activities that may cause damage. When it comes to removal, it's recommended to visit a professional nail technician. Alternatively, you can practice using nail drills to remove polygel nails safely. Professionals will safely file down the polygel layer and soak the nails in acetone to dissolve the remaining product.
Make More Nail Art Designs with Polygel Nails
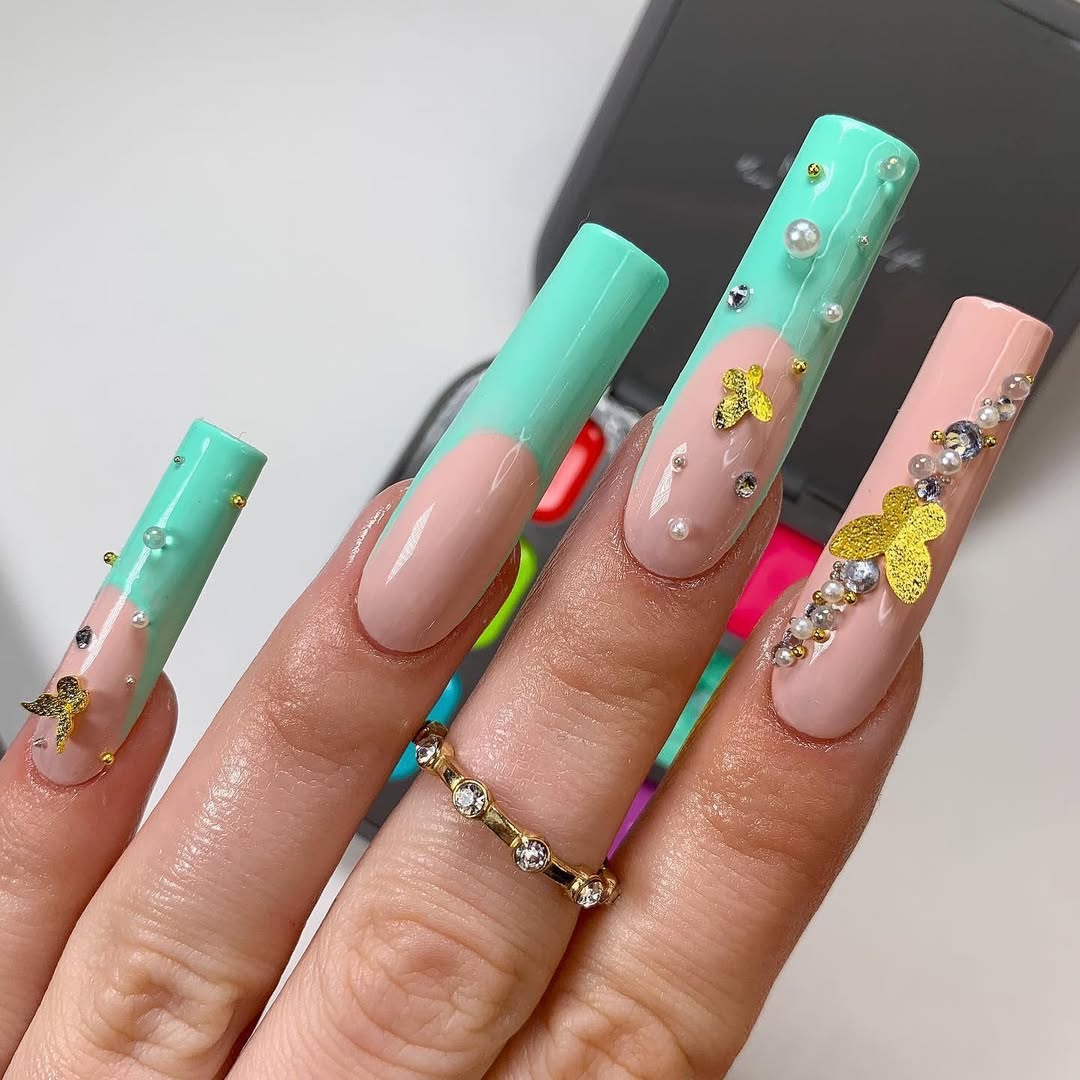
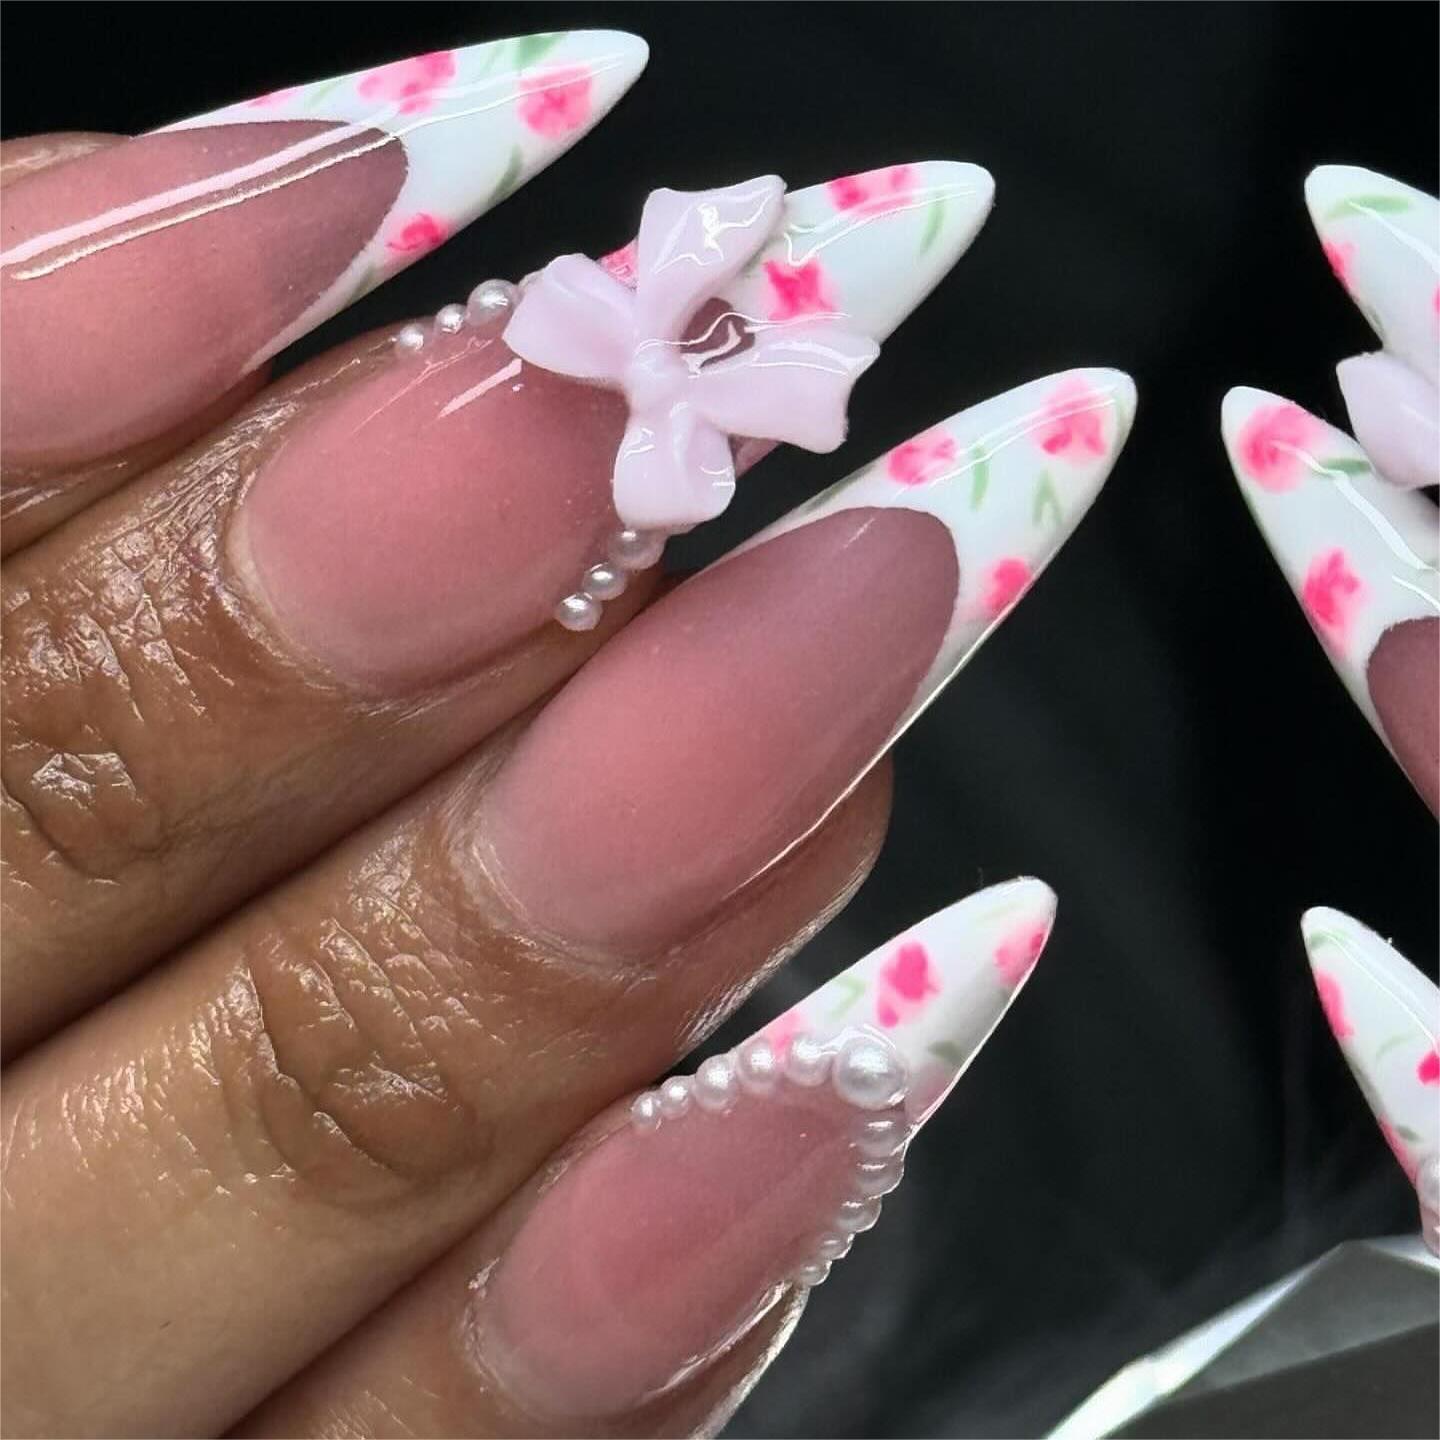
Nail Art Design with Polygel Nails and Glitter or Rhinestones
-
Prep Your Nails and Apply the Base Coat: Start with clean, prepped nails and apply a base coat to protect your natural nails and provide a smooth surface for the polygel.
-
Mix the Polygel: Combine the pink poly nail extension gel with glitter powder of your choice.
-
Apply the Polygel: Pick some pink polygel mixed with glitter and apply it to your nails. Cure the polygel under a UV or LED lamp as directed.
-
Form and Shape the Nails: After curing, form and shape the polygel nails using a nail file to achieve your desired nail shape.
-
Apply Top Coat and Finish: Finally, apply a top coat to seal the design and cure it again under the UV or LED lamp for a glossy, long-lasting finish.
Versatility and Creative Potential of Polygel Nails
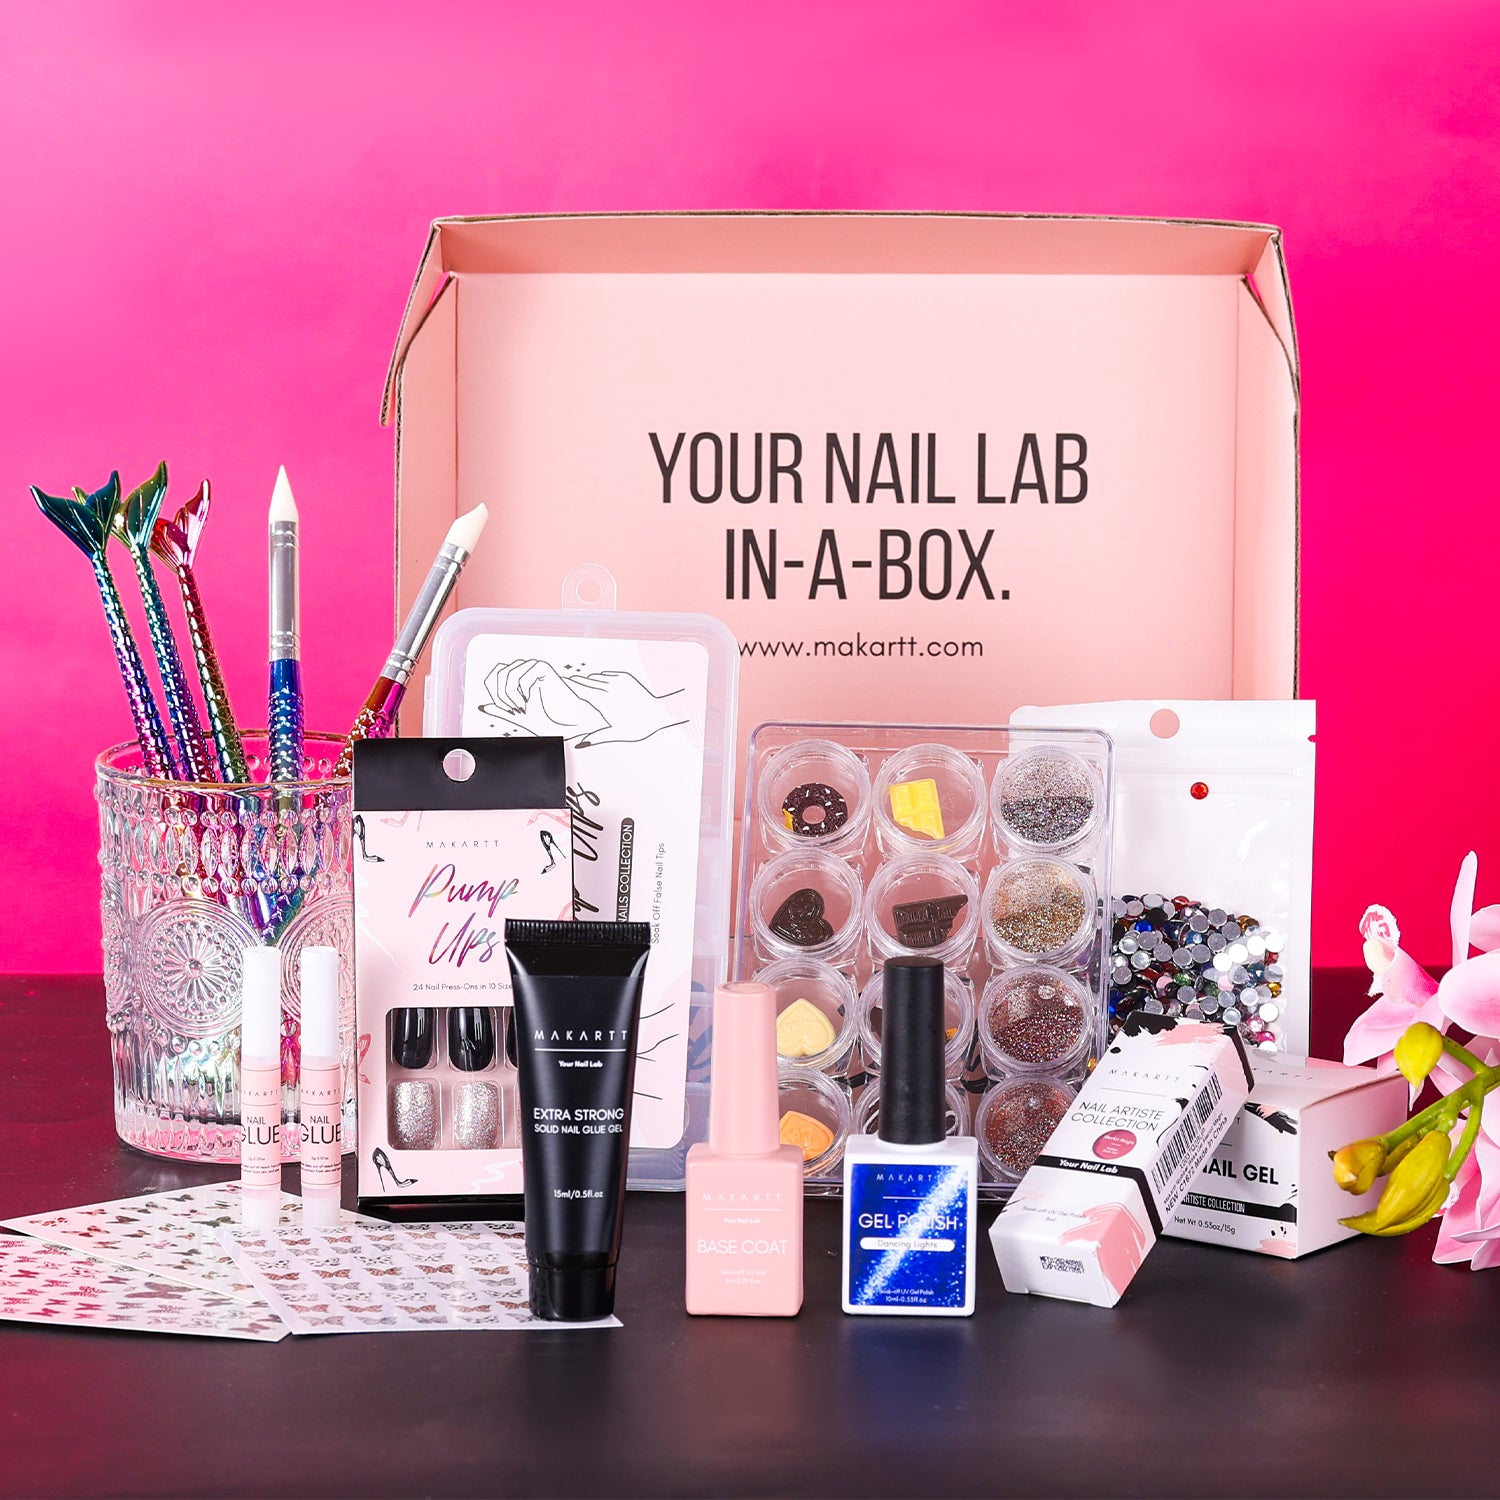
Polygel Nails for Professionals and Enthusiasts
Step-by-Step Guide to Apply Polygel Nails
-
Prepare Your Nails: Start by cleaning your nails thoroughly. Remove any old nail polish, push back your cuticles, and lightly buff the surface of your nails to remove any shine. This will help the polygel adhere better.
-
Apply Base Coat: Apply a thin layer of base coat to your nails and cure it under a UV or LED lamp according to the manufacturer's instructions. This base coat will protect your natural nails and provide a smooth surface for the polygel.
-
Select the Polygel: Choose your desired polygel color and squeeze a small amount onto a spatula or brush.
-
Form the Nail Shape: Using a brush dipped in slip solution, spread the polygel evenly over your nail or nail form. Shape the polygel into your desired nail shape and length. The slip solution prevents the polygel from sticking to the brush and helps you mold it easily.
-
Cure the Polygel: Once you have shaped the polygel to your liking, cure it under a UV or LED lamp. The curing time will depend on the brand of polygel you are using, so follow the instructions provided.
-
Shape and File: After curing, use a nail file to refine the shape of your nails. Smooth out any rough edges and ensure that the surface is even.
-
Apply Top Coat: Apply a layer of top coat to seal and protect the polygel nails. Cure the top coat under the UV or LED lamp.
-
Finishing Touches: After curing the top coat, apply cuticle oil to nourish your cuticles and give your nails a polished, professional finish.
Share