NAIL IDEAS
NAIL IDEAS
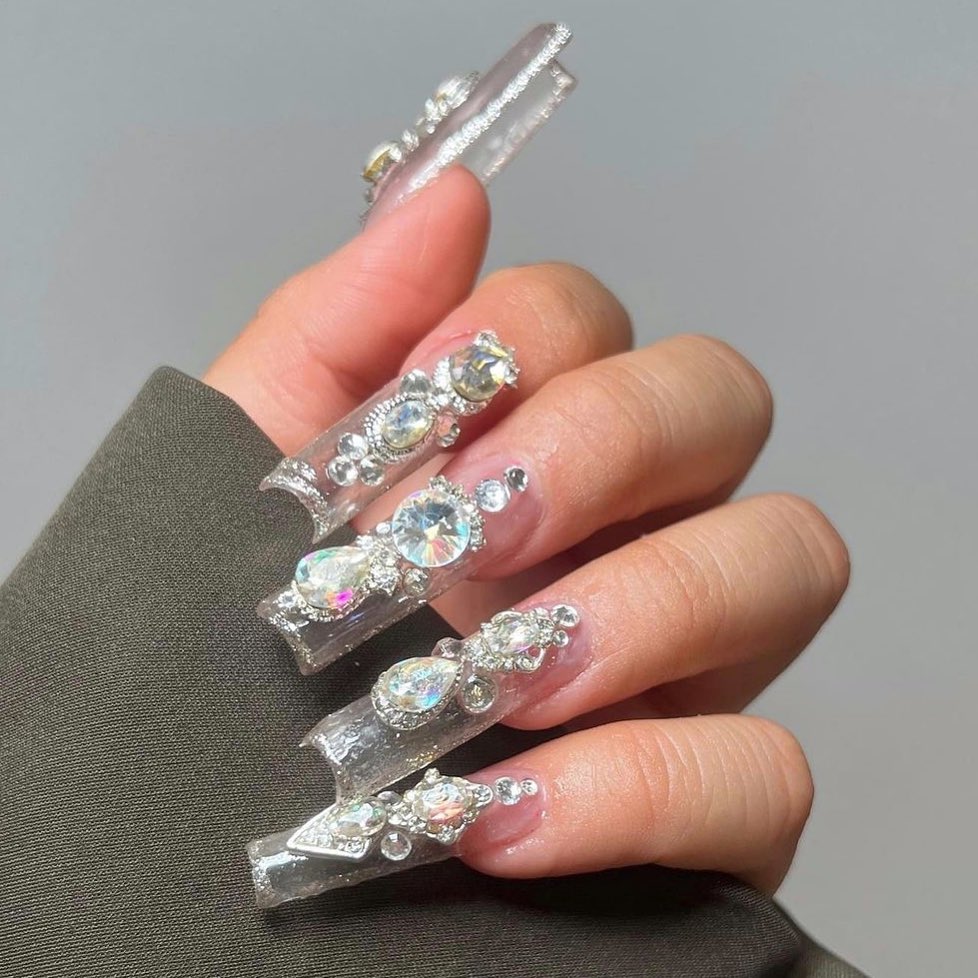
Creative Nail Ideas with Rhinestone Nail Glue
by NailLab Makartt
on Jun 27 2024
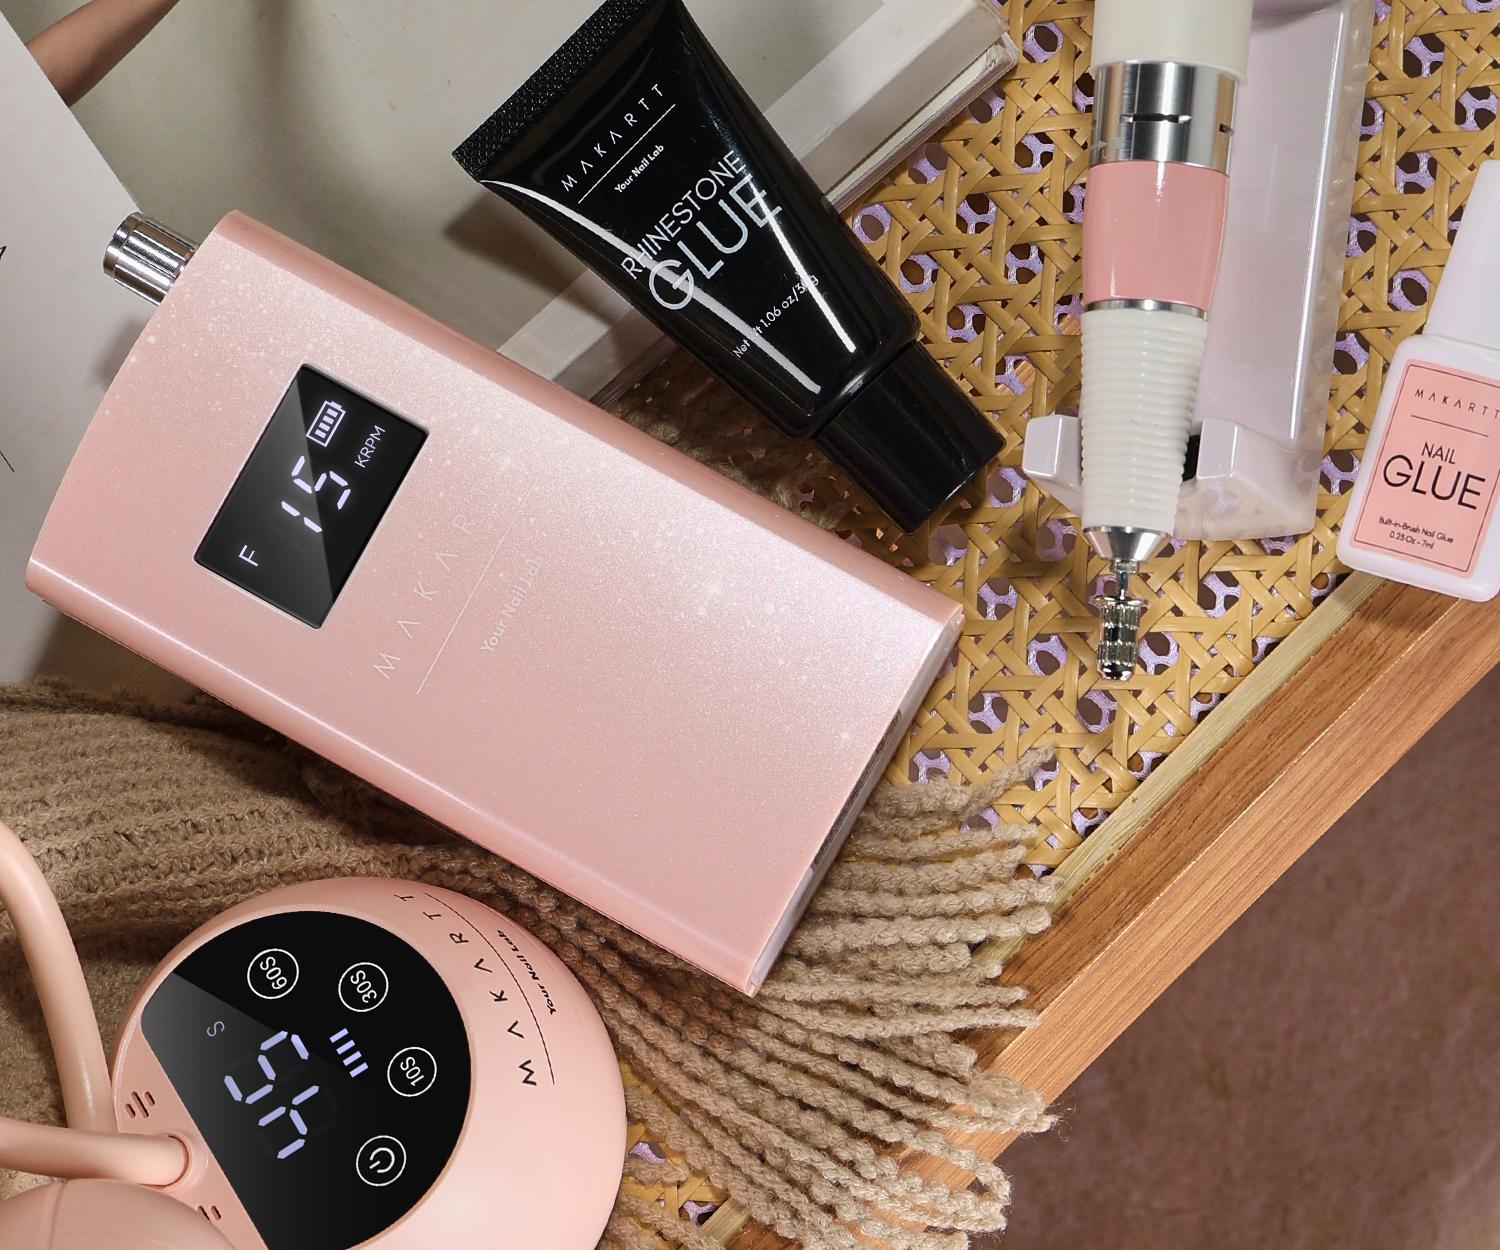
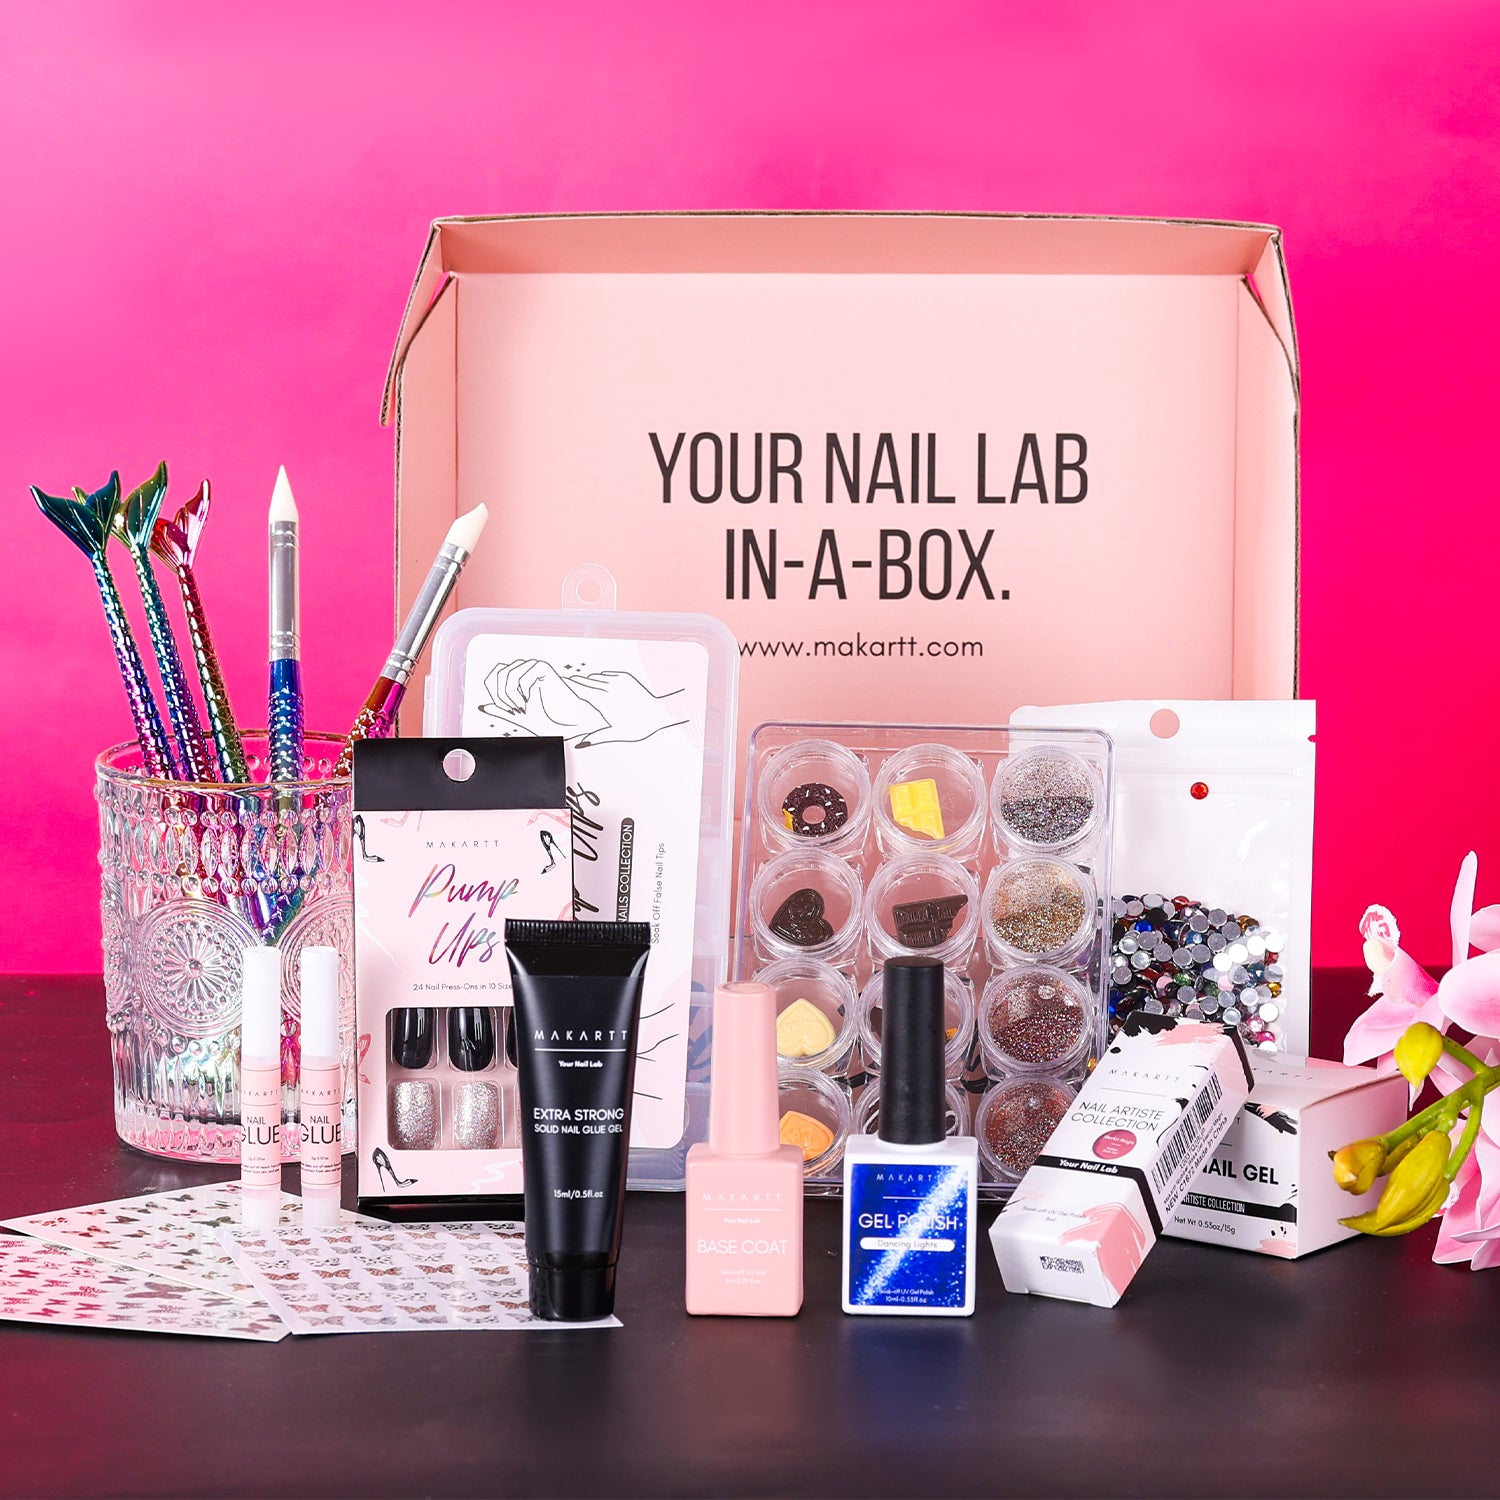
Among the various brands available, Makartt Nail Glue and Super Strong Nail Glue stand out for their exceptional quality and popularity among salon owners and social media influencers alike. This powerful adhesive is essential for securing rhinestones, gems, and other embellishments on your nails, ensuring they stay put for weeks.
Today, we'll explore some creative ideas for using rhinestone nail glue to elevate your nail art game.
The Basics of Rhinestone Nail Glue
Before diving into the creative ideas, let's briefly discuss what makes rhinestone nail glue different from regular nail glue.
Rhinestone Nail Glue is specifically formulated to bond securely with non-porous surfaces like crystals and gems. It provides a strong, long-lasting hold, which is crucial for maintaining intricate designs. Products like Makartt Nail Glue and Super Strong Nail Glue are highly recommended due to their superior adhesive properties and easy application.
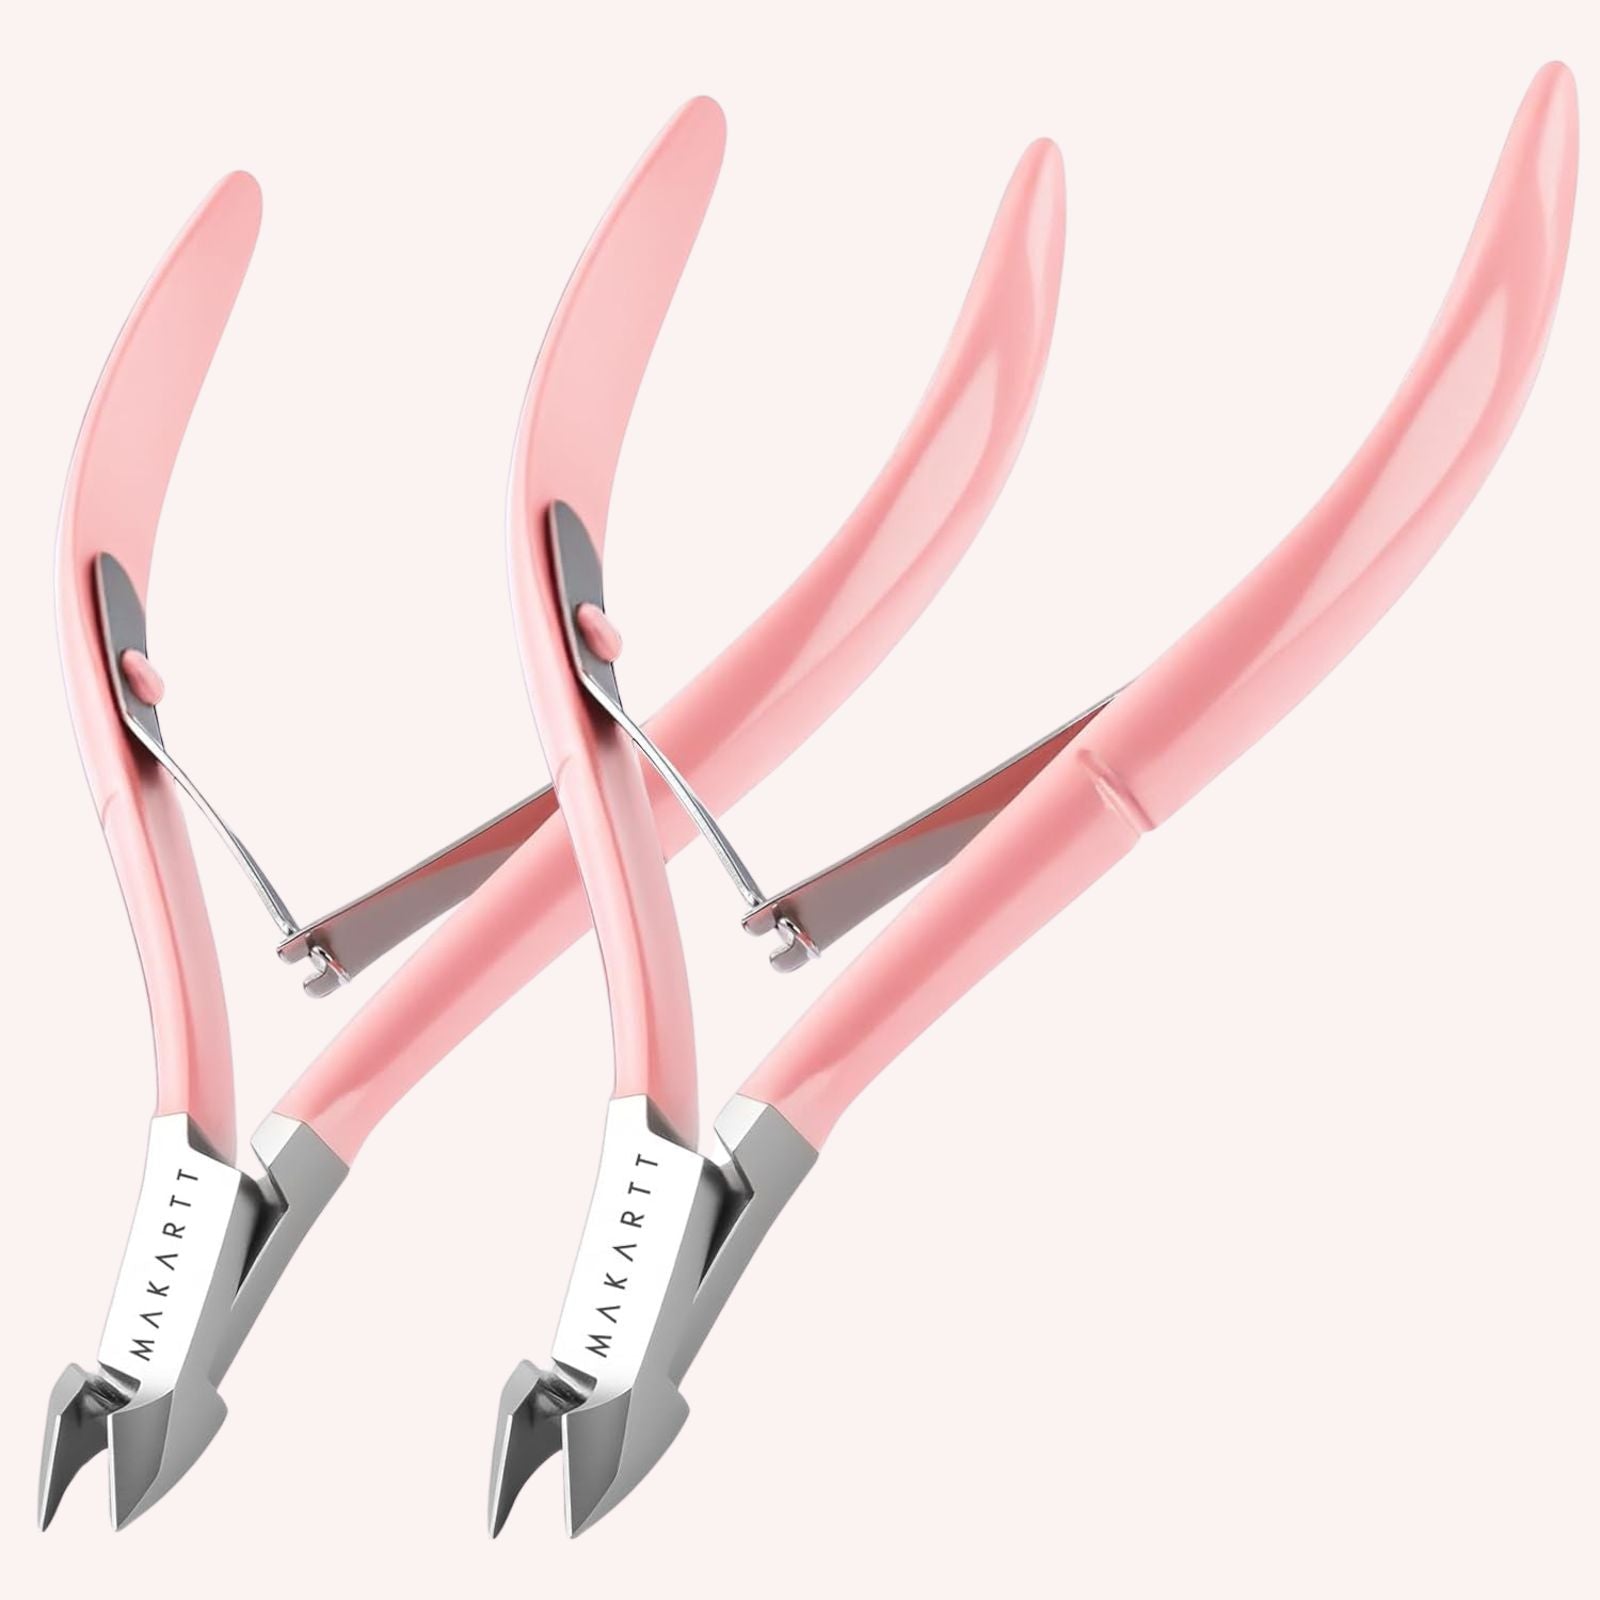
Salon Owners' Favorite: Makartt Nail Glue
Makartt Nail Glue has become a favorite among salon owners for its reliability and performance. It's a must-have for any professional nail technician looking to create stunning, durable nail art.
Makartt Nail Glue is known for its quick-drying formula, making it perfect for busy salons where time is of the essence. It also offers a strong bond that can withstand the wear and tear of daily activities, ensuring that clients leave the salon with beautiful, long-lasting nails.
Super Strong Nail Glue: The Go-To for Intricate Designs
When it comes to creating intricate designs with rhinestones, Super Strong Nail Glue is the go-to product for many nail artists. Its precision applicator allows for detailed work, making it easier to place tiny gems exactly where you want them. This glue is also beloved for its durability, keeping rhinestones secure even on the busiest of days. Social media influencers often rave about Super Strong Nail Glue, showcasing their dazzling nail designs that stay intact for weeks.
Creative Ideas for Using Rhinestone Nail Glue
Now that we've covered the essentials, let's explore some creative ideas for using rhinestone nail glue to create stunning nail art.
1. Glamorous French Tips
Transform the classic French tip manicure into a glamorous statement by adding rhinestones along the tips. Use Makartt Nail Glue to secure a line of small rhinestones at the edge of each nail. This simple addition can elevate a traditional look into a dazzling design perfect for special occasions.
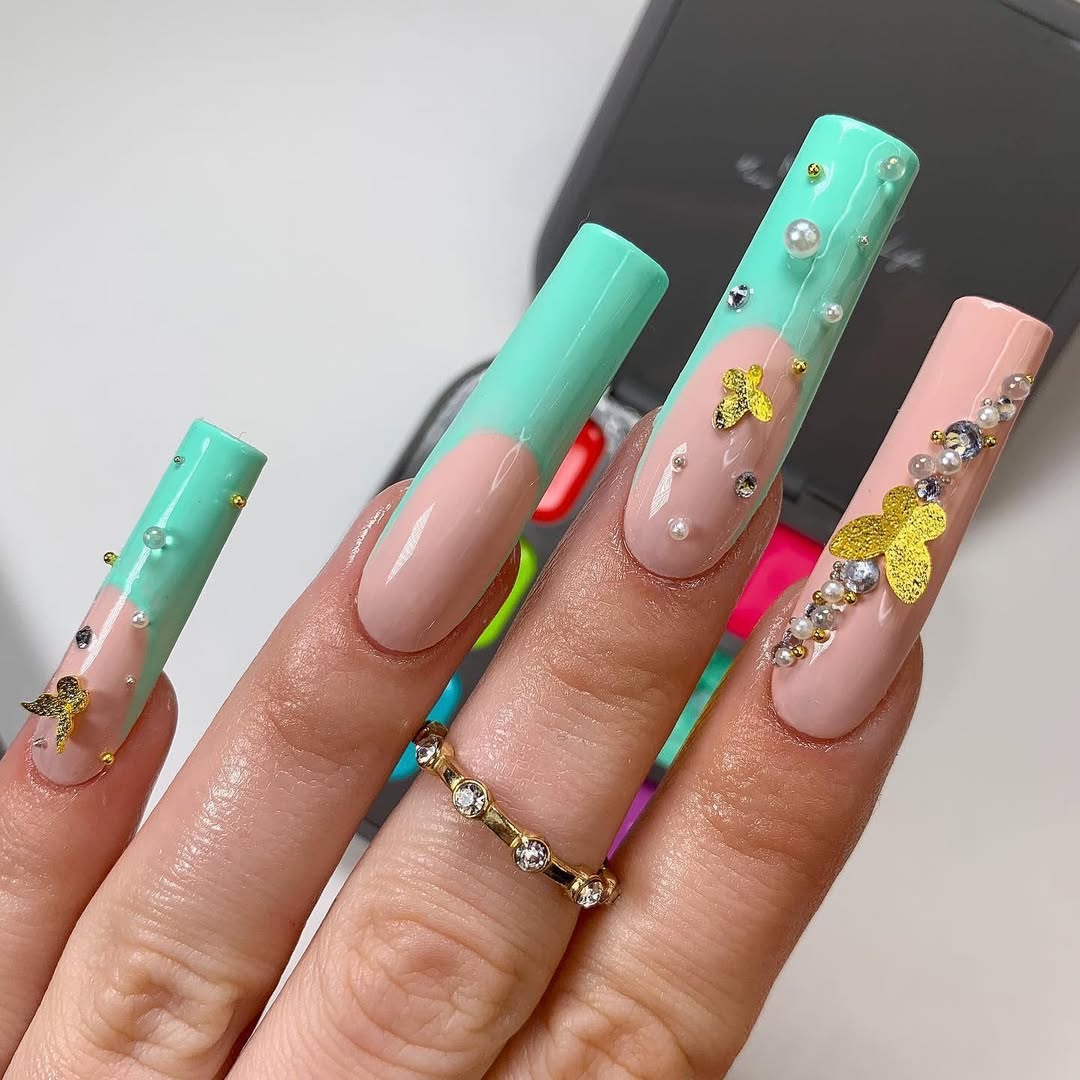
2. Full Rhinestone Nails
For a bold and eye-catching design, cover entire nails with rhinestones. Start by applying a base color that complements the rhinestones you plan to use. Then, use Super Strong Nail Glue to attach rhinestones of varying sizes and shapes, covering the entire nail surface. This luxurious look is sure to turn heads and is perfect for parties and events.
3. Accent Nails
Add a touch of sparkle to your manicure by creating accent nails with rhinestones. Choose one or two nails on each hand to embellish with rhinestones, while keeping the other nails simple. This balanced approach allows the rhinestones to stand out without overwhelming the overall look. Makartt Nail Glue is ideal for securing the rhinestones in place, ensuring they stay put.
4. Geometric Patterns
Create modern and chic nail art by arranging rhinestones in geometric patterns. Use Super Strong Nail Glue to place rhinestones in straight lines, triangles, or other geometric shapes. This design works well with both bold and neutral nail colors, offering versatility and style.
5. Floral Designs
Embrace a feminine and delicate look by incorporating rhinestones into floral nail art. Use small rhinestones to form the center of flowers, and add petals using nail polish or other embellishments. Makartt Nail Glue provides the precision needed to create detailed floral designs that are both elegant and eye-catching.
6. Ombre Rhinestone Nails
Combine the ombre nail trend with rhinestone accents for a unique and stunning look. Create an ombre effect using your favorite nail colors, then use Super Strong Nail Glue to add rhinestones at the base or tips of the nails. This design adds dimension and sparkle to the already beautiful ombre effect.
Popularity of rhinestone nail glue is evident in the buzz it generates on social media. Influencers and nail enthusiasts frequently share their dazzling creations on platforms like Instagram, TikTok, and Pinterest.
Hashtags like #RhinestoneNailGlue, #MakarttNailGlue, and #SuperStrongNailGlue showcase a plethora of creative designs, inspiring others to try their hand at rhinestone nail art!
FAQs about Rhinestone Nail Glue
Q1: What is the best way to apply rhinestone nail glue?
A: The best way to apply rhinestone nail glue is to use a precision applicator to place a small amount of glue on the back of the rhinestone or directly on the nail where you want to position the rhinestone. Press the rhinestone gently onto the nail and hold it in place for a few seconds to ensure a secure bond.
Q2: How long does rhinestone nail glue last?
A: Rhinestone nail glue can last anywhere from 1 to 3 weeks, depending on factors such as the quality of the glue, the size and weight of the rhinestones, and how well the nails are cared for. Makartt Nail Glue and Super Strong Nail Glue are known for their durability, often keeping rhinestones in place for the entire duration of your manicure.
Q3: Can I use rhinestone nail glue on natural nails?
A: Yes, rhinestone nail glue can be used on both natural and artificial nails. It's important to ensure that your natural nails are clean and dry before application to achieve the best results.
Q4: How do I remove rhinestone nail glue without damaging my nails?
A: To remove rhinestone nail glue without damaging your nails, soak your nails in acetone or a nail polish remover containing acetone for 10-15 minutes. This will soften the glue, making it easier to gently pry off the rhinestones using a cuticle pusher or orange stick. Be patient and avoid forcefully pulling off the rhinestones to prevent damage to your nails.
Q5: Can I reuse rhinestones after removing them?
A: Yes, you can often reuse rhinestones if they are in good condition after removal. Clean any residual glue from the back of the rhinestones using acetone or a gentle buffing tool before reapplying them with fresh glue.
Q6: Are there any tips for making rhinestone nail glue last longer?
A: To make rhinestone nail glue last longer, follow these tips:
Apply a small amount of glue to avoid excess that can cause the rhinestones to slide. Press and hold the rhinestones in place for a few seconds to ensure a secure bond. Avoid using your nails as tools to prevent dislodging the rhinestones.Apply a clear top coat over the rhinestones to add an extra layer of protection and keep them secure.
Q7: Can rhinestone nail glue cause allergic reactions?
A: While rare, some individuals may experience allergic reactions to the ingredients in rhinestone nail glue. If you notice any redness, itching, or irritation, discontinue use immediately and consult a healthcare professional. It's always a good idea to do a patch test before using a new nail glue product.
Q8: Is rhinestone nail glue safe for sensitive skin?
A: Many rhinestone nail glues, including Makartt Nail Glue and Super Strong Nail Glue, are formulated to be safe for most users. However, if you have sensitive skin, it's advisable to check the ingredients list for potential allergens and conduct a patch test before full application.
By following these tips and choosing high-quality products like Makartt Nail Glue and Super Strong Nail Glue, you can achieve stunning, long-lasting rhinestone nail designs that will be the envy of everyone around you. Dive into the world of rhinestone nail art and let your creativity shine!

NAIL IDEAS
by NailLab Makartt
on Jan 12 2024
As we look forward to the latest trends in nail art, chrome nail ideas are set to dominate 2024 with their sleek, metallic finishes and futuristic appeal. Here are some innovative chrome nail ideas for 2024 that will keep your manicure game strong.
What Are Chrome Nails?
Chrome nails are a type of manicure that uses a special powder or paint to create a shiny, mirror-like finish on the nails. The effect is achieved by applying a fine chrome powder over a gel polish base, which is then sealed with a top coat. This results in a highly reflective and metallic appearance that can vary in color from classic silver to vibrant holographic hues. Chrome nails are known for their durability and striking visual impact, making them a favorite among nail enthusiasts.
Popular Chrome Nail Ideas for 2024
1.Chrome French Tips:
Give the classic French manicure a modern twist by using Chrome Nail Paint for the tips. Apply a nude or light-colored base coat, then create a thin line of chrome along the free edge of each nail. The contrasting colors and metallic shine will make your tips stand out.
2.Ombre Chrome:
Create a stunning gradient effect by blending different shades of Chrome Nail Paint. Start with a dark shade at the base of your nails and gradually transition to a lighter shade towards the tips. Use a sponge or a brush to blend the colors seamlessly, and finish with a top coat to enhance the chrome effect.
3.Geometric Chrome:
Embrace your inner artist by incorporating geometric patterns into your manicure. Use striping tape or nail art brushes to create clean lines or intricate designs on your nails. Fill in the shapes with Chrome Nail Paint for a bold and futuristic look.
4.Chrome Accents:
Add a touch of elegance to your manicure by incorporating chrome accents. Apply Chrome Nail Paint to one or two accent nails, leaving the rest of your nails in a complementary color. This creates a stylish contrast that draws attention to the chrome details.
5.Marble Chrome:
Achieve a mesmerizing marble effect by combining Chrome Nail Powder with other nail polish colors. Apply a base coat in your desired color, then drop small amounts of Chrome Nail Paint onto the nail. Using a thin nail art brush or a toothpick, gently swirl the colors together to create a marbled pattern. Once dry, seal with a top coat for a glossy finish.
5.Chrome Stamping:
Experiment with nail stamping techniques by using Chrome Nail Paint as the design element. Apply a base color of your choice, then use a stamping plate and a stamper to transfer intricate chrome patterns onto your nails. The result is an effortlessly chic and professional-looking manicure.
How to Apply Chrome Nails: A Step-by-Step Guide
Achieving perfect chrome nails requires some practice and the right tools. Here’s a step-by-step guide to help you master the technique:
Prepare Your Nails: Start by cleaning your nails thoroughly. Remove any old nail polish, push back your cuticles, and lightly buff the surface of your nails to remove any shine. This will help the chrome powder adhere better.
Apply Base Coat: Apply a thin layer of base coat to your nails and cure it under a UV or LED lamp according to the manufacturer's instructions. This base coat will protect your natural nails and provide a smooth surface for the chrome powder.
Apply Gel Polish: Apply two coats of black gel polish (or your chosen base color), curing each coat under the UV or LED lamp.
Apply No-Wipe Top Coat: Apply a layer of no-wipe gel top coat and cure it under the UV or LED lamp. This step is crucial as it creates a smooth, tack-free surface for the chrome powder.
Apply Chrome Powder: Using a soft applicator, pick up a small amount of chrome powder and gently rub it onto your nails in a circular motion until the entire nail is covered. Continue buffing until you achieve a smooth, reflective finish.
Seal with Top Coat: Apply another layer of gel top coat to seal in the chrome powder and cure under the UV or LED lamp. This will give your nails a glossy and long-lasting finish.
Tips for Perfect Chrome Nails
To achieve flawless chrome nails, follow these essential tips:
Smooth Base: Ensure your nails are smooth and free of imperfections before applying the chrome powder or paint. Any bumps or ridges will be magnified by the reflective surface.
No-Wipe Top Coat: Use a no-wipe gel top coat before applying chrome powder to ensure a smooth and tack-free surface for the powder to adhere to.
Seal Properly: Always seal your chrome nails with a top coat to protect the chrome finish and extend the life of your manicure.
Gentle Buffing: Lightly buff the chrome powder with a soft applicator to achieve a high-shine, mirror-like finish.
Experiment with Colors: Don’t be afraid to mix different chrome colors or combine chrome with other nail art techniques for a unique and personalized look.
Maintenance and Care for Chrome Nails
Chrome nails are durable, but they require proper care to maintain their shine and prevent chipping. Here are some tips for maintaining your chrome nails:
Avoid Harsh Chemicals: Minimize exposure to harsh chemicals like cleaning agents, which can dull the chrome finish. Wear gloves when doing household chores.
Moisturize Regularly: Keep your cuticles and nails moisturized with cuticle oil to prevent dryness and cracking.
Gentle Handling: Treat your nails gently and avoid using them as tools to open cans or scratch surfaces, as this can cause chipping or peeling.
Regular Touch-Ups: If you notice any chips or wear, do regular touch-ups to maintain the chrome finish. Apply a fresh layer of top coat every few days to keep your nails looking glossy and new.
Chrome nail ideas for 2024 are set to bring a futuristic and sophisticated touch to your manicure. Whether you opt for classic chrome French tips, stunning ombre chrome, bold geometric patterns, elegant chrome accents, mesmerizing marble chrome, or intricate chrome stamping, there’s a chrome nail idea for everyone. These ideas not only enhance the overall appearance of your nails but also offer a versatile and stylish way to express your creativity.
Embrace these chrome nail ideas for 2024 and make your nails the highlight of your style. Get ready to turn heads and make a statement with the reflective and metallic beauty of chrome nails. Whether you are a nail art enthusiast or a professional, these trends will keep your nails looking fabulous all year long.
For achieving the best chrome nail effects, we recommend using Makartt Chrome Nail Powder. This high-quality powder provides a brilliant, mirror-like finish that is perfect for all your chrome nail designs. Click here to view and purchase the Makartt Chrome Nail Powder and elevate your manicure to the next level.